Fashion photography is a team sport. If we had to look at any major sporting event, members of the team are constantly communicating - the captain might be directing individual plays/players team engineers and the driver communicate over radio, and so on.
We need to apply this model to fashion photography because irrespective of how good a photographer you are (in Malta or anywhere in the world), you will be better if you work well with your team - and leverage their strengths and ideas.
First let's go over some quick tips from a slightly grumpy photographer (me! :)) and then let's get some models in here and see what they have to say :)
1. Be a nice human being. Models are people too, they have their own insecurities, they feel hot, cold, uncomfortable, happy... keep an eye out and proactively try to make your model feel comfortable
2. Share a moodbard with the team. This will help set everyone's visual goals and will allow people to prepare ideas beforehand. For example, if the visuals show a lot of movement - the model might practice some jumps/hops/etc before the shoot.
3. Pose the mind. Valentin Casarsa (a really amazing photographer who taught us a lot during istockphoto workshops) always said that to really get your models into the shot, you have to engage with them. Tell them a story, give them a character/ persona, are they angry? are they excited about something that's going to happen? You are looking for two main outcomes: Body Language and Expression - both of which will be driven by the state of mind you put the model in.
The added benefit is that this also acts as a great starting point for models to then expand on and build poses. Here is an excellent article on fstoppers that goes into more detail about this: Link
4. Pose the model. Not all human bodies are equal, or equally proportioned, or even symmetrical. Before the shoot starts take a good look at the model as if he/she were not a person. Think of the body's proportions - do they have a long torso? long legs? neck? is there a side of the face that might look better than the other. Any body modifications that may enhance/detract from the shot?
Once you have understood your canvas a little bit better, discuss some poses that you think my work (having some examples from shoots you like in your head or even better on your phone for easy reference might make this easier). Don't be afraid to try out the pose yourself to show what you mean - it's much harder to explain a pose than to show it.
Once the model has posed and we're about to start shooting - take a good look and all the little details: How are the hands? does any part look stiff? is there any stray clothing/hair/makeup? At this point start shooting, experiment with different angles and let the model adapt. I like to set a starting pose and then the model can change based on their (often really good) ideas.
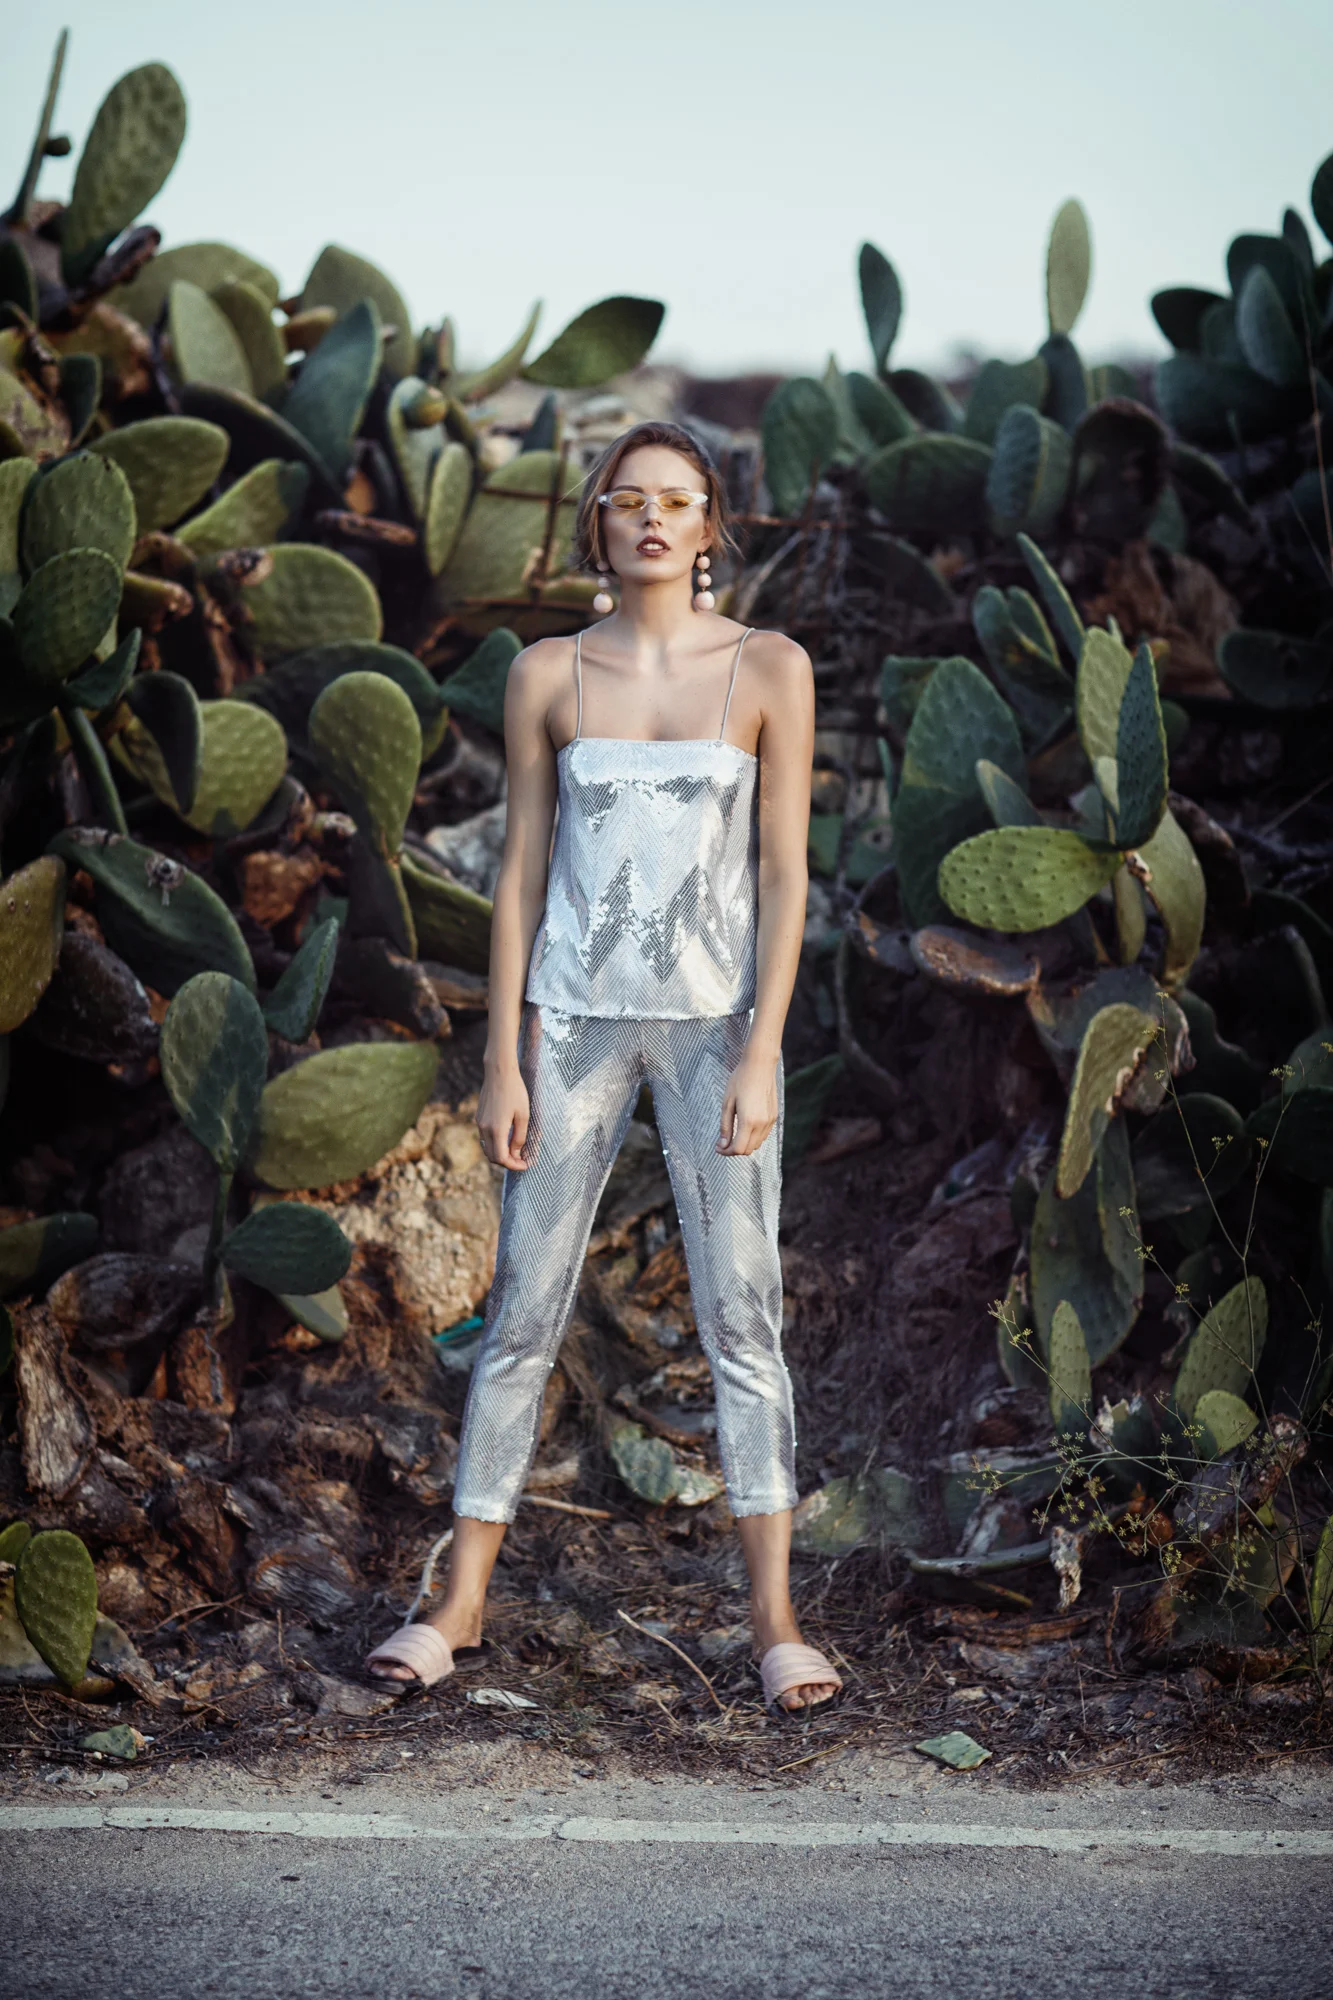
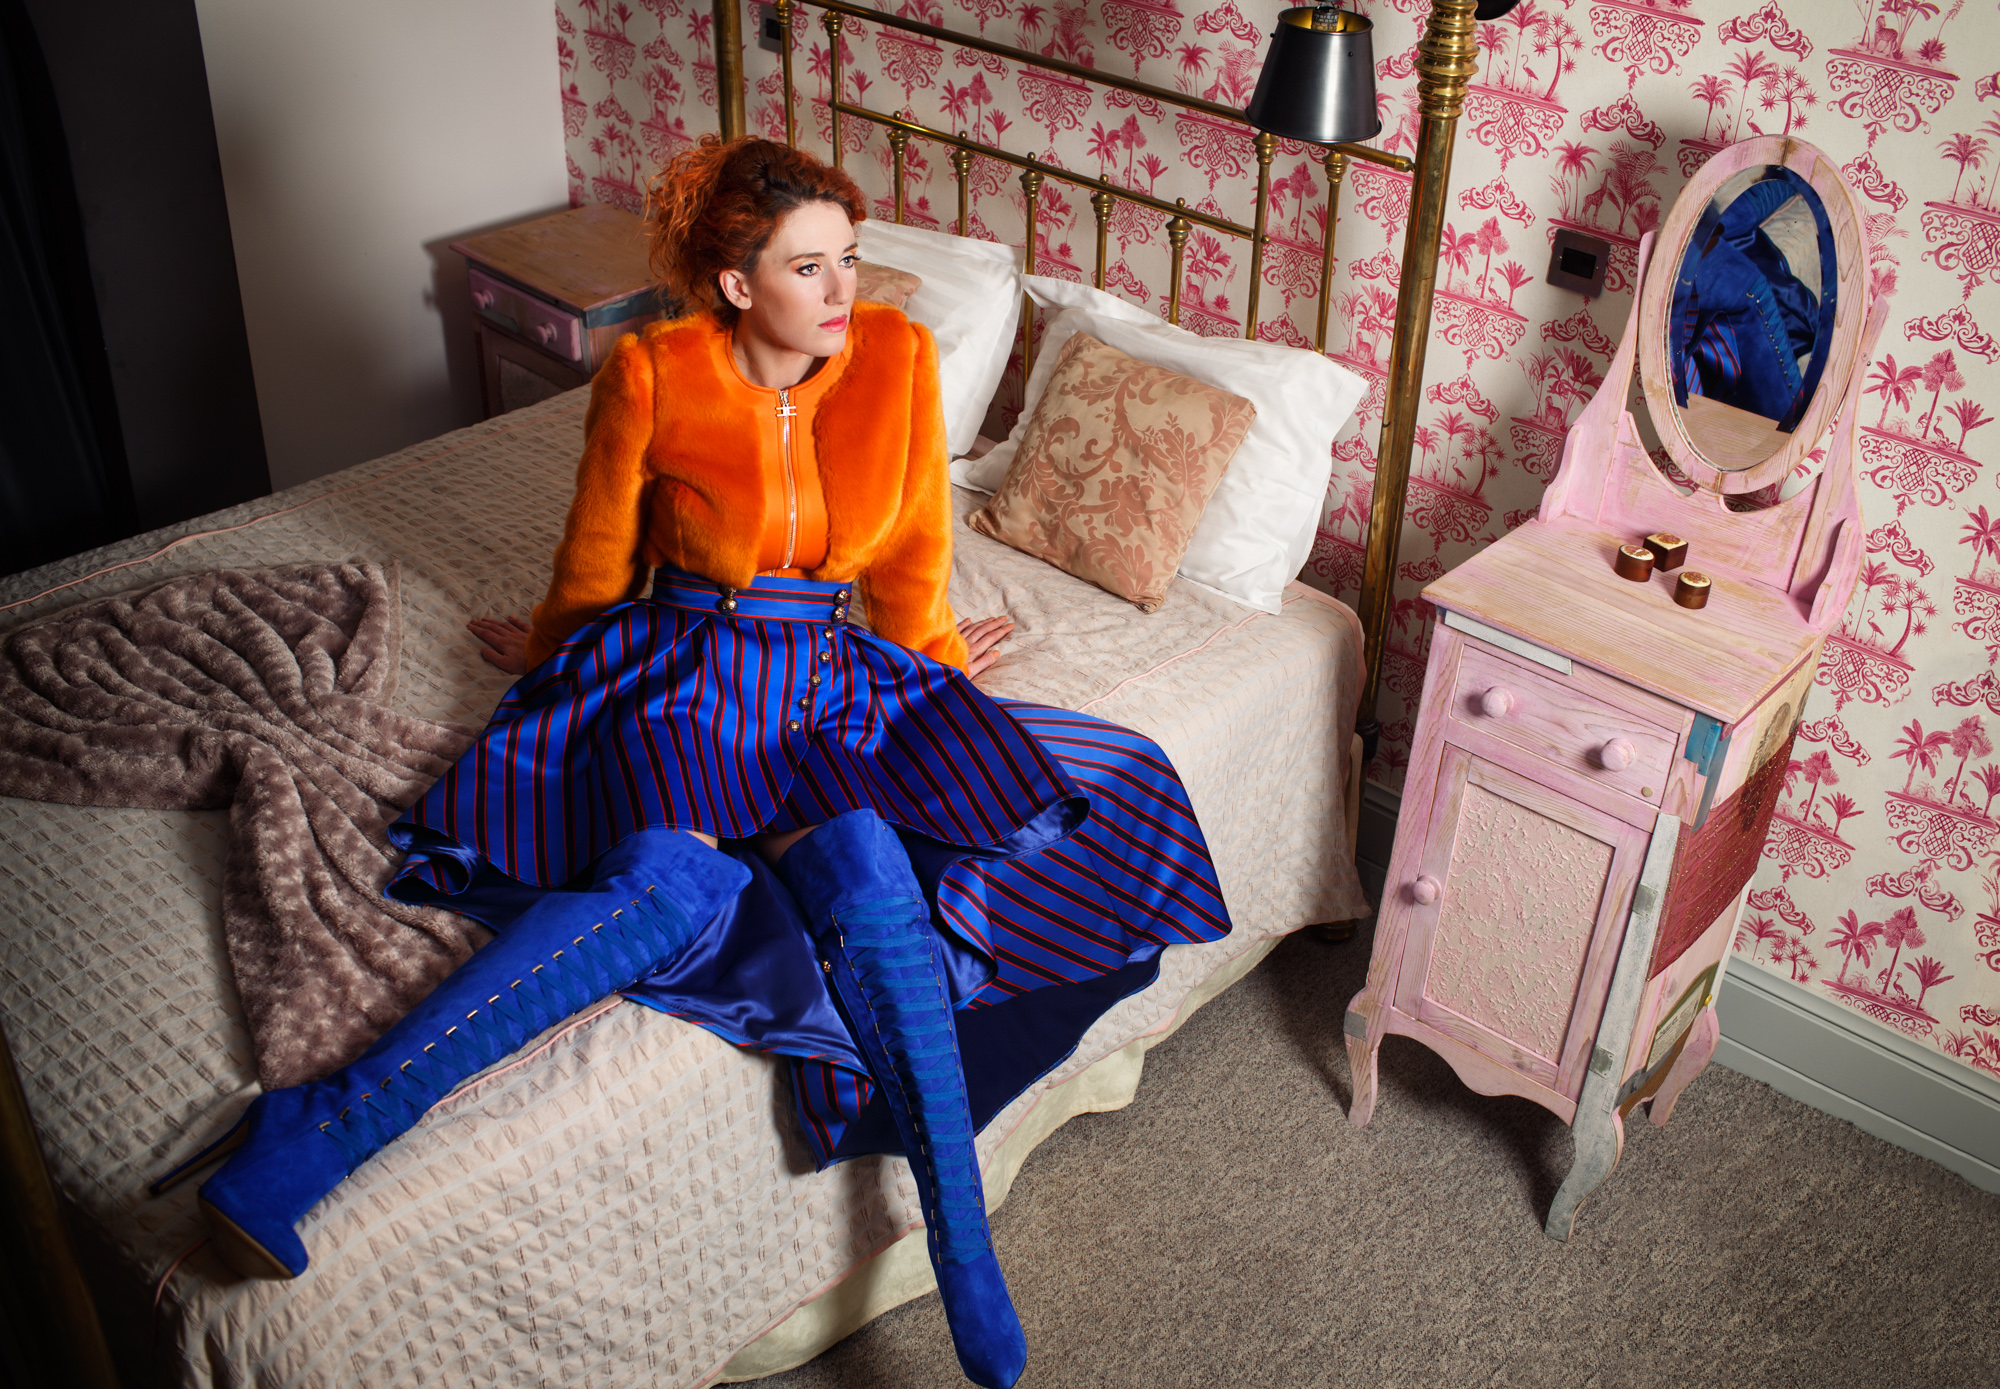
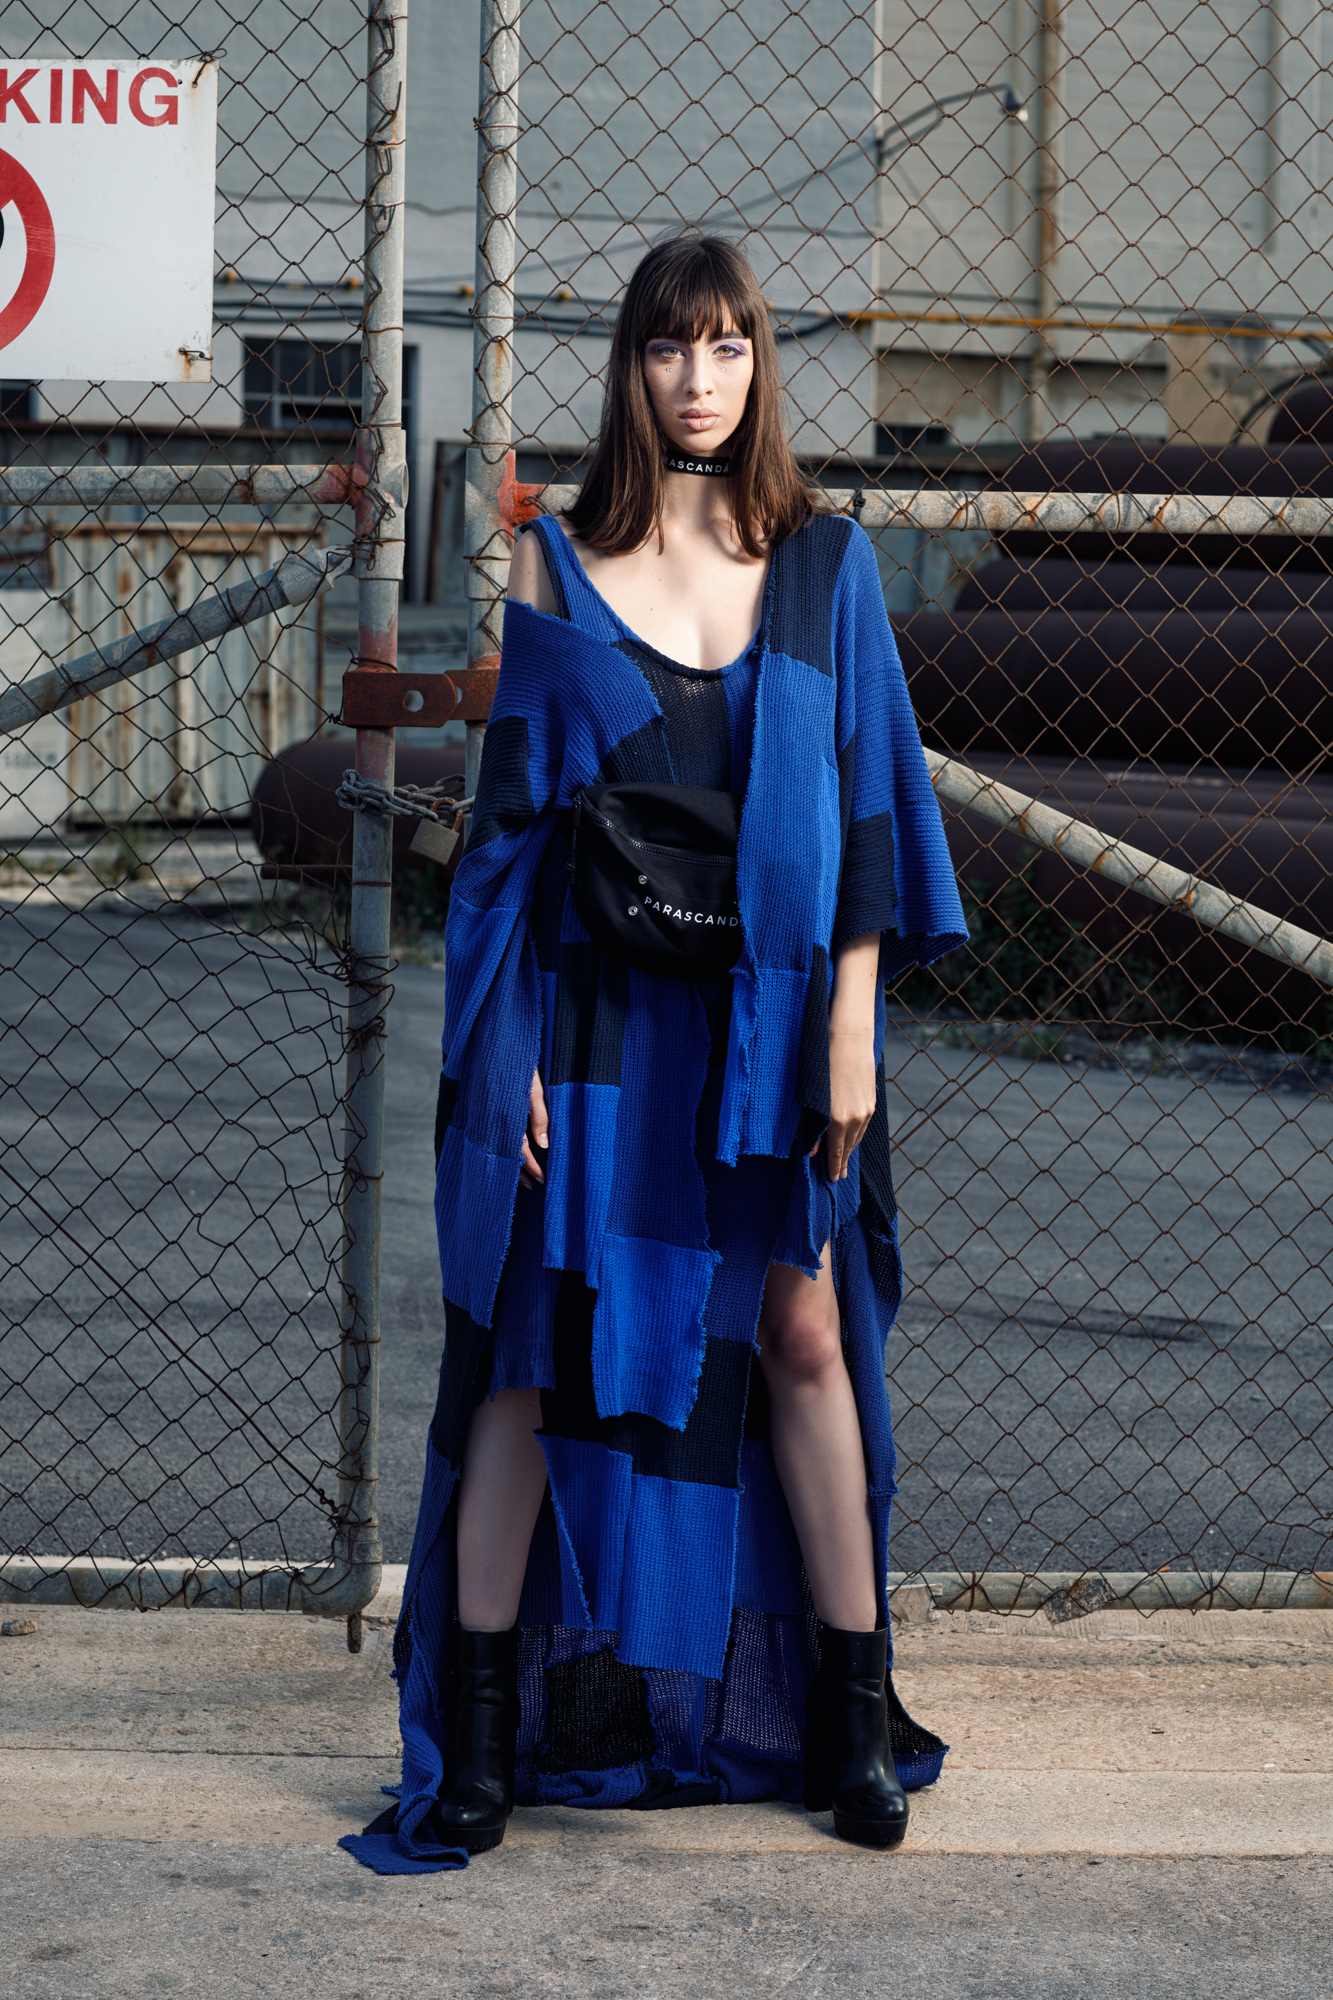
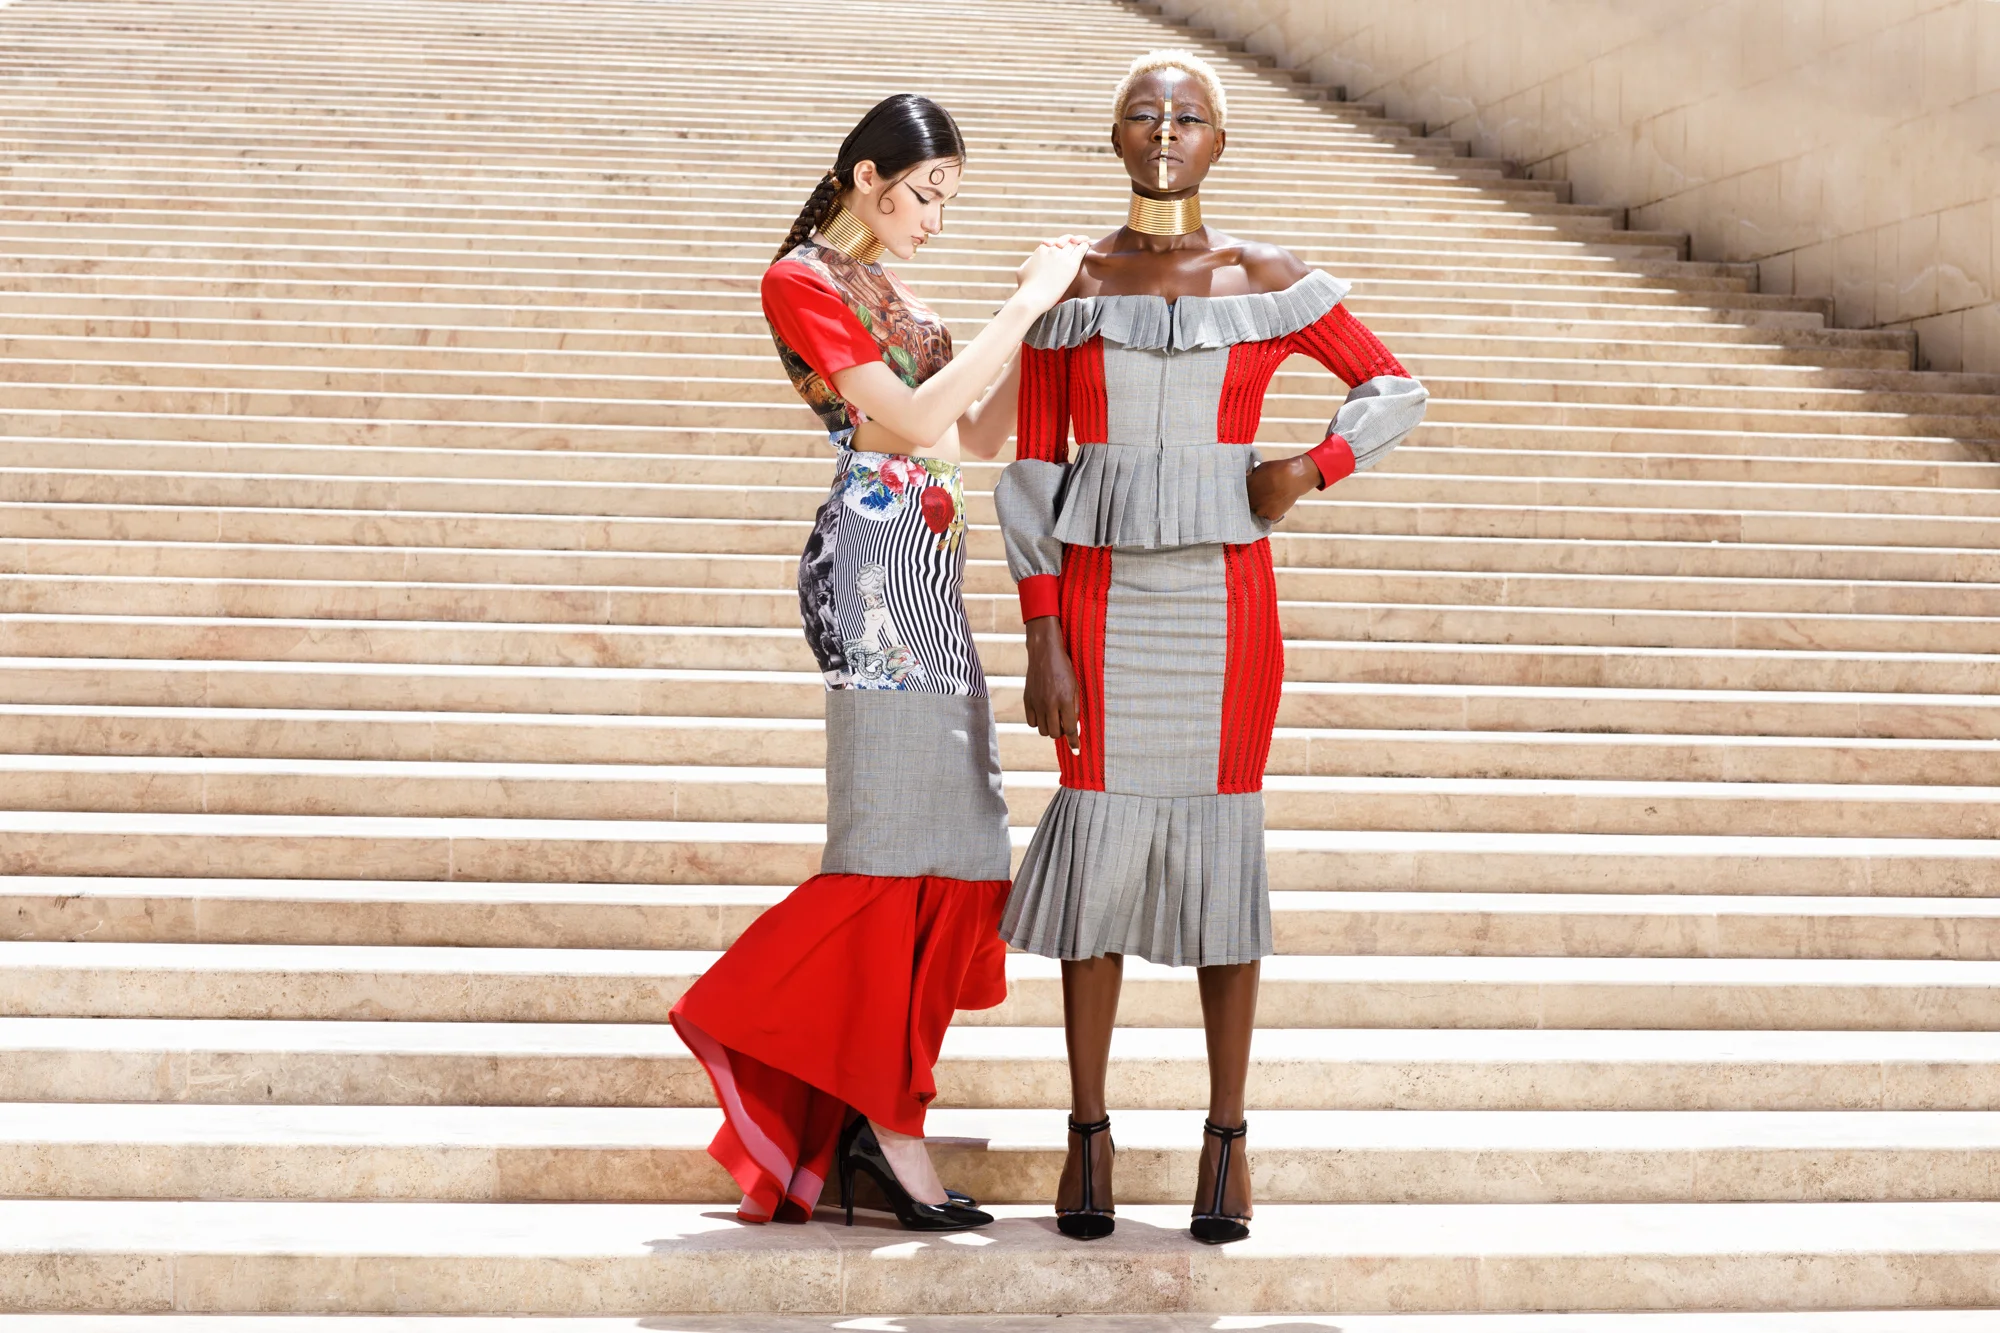
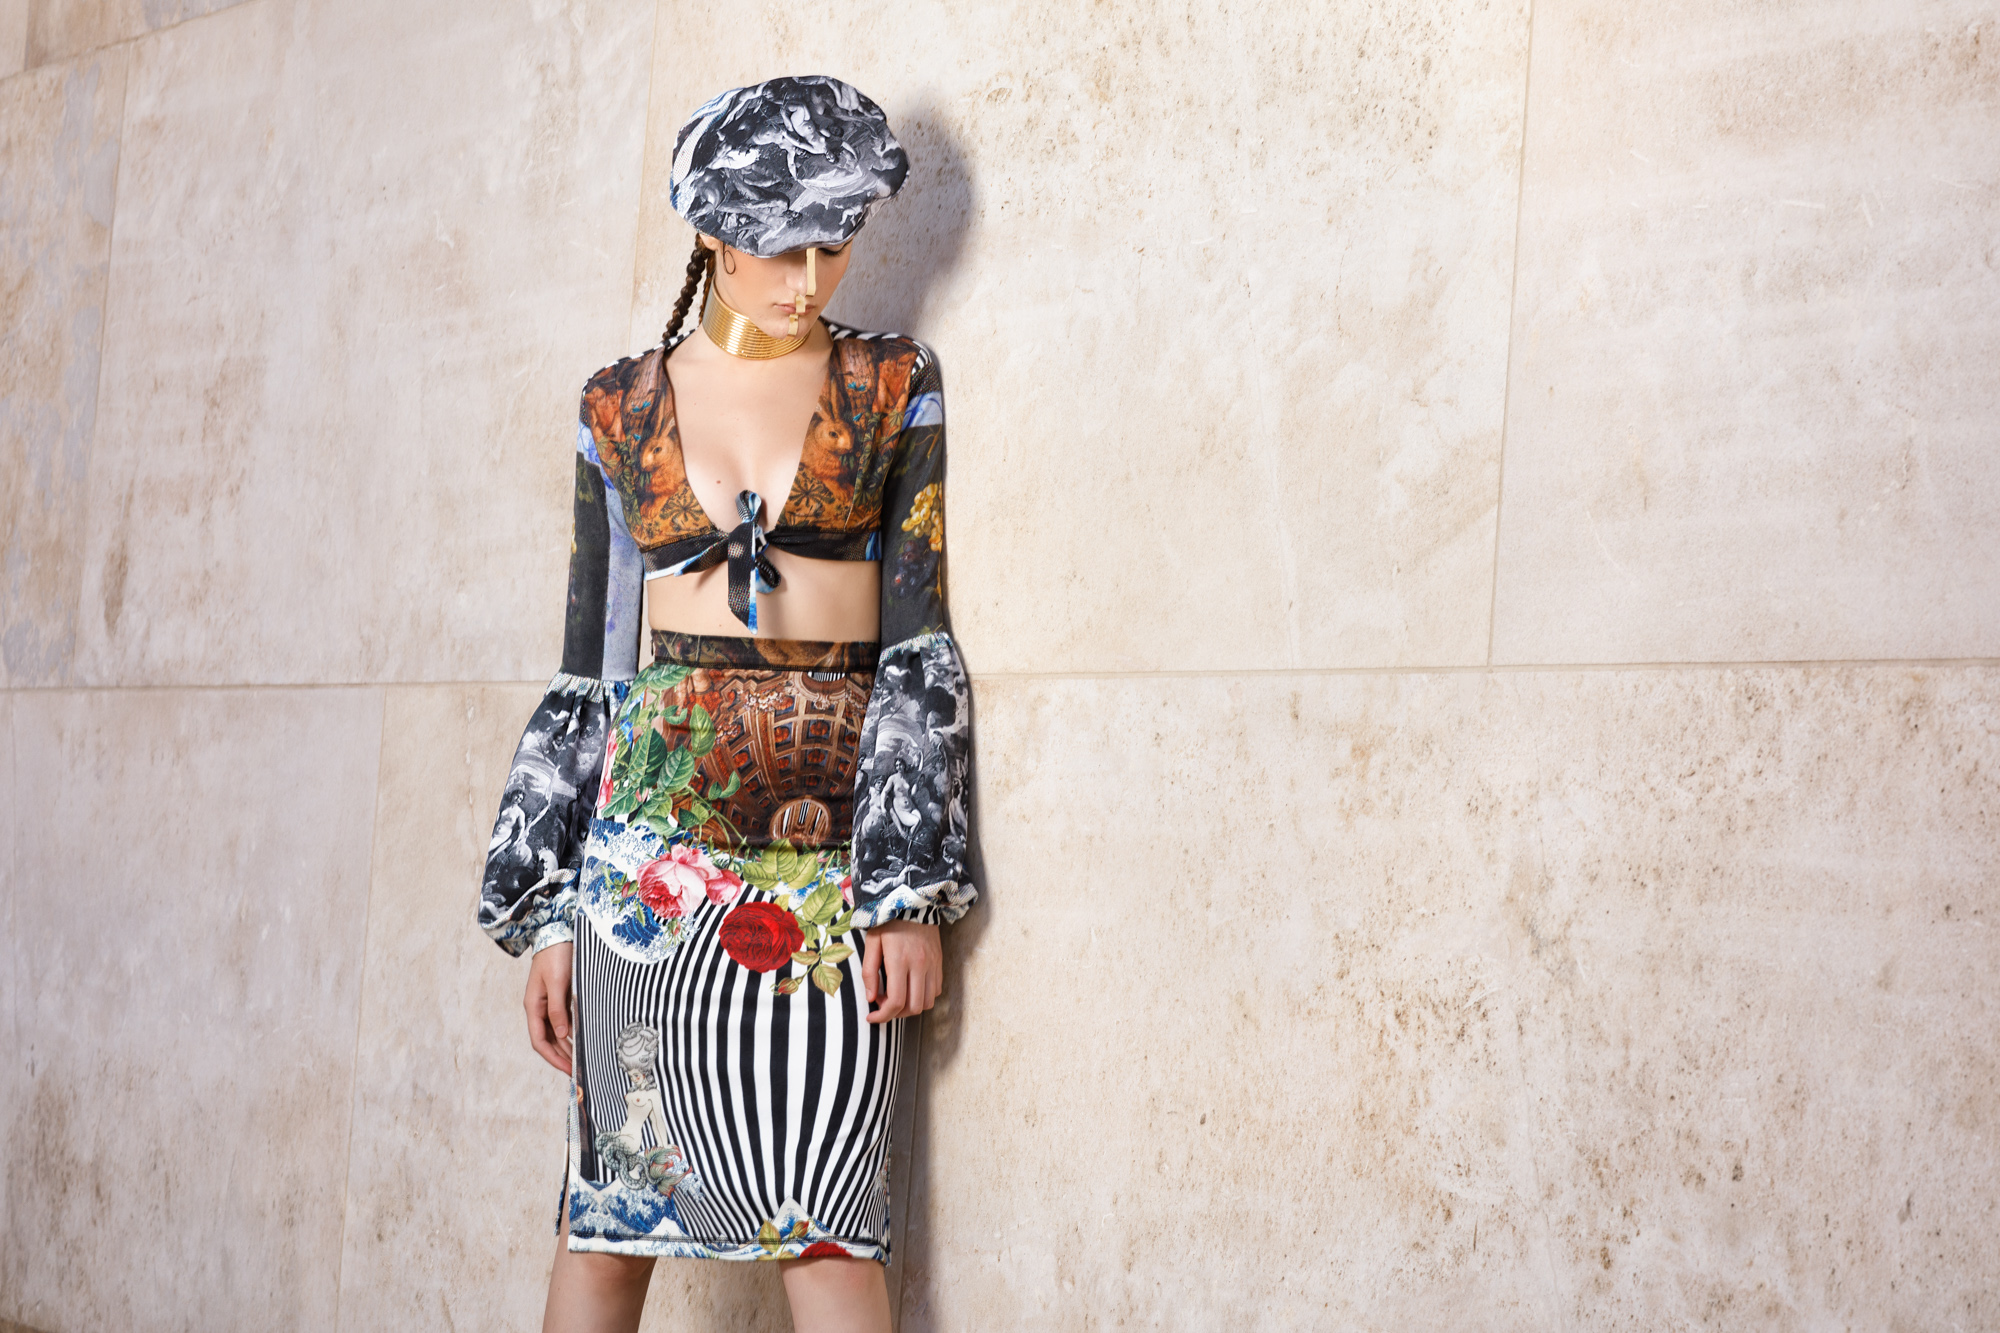
5. Pose the clothes. It is very easy to ignore our main goal in fashion - the clothes & clothing brand and the values/emotions they represent. If we focus on the model herself (or himself) it is quite possible to take pictures where the clothes are not looking their best, or if their story/desire is not being conveyed. For example if we take a hypothetical scenario where we are shooting a long, wide pair of trousers and we ask the model to sit cross legged - we have lost that feature that makes the trousers special. Or if we are shooting some shiny leather/vinyl outfit and pose it in a way that creates unflattering reflections, we will have cheapened it and reduced its appeal.
6. Be a mirror. Remember that the model cannot see what he/she is doing. Frequent feedback is key: is the pose good/bad? tell them they look good! (if they do :D) confidence and trust are built on the feedback you give the model during the shoot. Are there any adjustments that might work? (raise your arm a bit, look left/right/up/down etc)
I asked some great models who i had the pleasure of working with (and having a great model makes a photographer's life so much easier) in their own words. Big thank you for taking the time to answer my questions to:
- Madeleine Baldacchino @ Supernova Model Management (Follow her on Instagram)
- Claire Ciantar @ Supernova Model Management (Also the editor of Vida Magazine! - check it out here)
- Stephanie Hodgkins @ Models M (Follow her on Instagram)
- Blanka Bartosova @ Models M (Follow her on Instagram)
"What is the most important thing you expect a photographer to tell you when you are modelling?"
Madeleine: All photographers have different methods on how to guide models and it also depends on how well the photographer and model know each other. Normally I would ask the photographer how is the photo being framed for example if its a portrait or a long shot. This is important as poses will be different accordingly. I also expect to be told what mood the photographer is after.
Claire: Its important that they make me feel comfortable and keep it casual rather than formal.
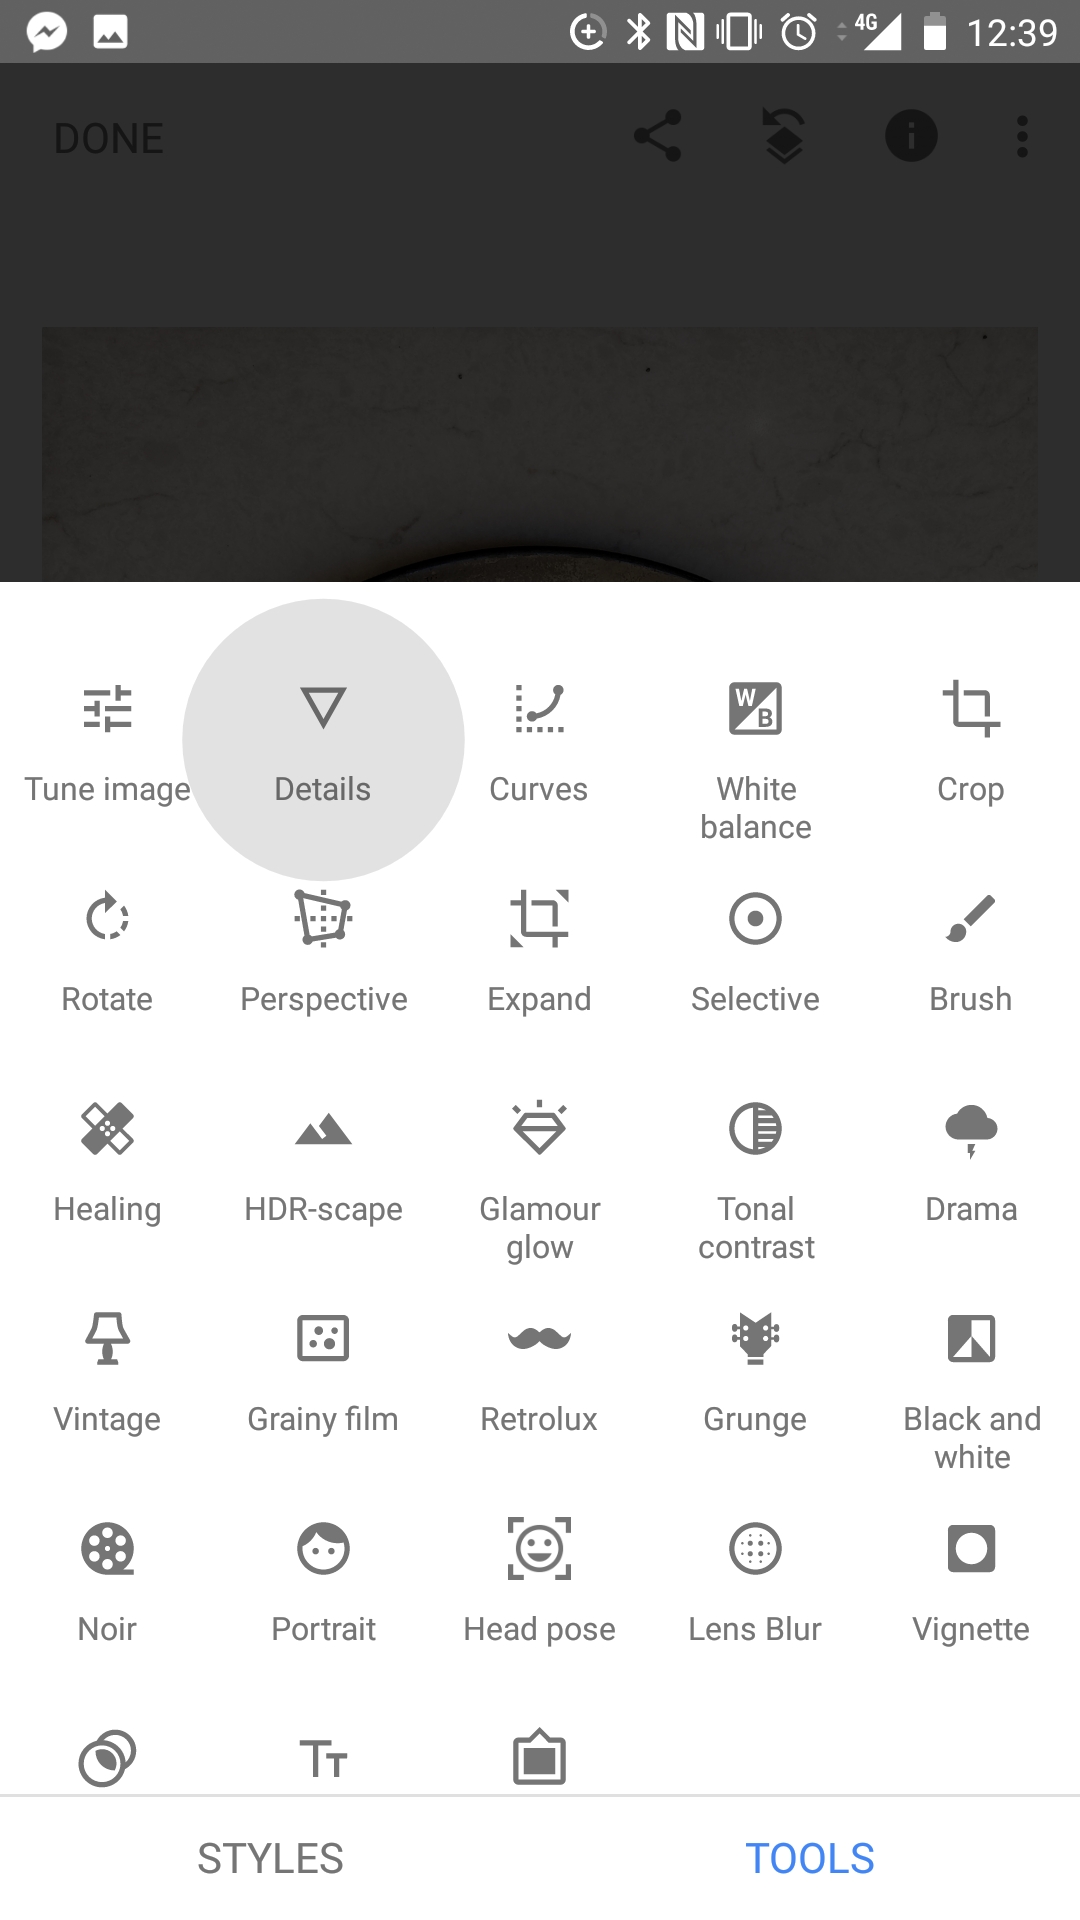
Stephanie: I find it very important that the photographer communicates with the model and gives direction. It's really helps when the photographer shows the images to the model while shooting as I find it really helps deliver the perfect shot.
Blanka: I always want to know the mood of the shooting to be able to fit the photograpger ‘s idea. But I think models should not only listen to orders but also think outside the box and inspire and bring new dimension to the shooting. Usually I want to see first few shots just to check what kind of lighting we use, which helps me to orientate my poses. If it is possible, I check the photographers’ portfolios before the shooting to know what style should I be ready for.
"Do you have a posing tip for aspiring models?"
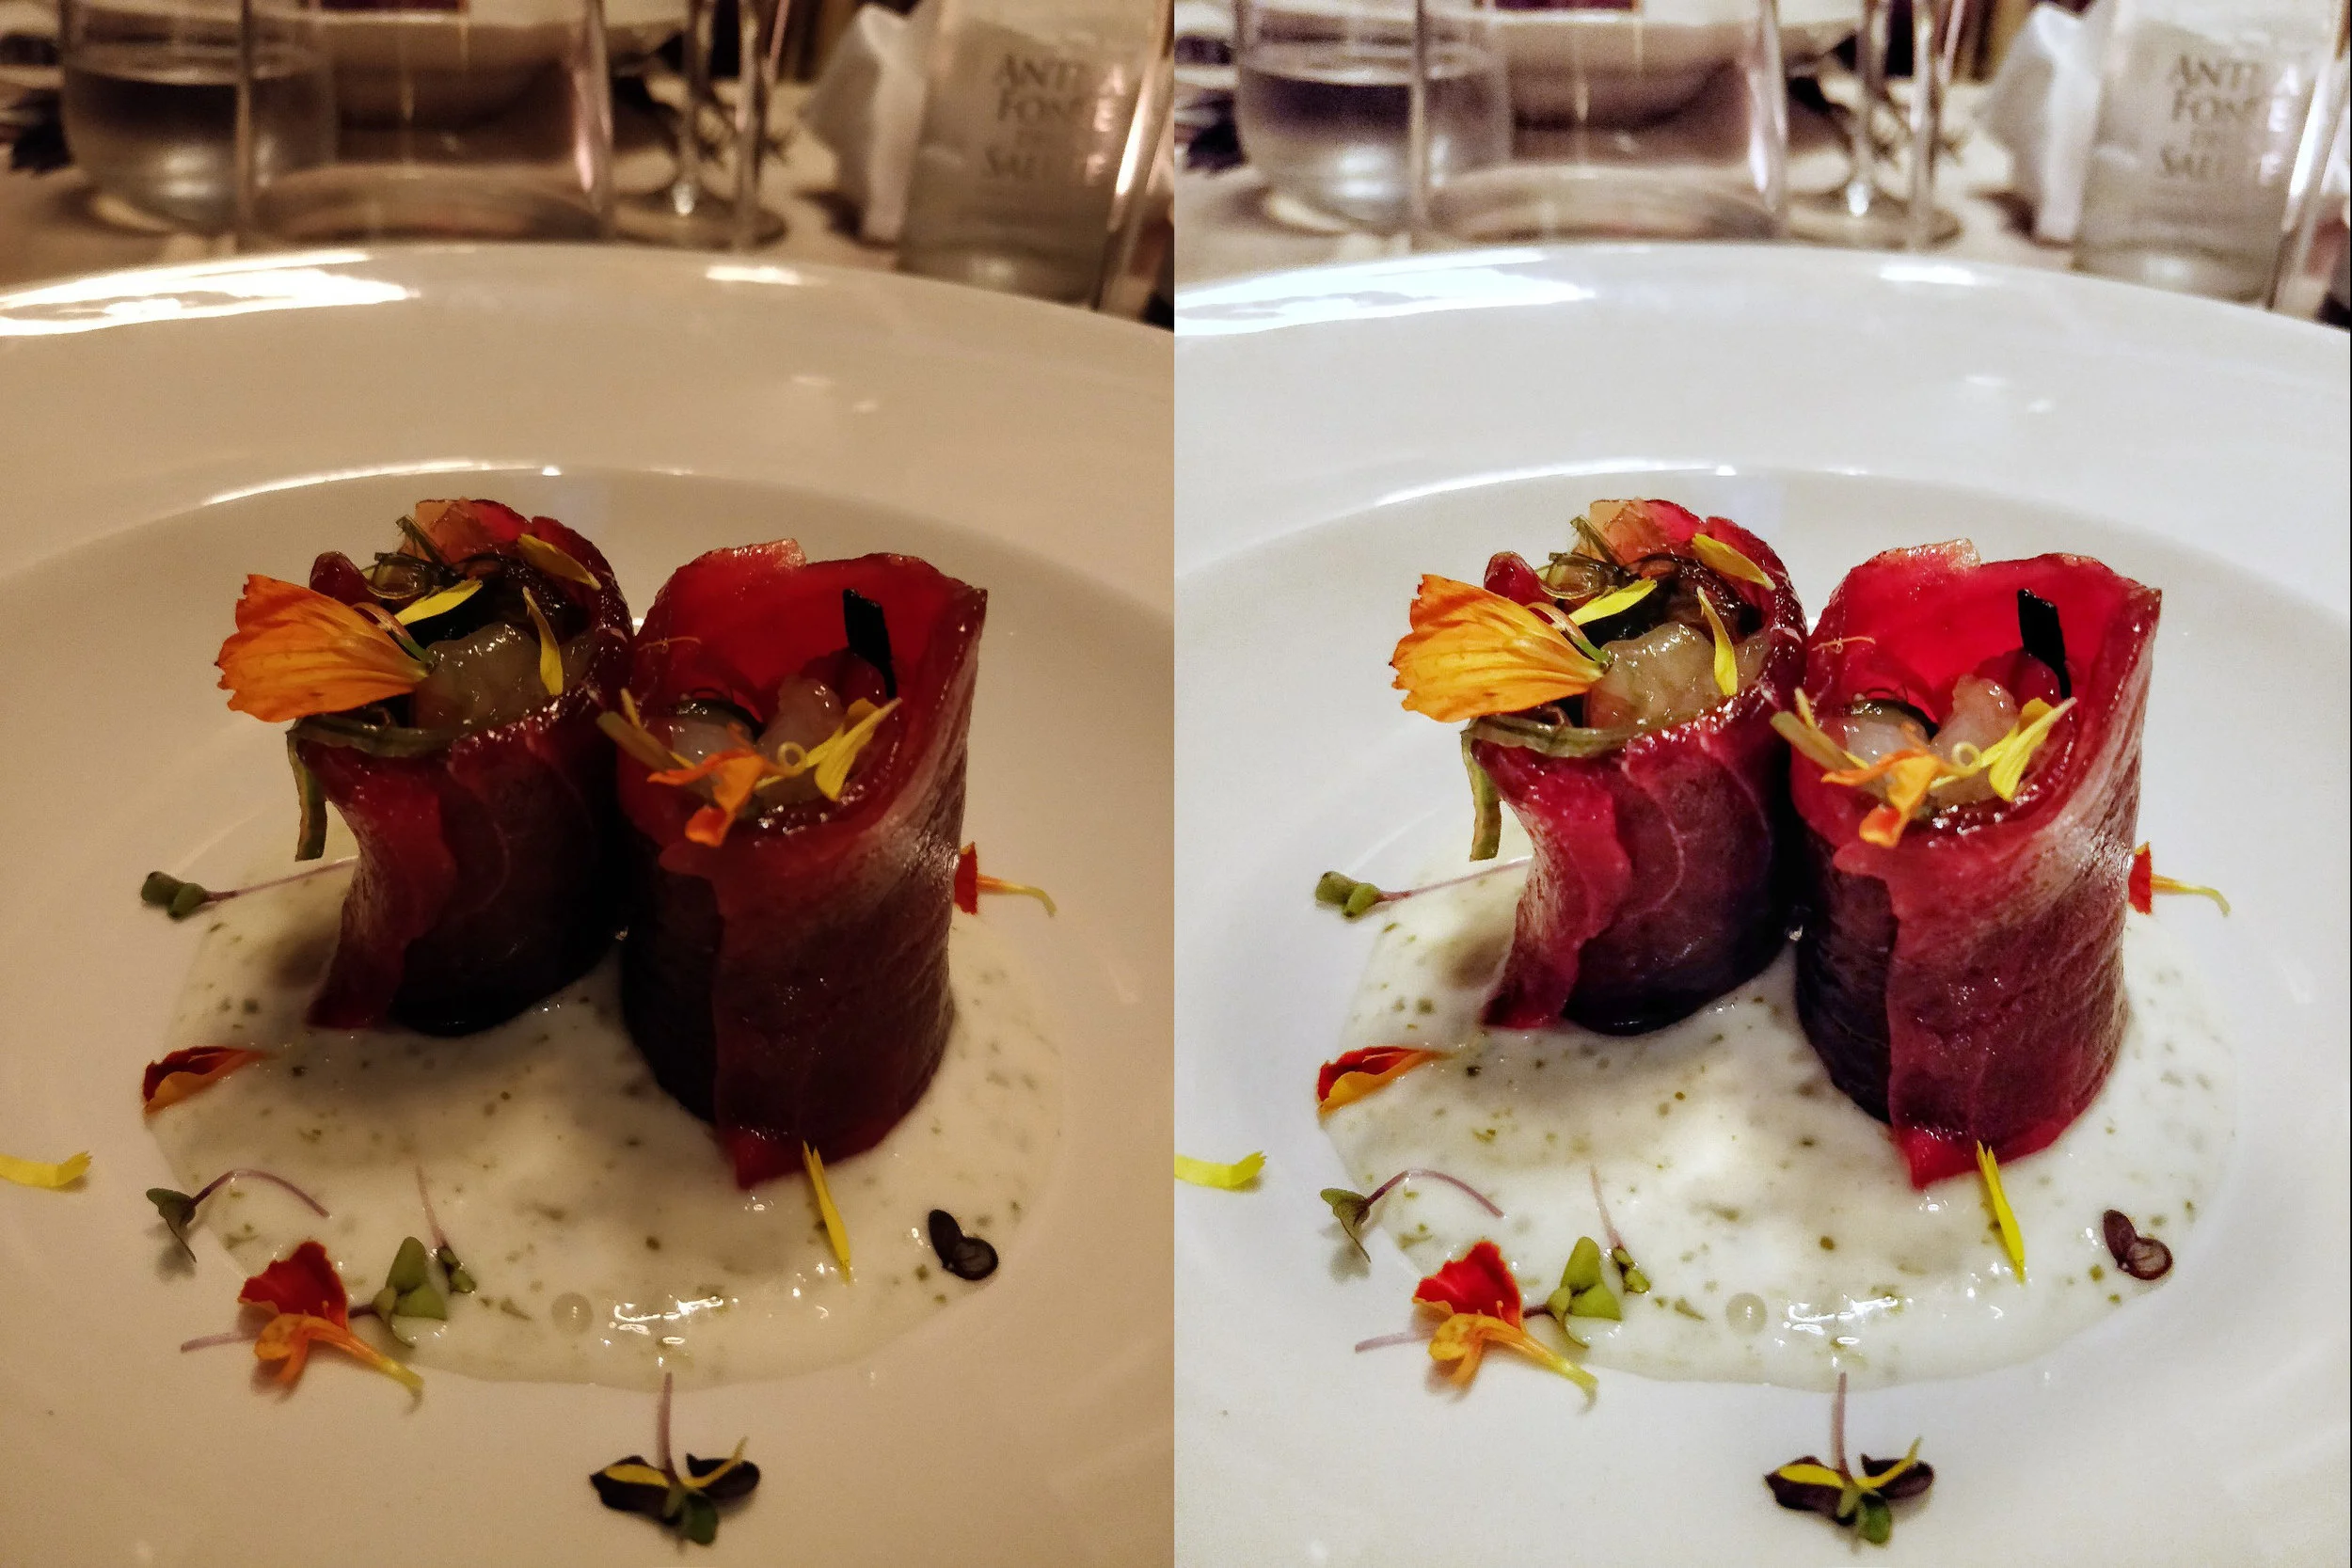
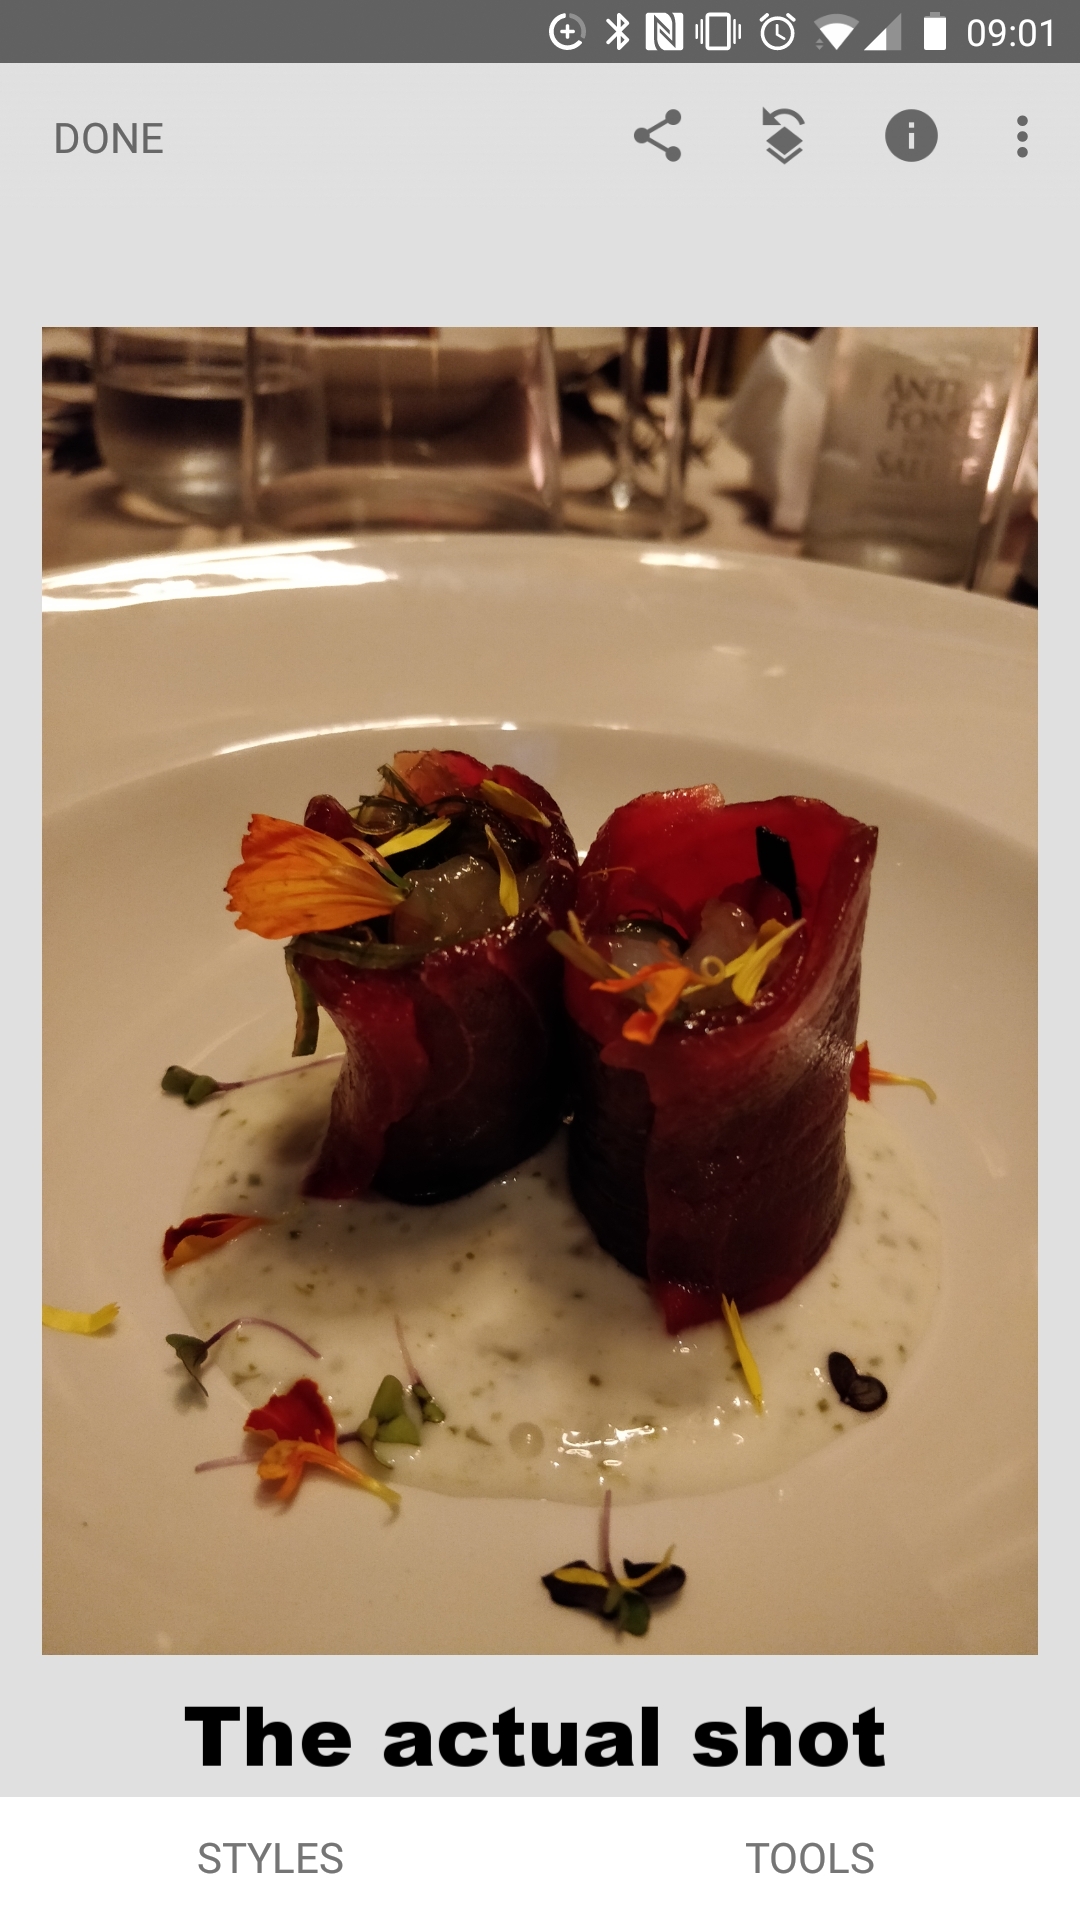
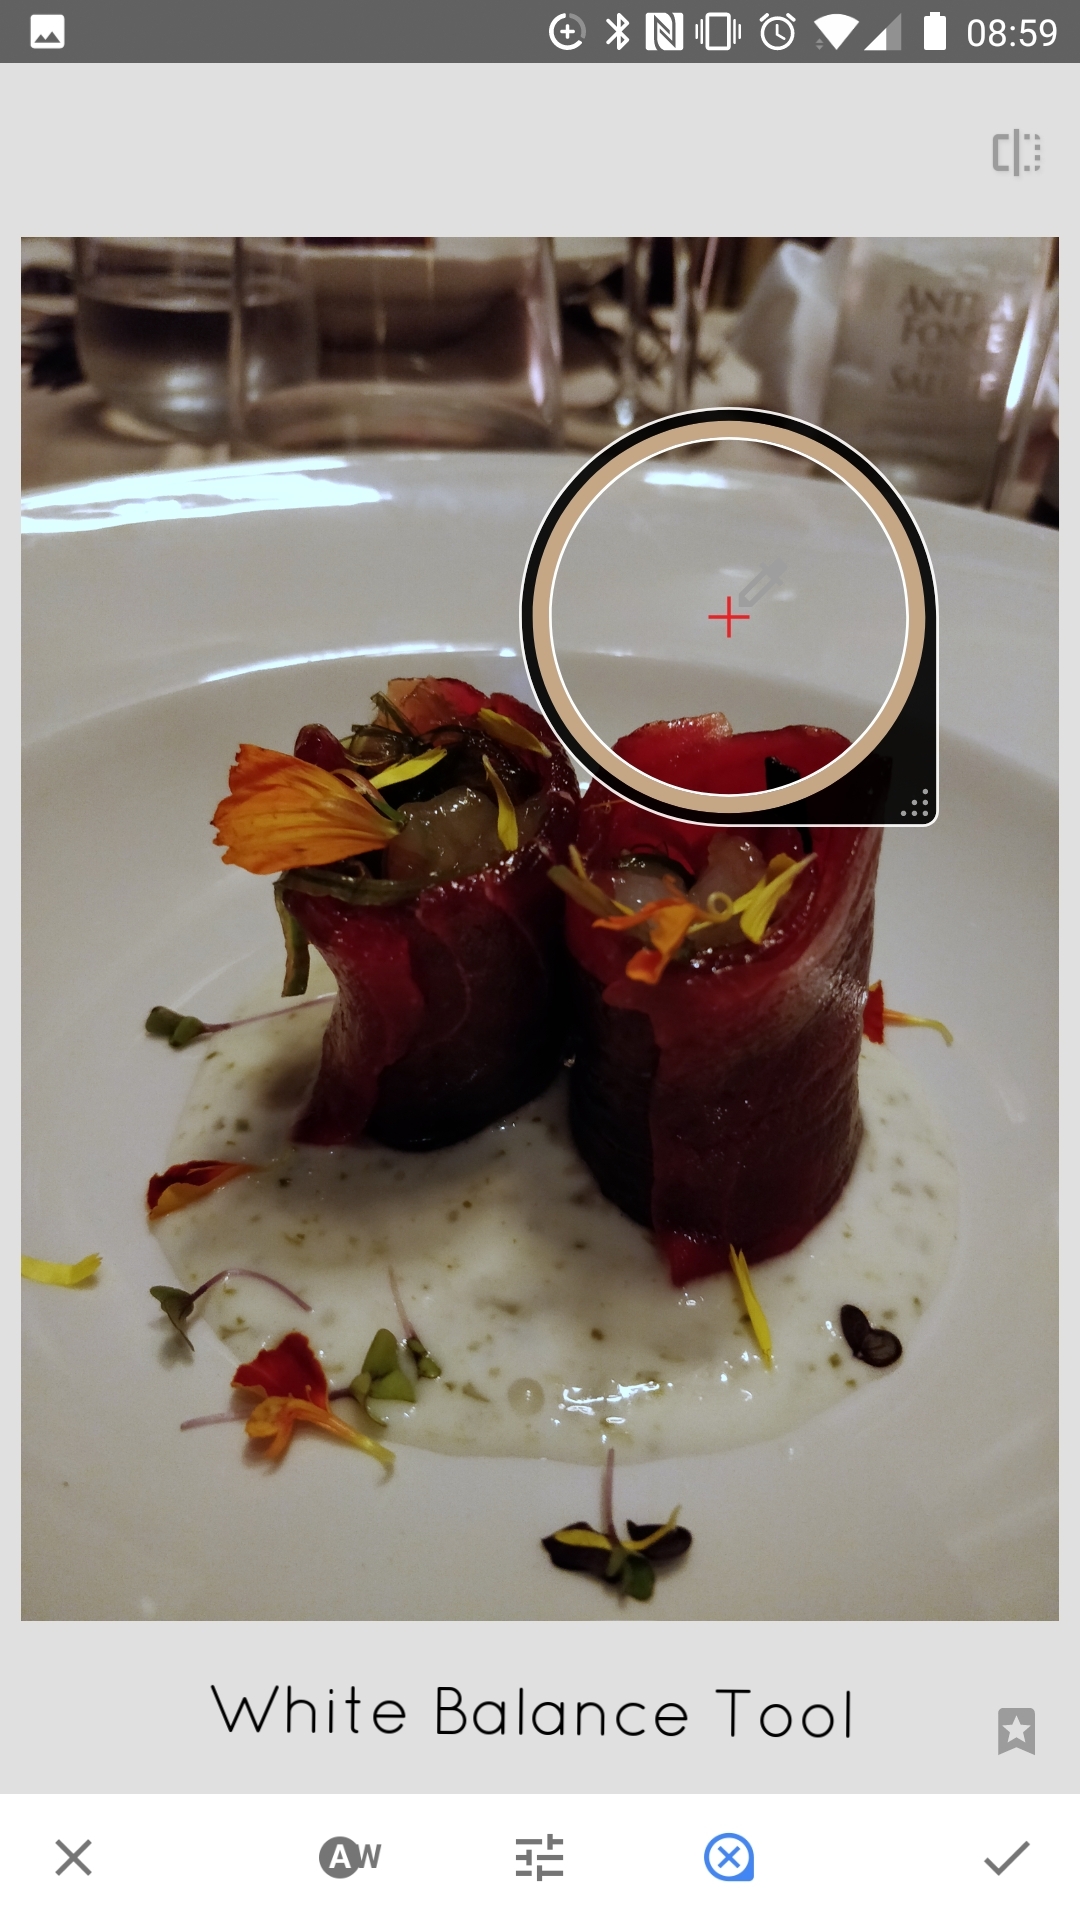
Madeleine: I always suggest to understand the light first as this can change everything in a photo. I love natural, candid looking photos so no real 'posing tips' from me but I do love that slight chin up which makes my jawline much more defined, again this all depends on the light and lens that the photographer is using.
Claire: There's no one pose fits all.. it's important to keep in mind that every shoot has a particular theme so the body movements and poses must always reflect that particular style.
Stephanie: Yes try to keep moving between shots and relax to avoid looking unnatural or stiff.
Blanka: Train, watch other professional models and practise! It is not about any talent but simply practicing and hard work. Some (especially ecommerce shootings) are long and staying in one position might soon get very painful. It is good to train your body regularly to be fit and stretched. The best for me personally seems to be yoga and pilates.
Posing depends not only on the client, photographer or a specific styling, but also on a country where you work. Check out some posing videos from China!
Poses are very important and my agencies were always telling me to train them in front of the mirror. I get inspired by editorials in big magazines too. Sometimes poses might look very funny in a real life, but on a final photo they might help a lot to present the clothes - many models want to only look beautiful, but in fact they should realise we are most if the time just good looking hangers and we must help the client to sell his clothes
"If you had to be a photographer for a day, and your model would be a local photographer of your choice - who would you choose?"
Madeleine: Haha! This is an interesting question since I've never really thought of photographing a photographer. From my perspective I would definitely go for Mia Sarah, I love her features and I bet we could create some interesting shots!
Claire: Gary Bugeja - i have worked with him a lot throughout the past year and have always been intrigued by his style of photography. I'm curious to know how his photography style would be translated into modelling if the lens were flipped on him.
Stephanie: You, Kurt Paris
Blanka: Hahah, hard question! I would probably pick someone with a good sense of humor because having fun in the most important thing for me at work.