I have been a long OnePlus fan, i’ve owned the OP3 and then the 5 which i’ve kept for the past while, hoping for a refreshed camera experience - which was one of the main reasons for me to typically update the phone.
Since the OnePlus 5T, they have stuck with a borderline useless combination of cameras (even though admittedly the main camera was improved in the 6). Camera output was pretty decent and overall the photo quality was not bad. The problem arises when you look at what is possible today from other manufacturers.
This review was done using a Huawei P20 pro which i bought with my own money.
Tl Dr
The Huawei P20 pro has a fantastic camera with the main sensor being pretty huge - even though not all the features work as you might expect. Processing tends to be a bit on the heavy side, and doesn’t seem to be OIS on the main sensor. It’s also a great phone with good battery life and user experience if you can deal with some Huawei oddities on top of the stock android experience.

How is the P20 pro as a phone?
Photography aside, the phone itself is good. Comparing to my Oneplus 5, performance is pretty much on par with any other Snapdragon 835 device and screen is more detailed. There is a small difference between 1080p screens and 1440p - it’s not huge, but it’s there. Battery life is amazing - i’ve recently spent most of the day travelling and got home with 35% battery despite 7 hours of screen on time, 2 hours of stored Netflix and hours of music streaming. The only negative experience is the software - Even though EMUI is usable, it’s not as smooth as the native google experience, or lightweight skins like OnePlus’s OxygenOS. One mindbogglingly annoying feature is that the double-click on the power button doesn’t load the camera. There is a double-click volume down option but that doesn’t work at all if you have music streaming. The device is also a bit thicker than OnePlus phones and whilst not a big deal for people with bigger hands (mine are quite small) - it is noticeable.
Let’s talk about the camera engineered with Leica
Being a photographer, i had some ideas about how each of the separate cameras in the P20 pro would work independently in the same way that i would use different lenses on an SLR camera for different things. The main mistake in this way of thinking is that not each of the lenses available has the same capable sensor.
So if we had to take a look at the 80mm lens/sensor in isolation - this tends to be a little bit too close when shooting typical portraits with a phone, but also there is a noticeable loss of quality if you use 3x zoom in pro mode (which i believe uses the 8MP zoom sensor exclusively). Doing a simple test where one lens is covered shows that expected behaviour but this is hardly foolproof since there might be other colour information being gathered from the other sensors.
Whilst the 3x zoom performance is perfectly fine, it is not as good as the results you get from the main camera - which are borderline insane from a phone. Dynamic range is solid, and fine detail is great. In good lighting, 40MP mode (the camera is set to 10mp by default) is pretty detailed - however the camera disables zoom when it is set to 40MP mode. This makes it pretty unusable since it would take way too much time to stay entering the settings menu every time i want to get at the zoom. It would have been 10000x better if the camera just automatically switched out of 40MP mode if you try to zoom…
The same issue arises when we talk about the dedicated monochrome sensor. To shoot in monochrome you need to slide all the way right into the “more” section and THEN select monochrome. The results are pretty nice.. but we’ve lost the large 40MP sensor again - so what we gain by losing the bayer filter, we lose by having the smaller sensor.
So if i had to look back, i wouldn’t buy this camera for the black and white or zoom modules on their own - in the sense that it’s not a good expectation to want to use these on their own. And in fact it’s together that this camera array really shines.

5x hybrid zoom. In hindsight i should have pushed this file a little less in post or removed some of the noise
5x Hybrid zoom (which at first i thought was: digital zoom - ugh) is actually pretty usable. Photos taken in the fully automatic “photo” mode have beautiful colours, dynamic range i’ve never seen in a phone before and very satisfying detail. Some of the other ‘magic’ modes like night mode or water trails are harder to use since they involve stacking multiple shots together behind the scenes… but if you have a stable base (even good hand holding works) then the results can be pretty epic.
The Fake Bokeh(tm) mode we find in all modern phone cameras is mostly at par with other phones. I think the Pixel is by far the best in this space but realistically they are all going to be hit or miss at times. Whilst it is not perfect, the P20 pro hasn’t performed horribly here.
Autofocus is pretty accurate and the only times it’s gotten confused what when i was shooting through glass… but other than that it’s pretty instant.
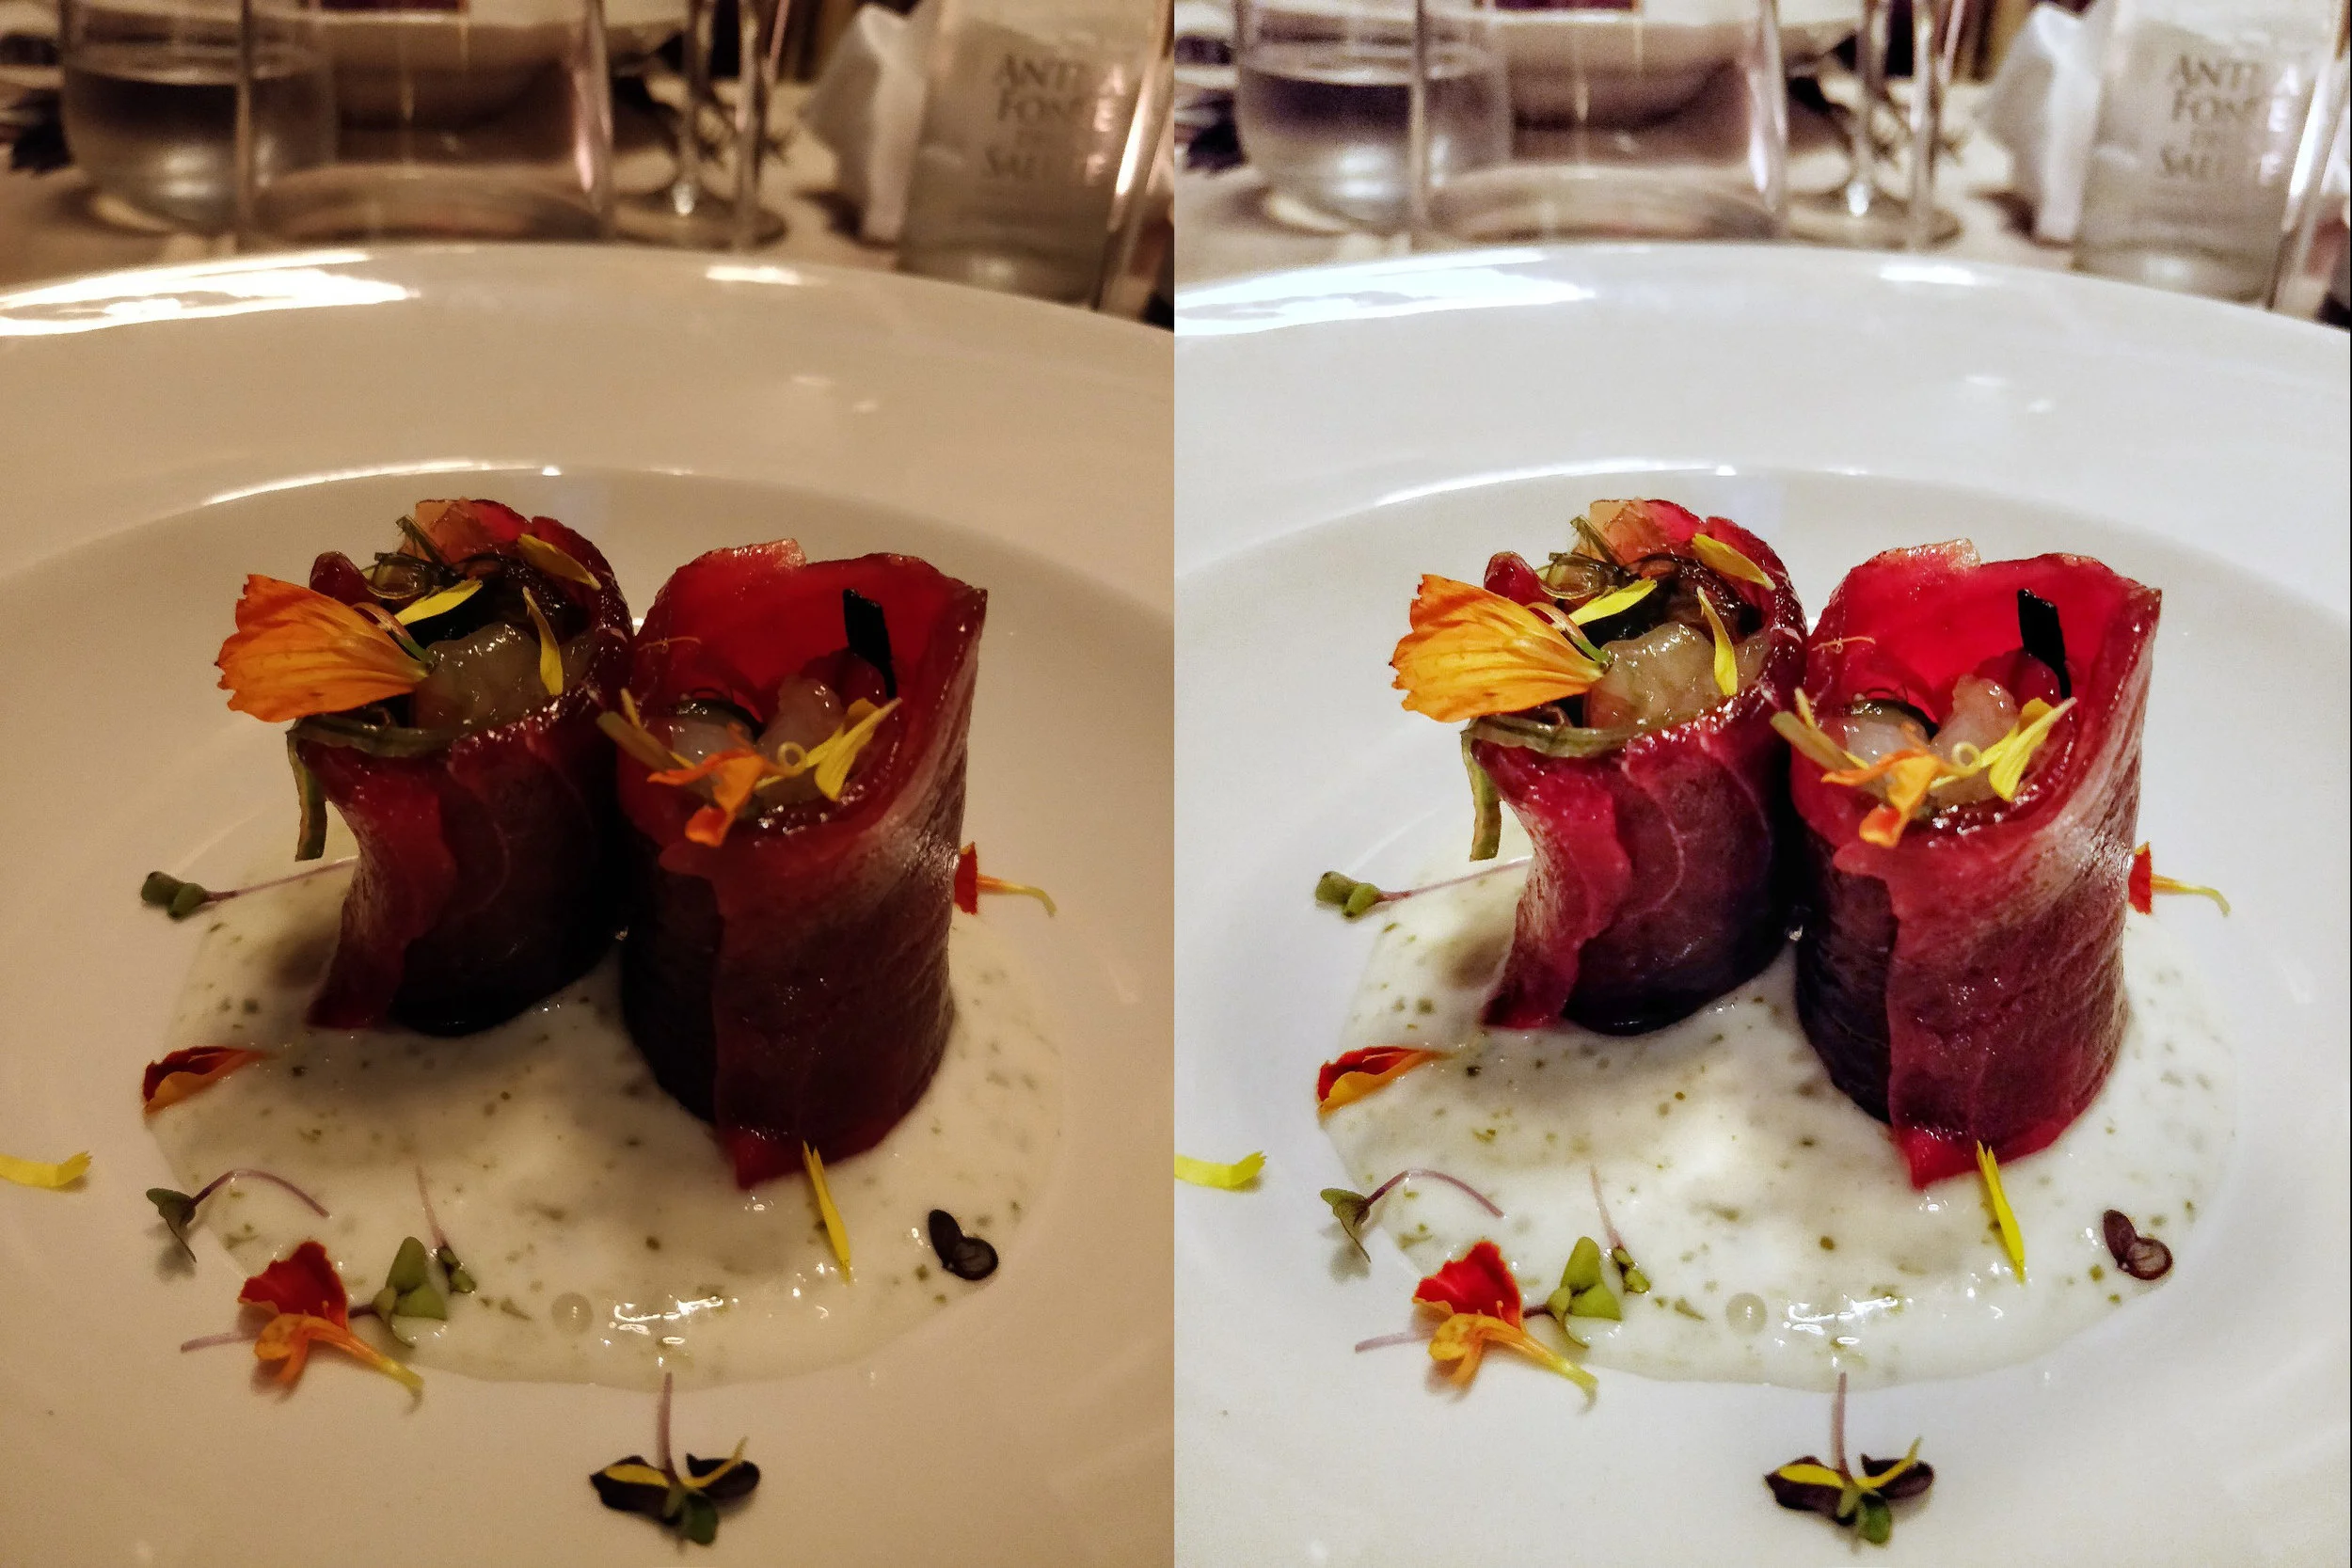
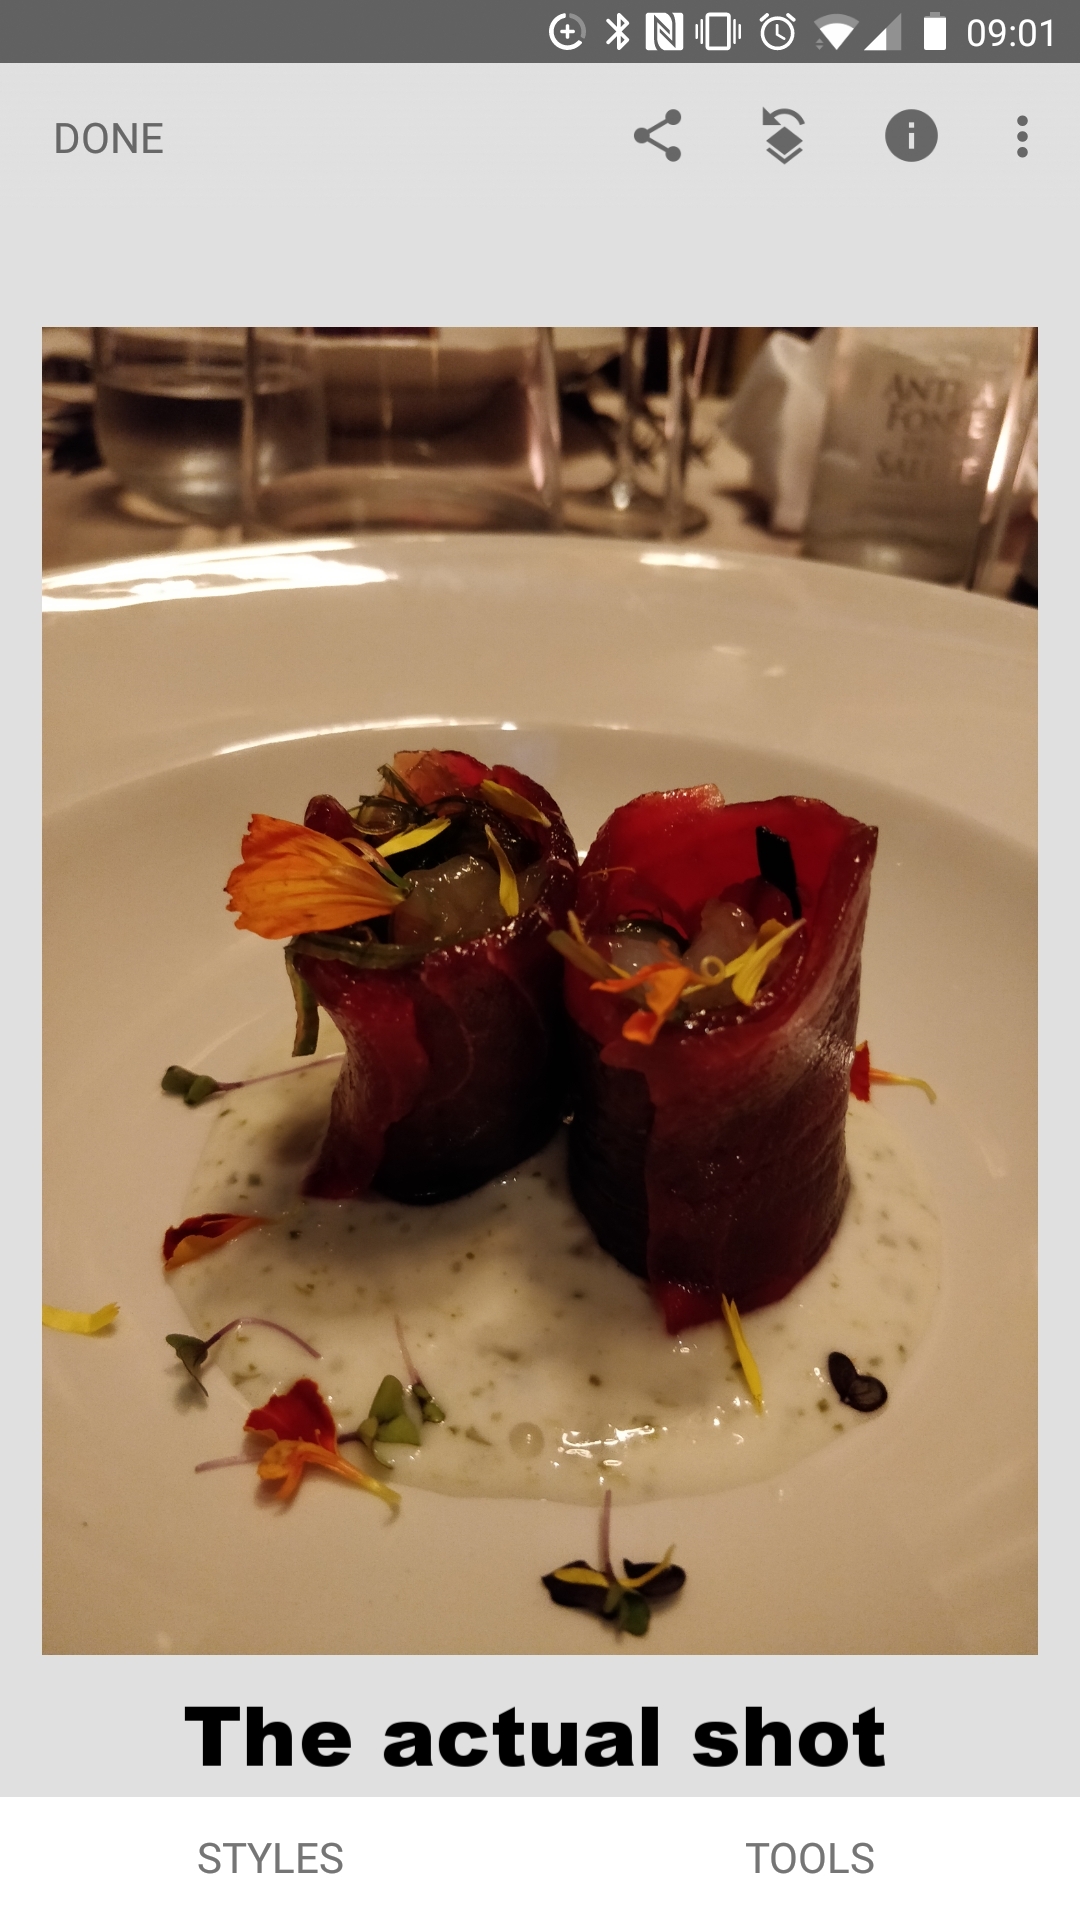
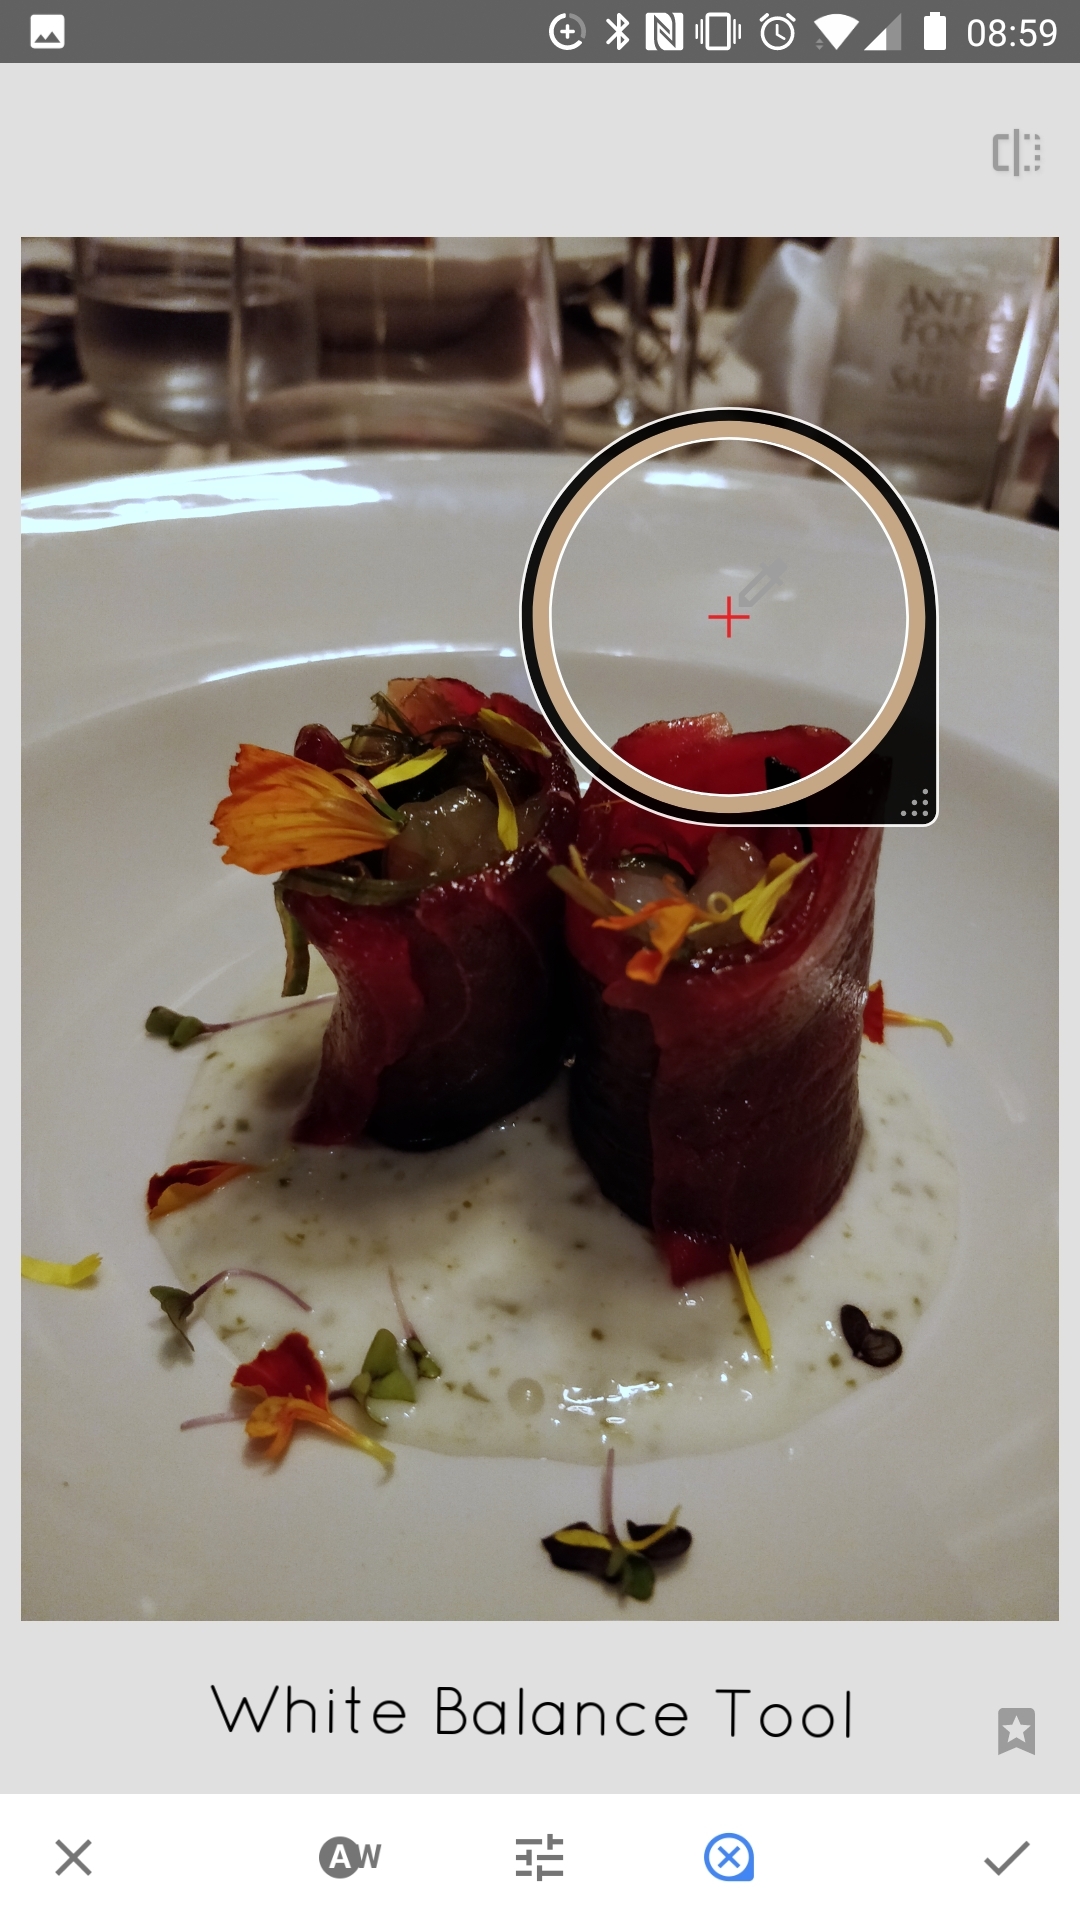
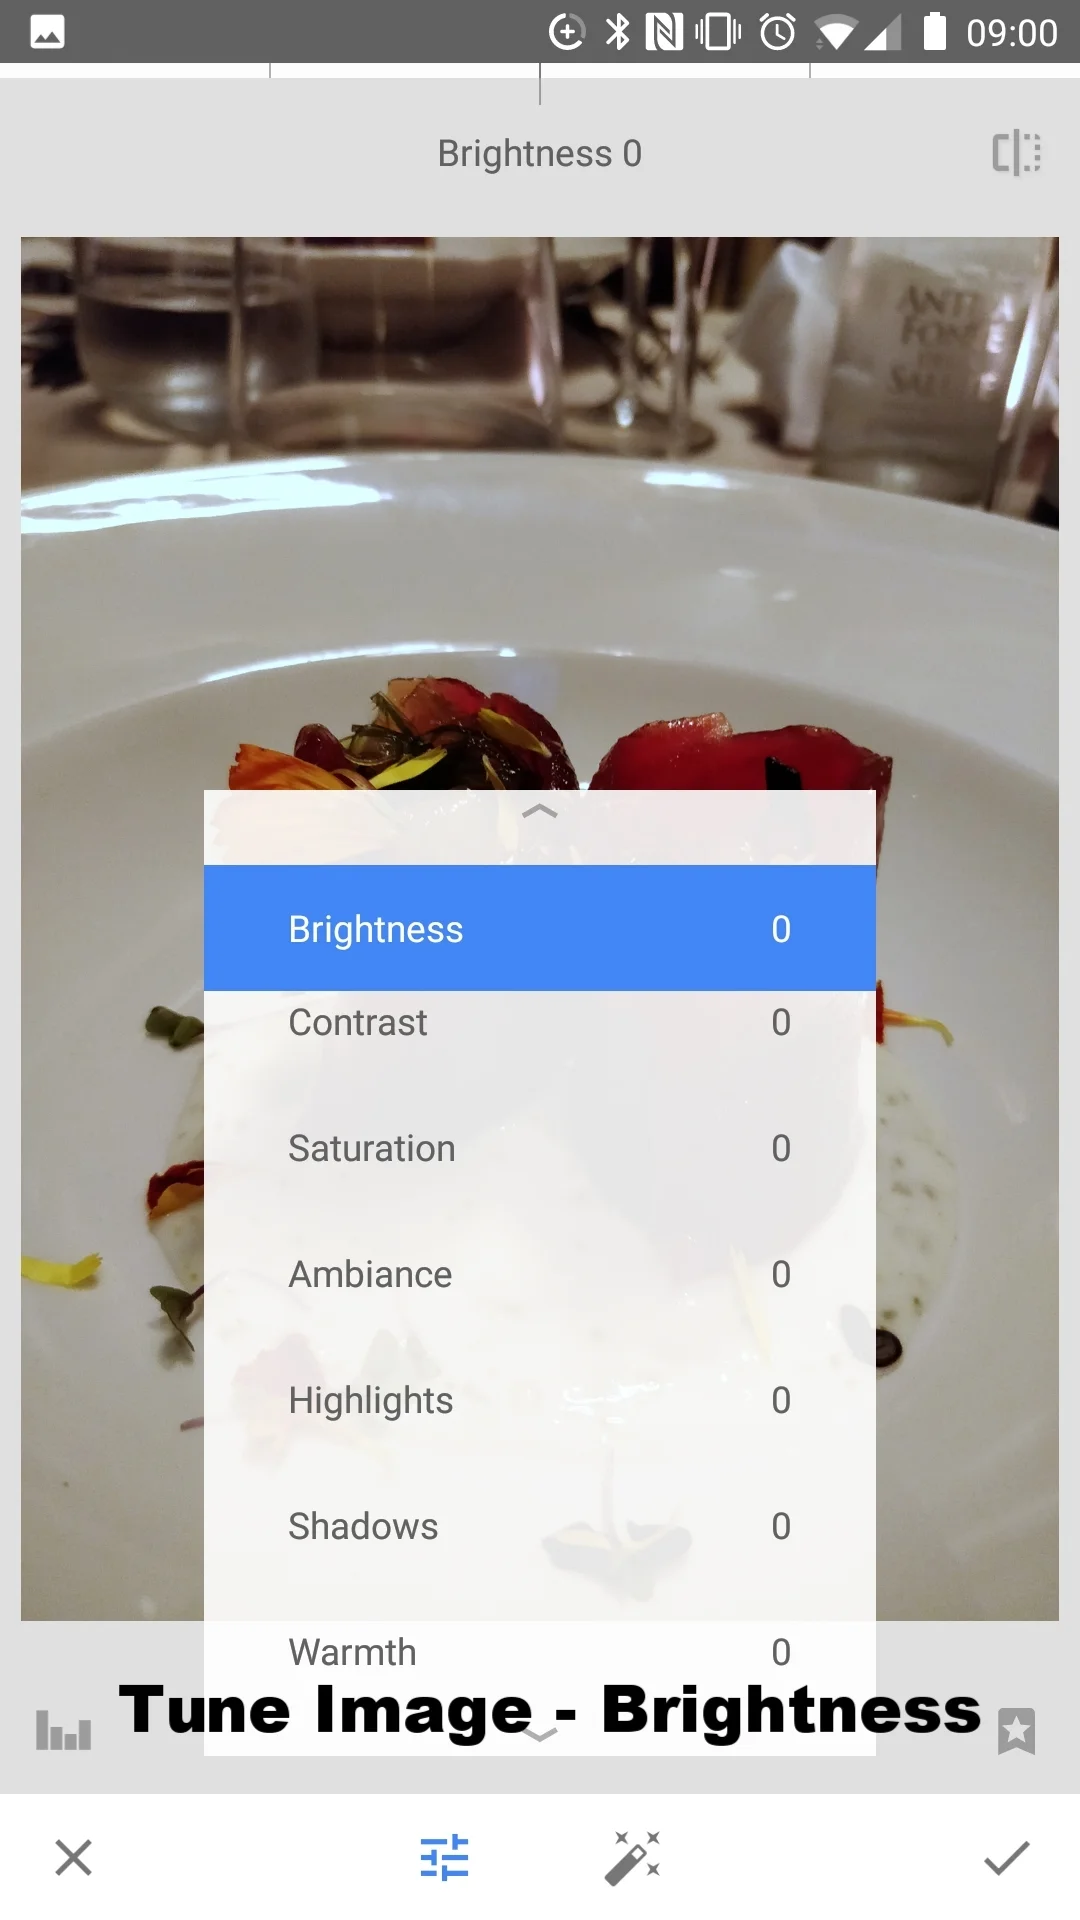
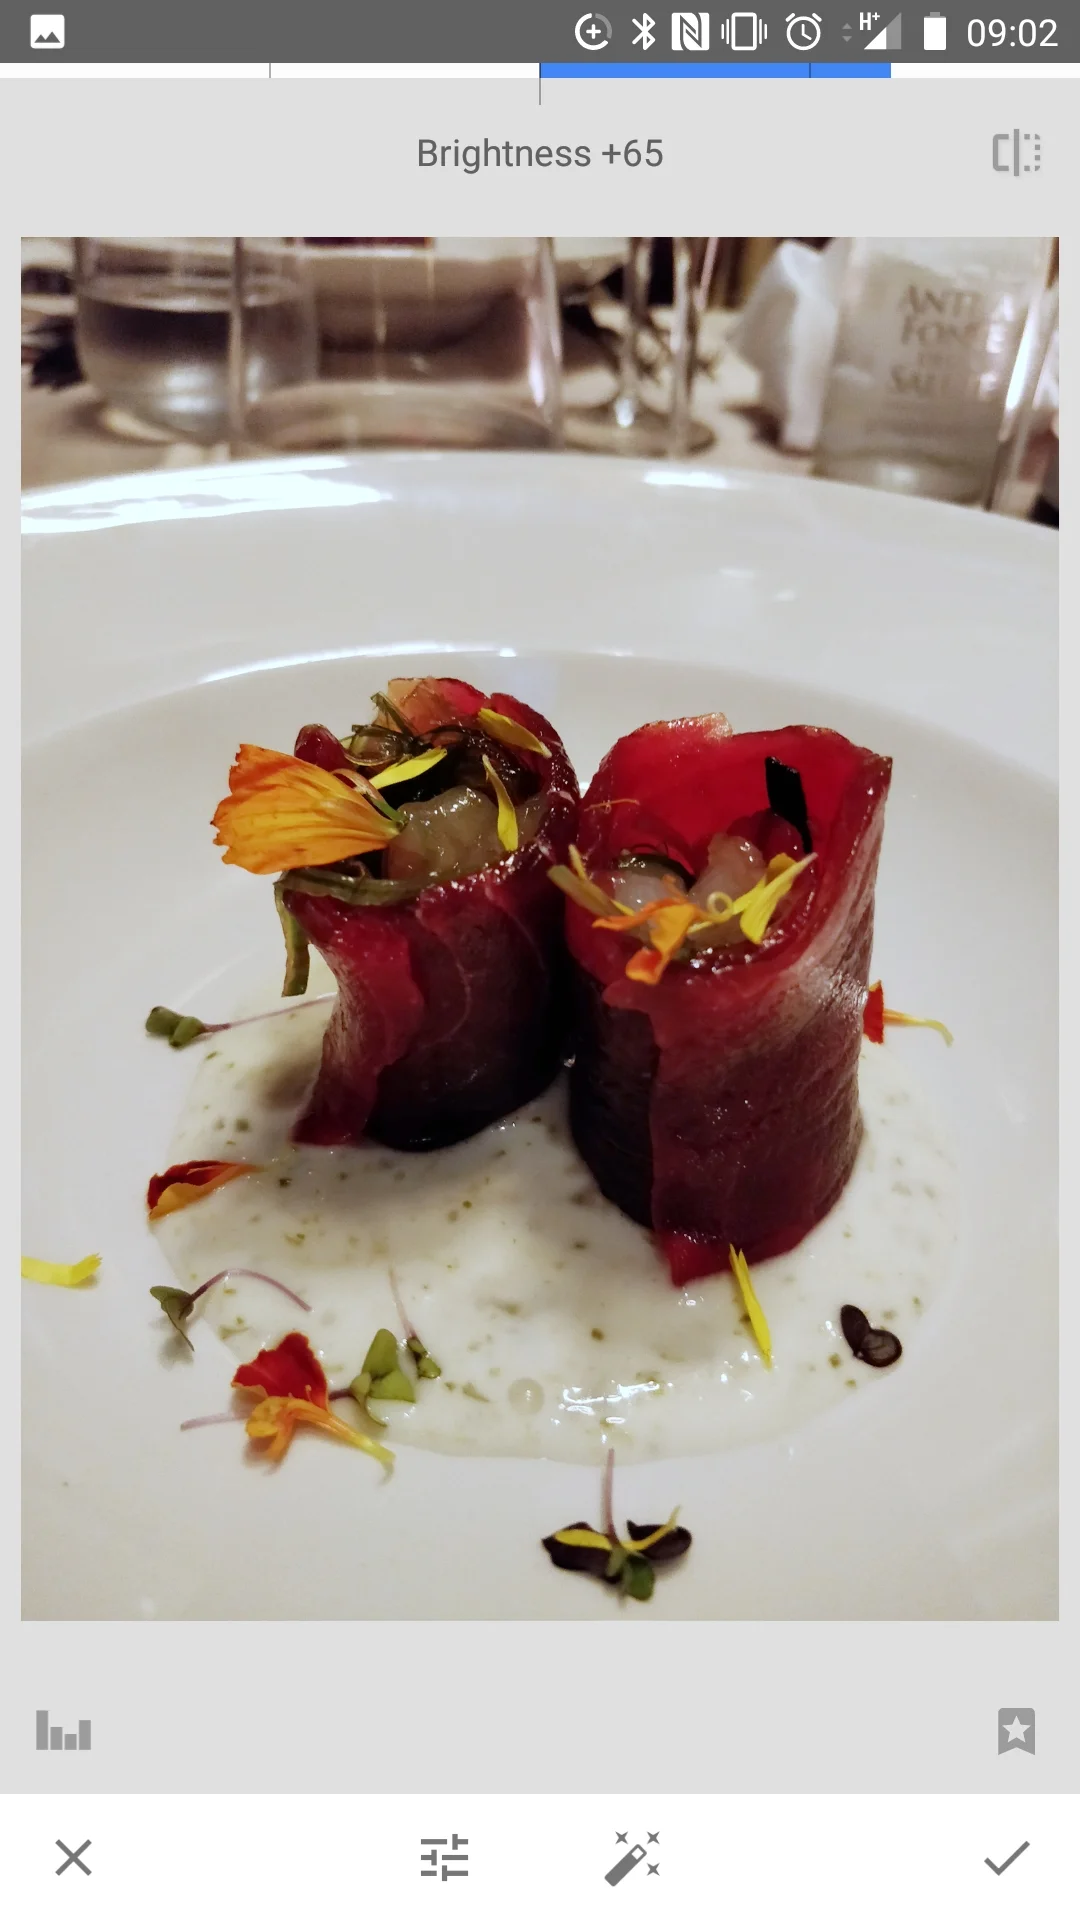
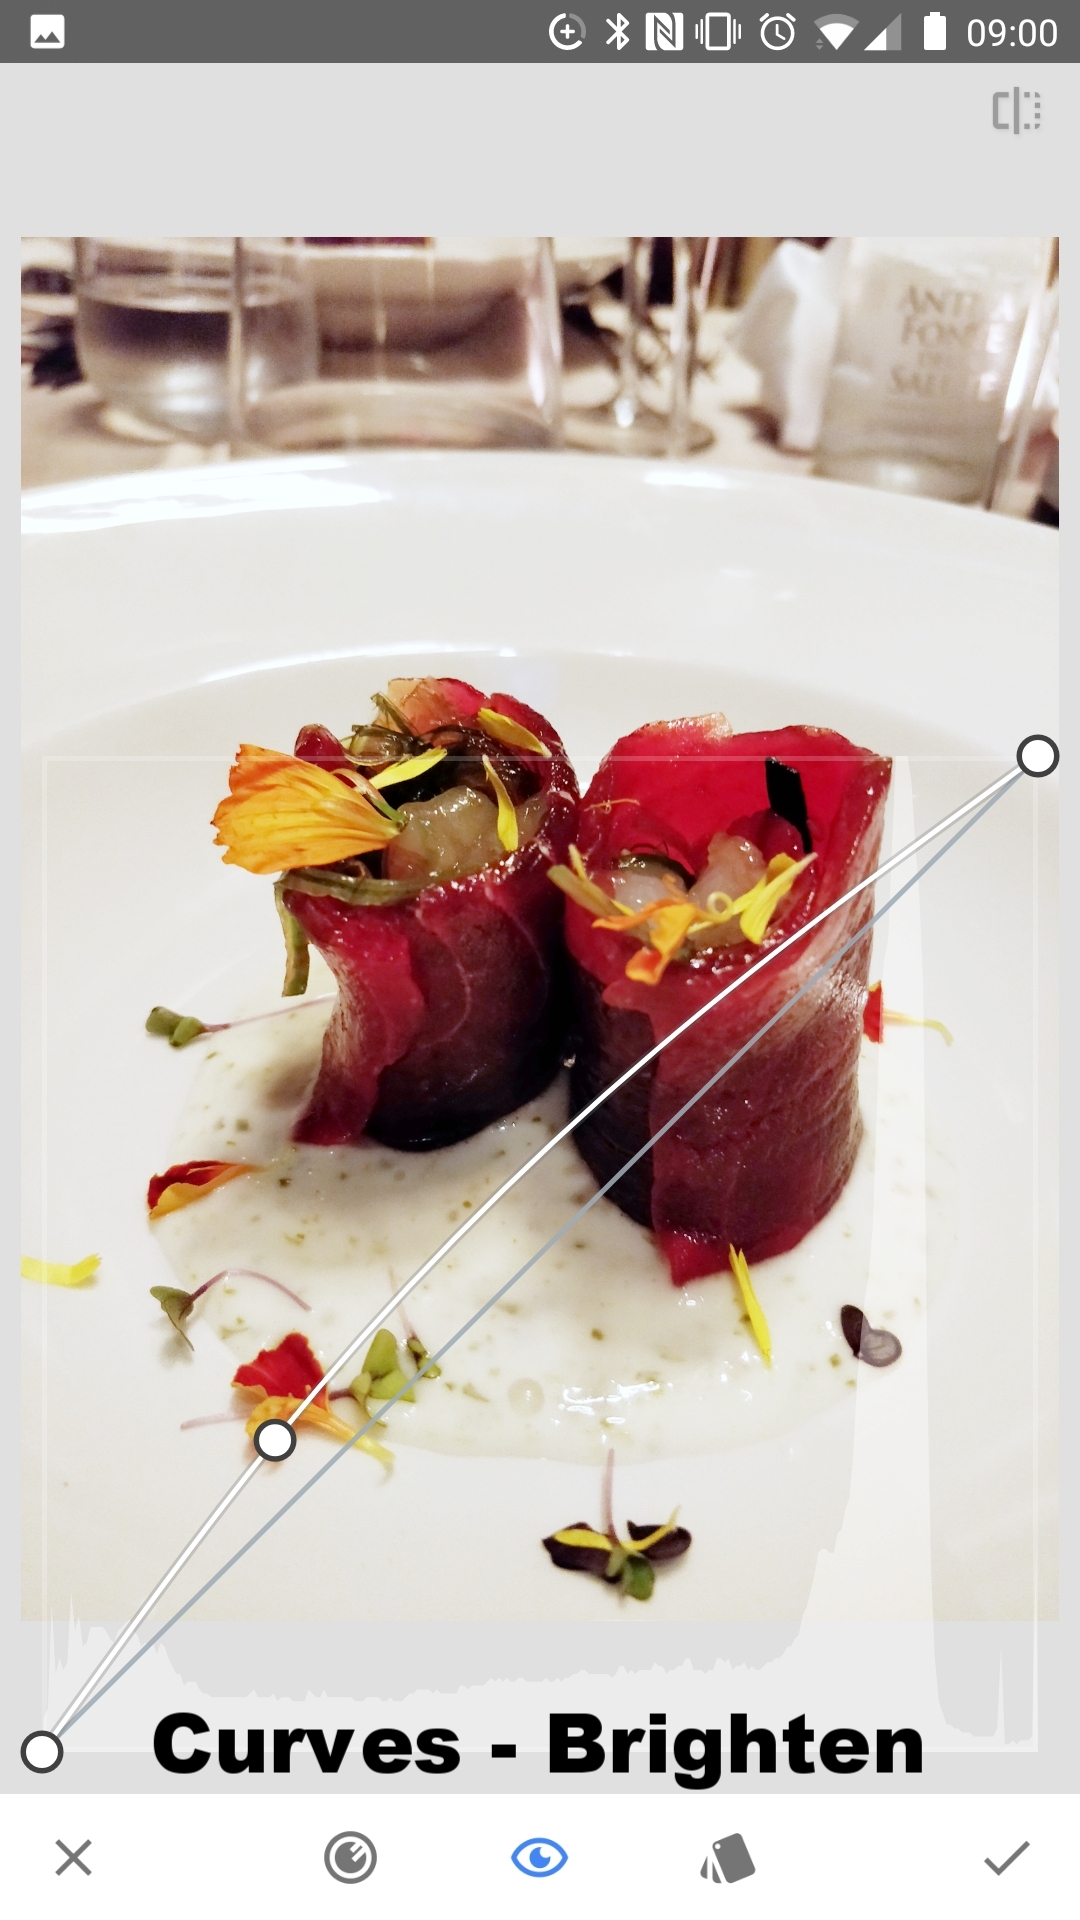
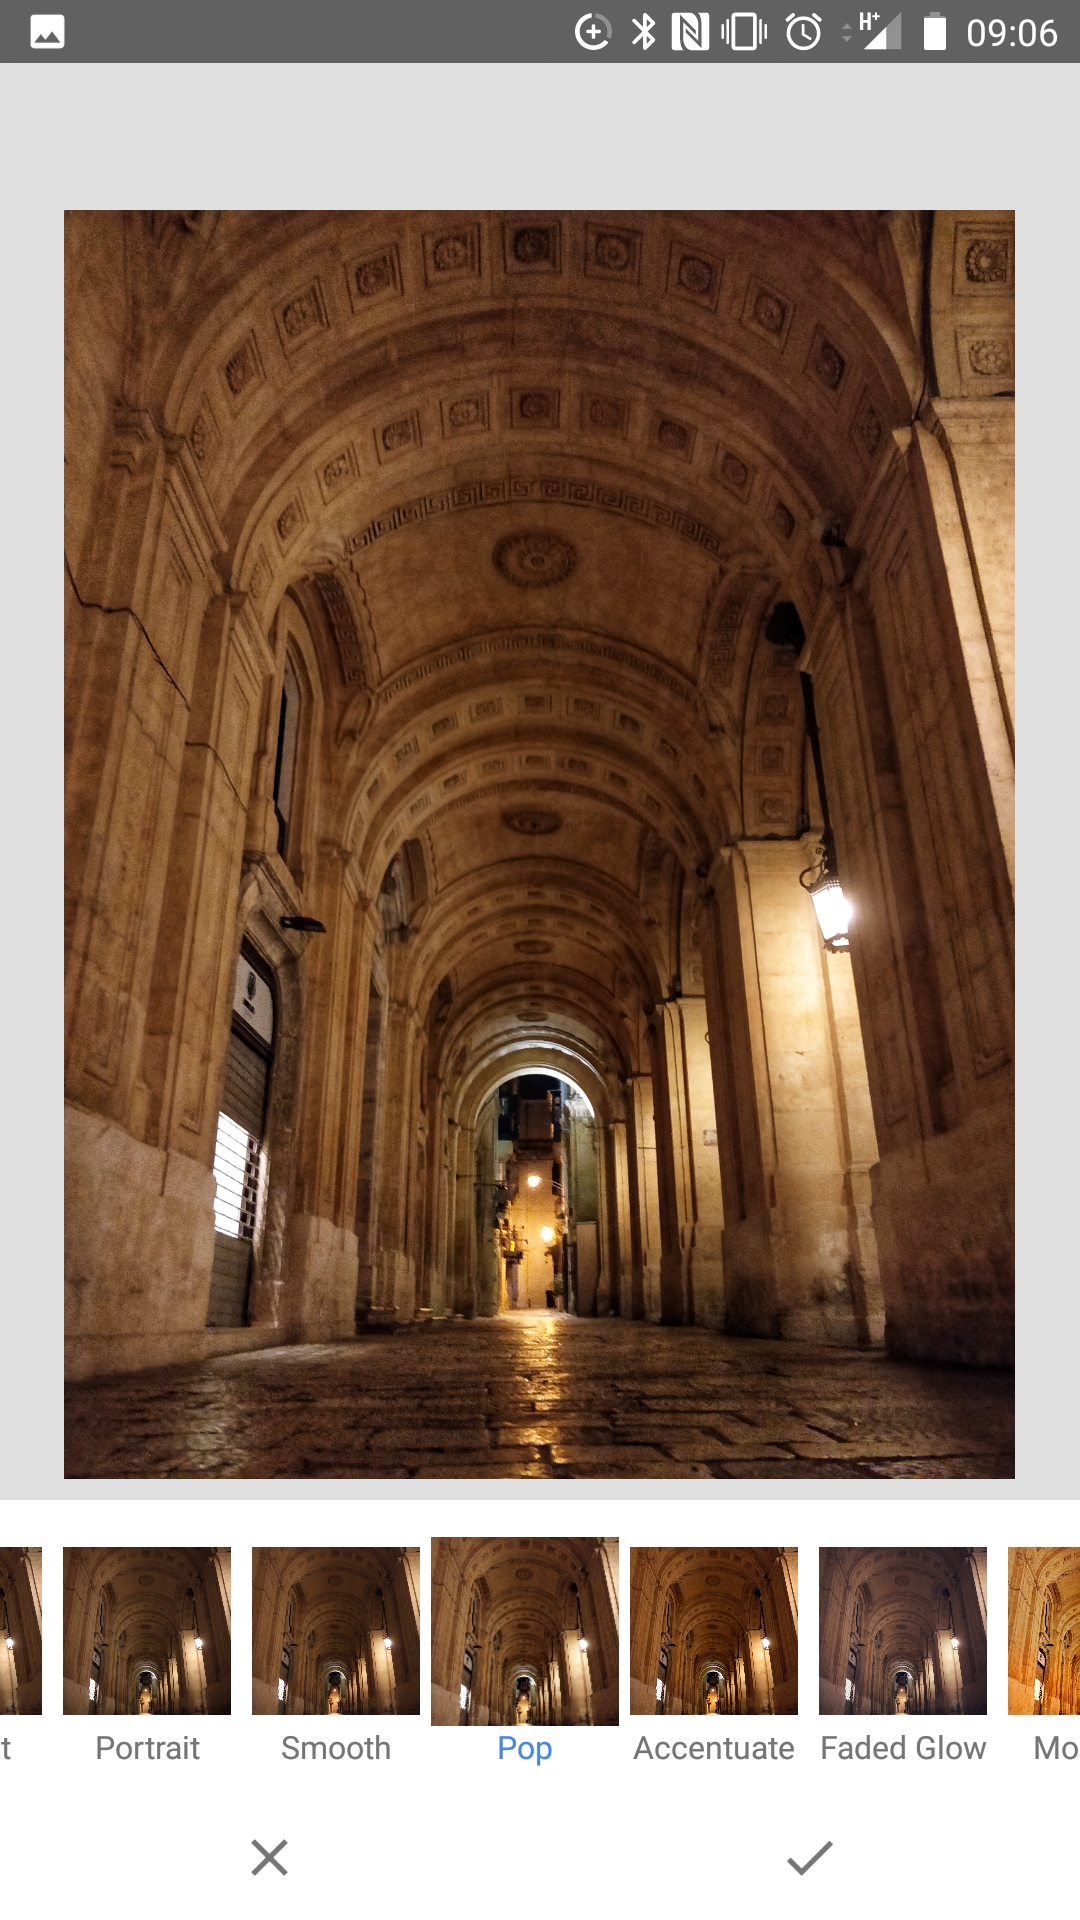
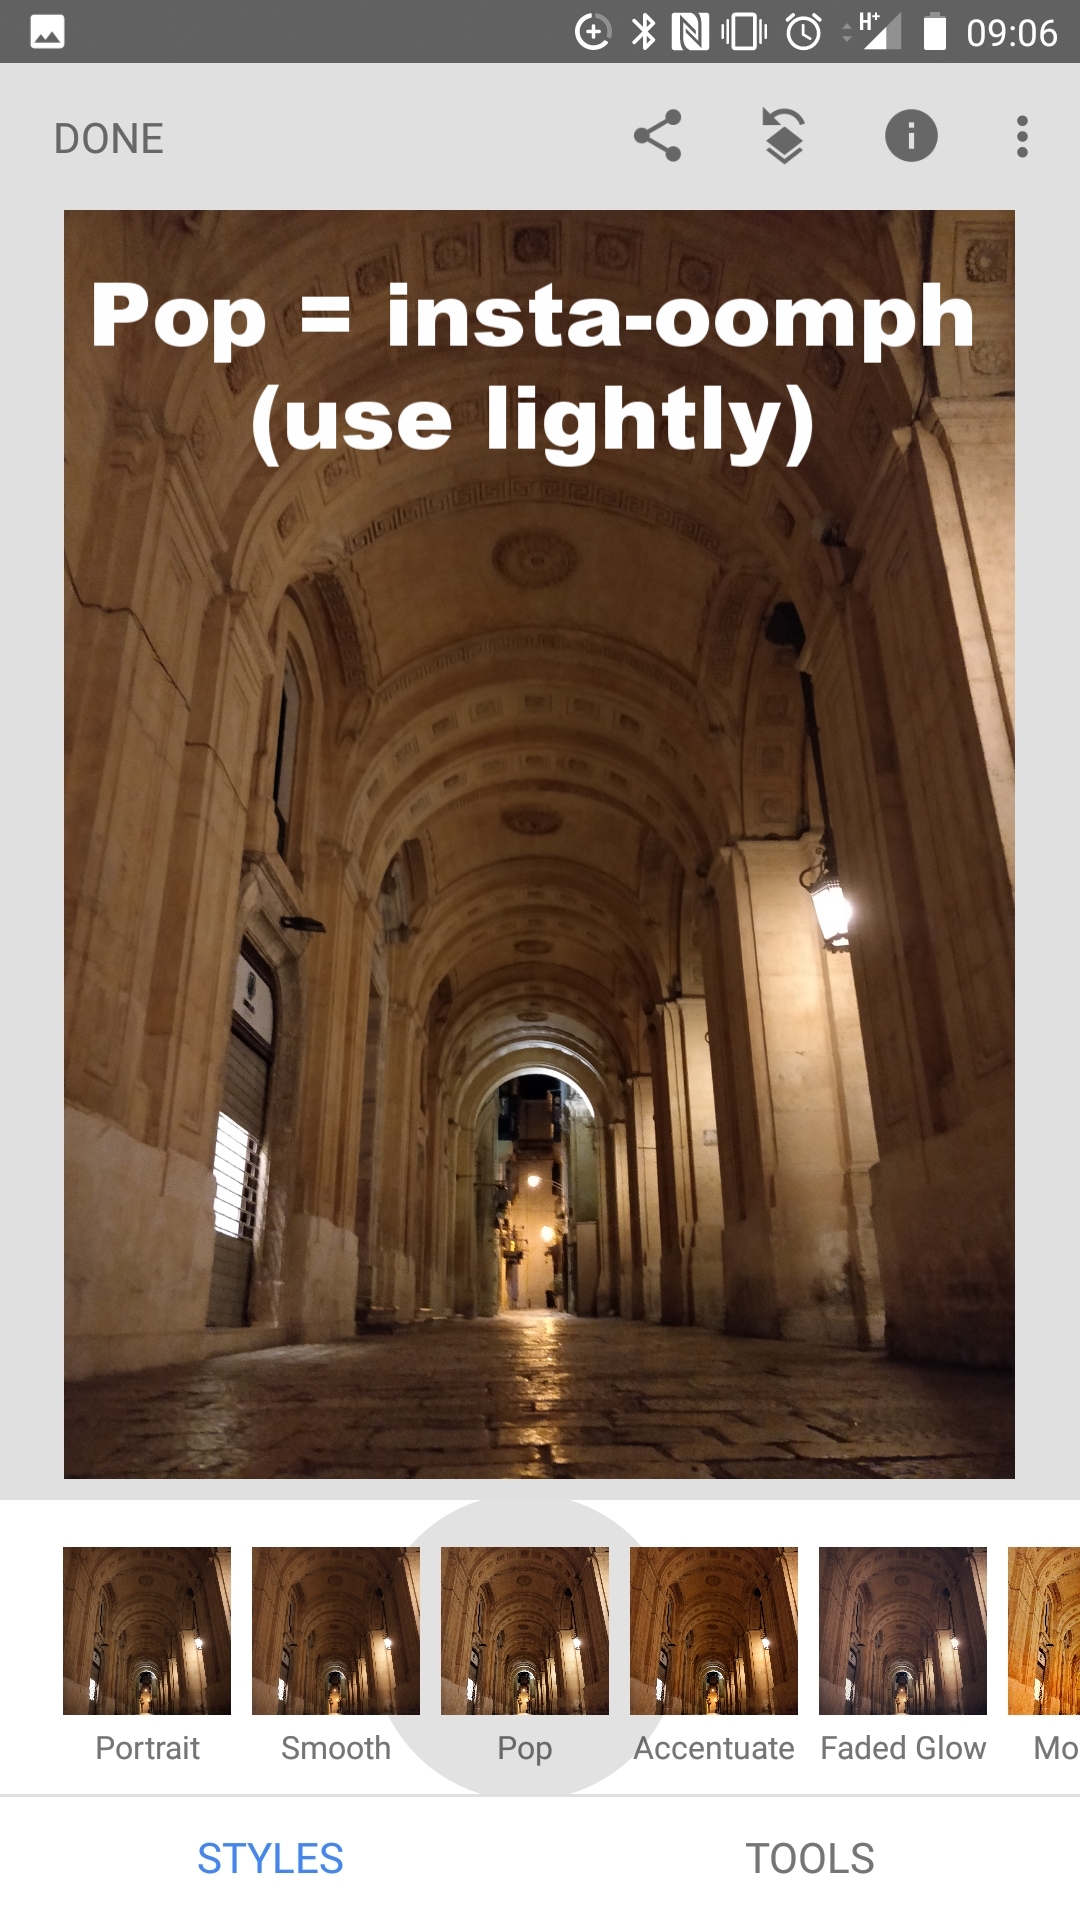
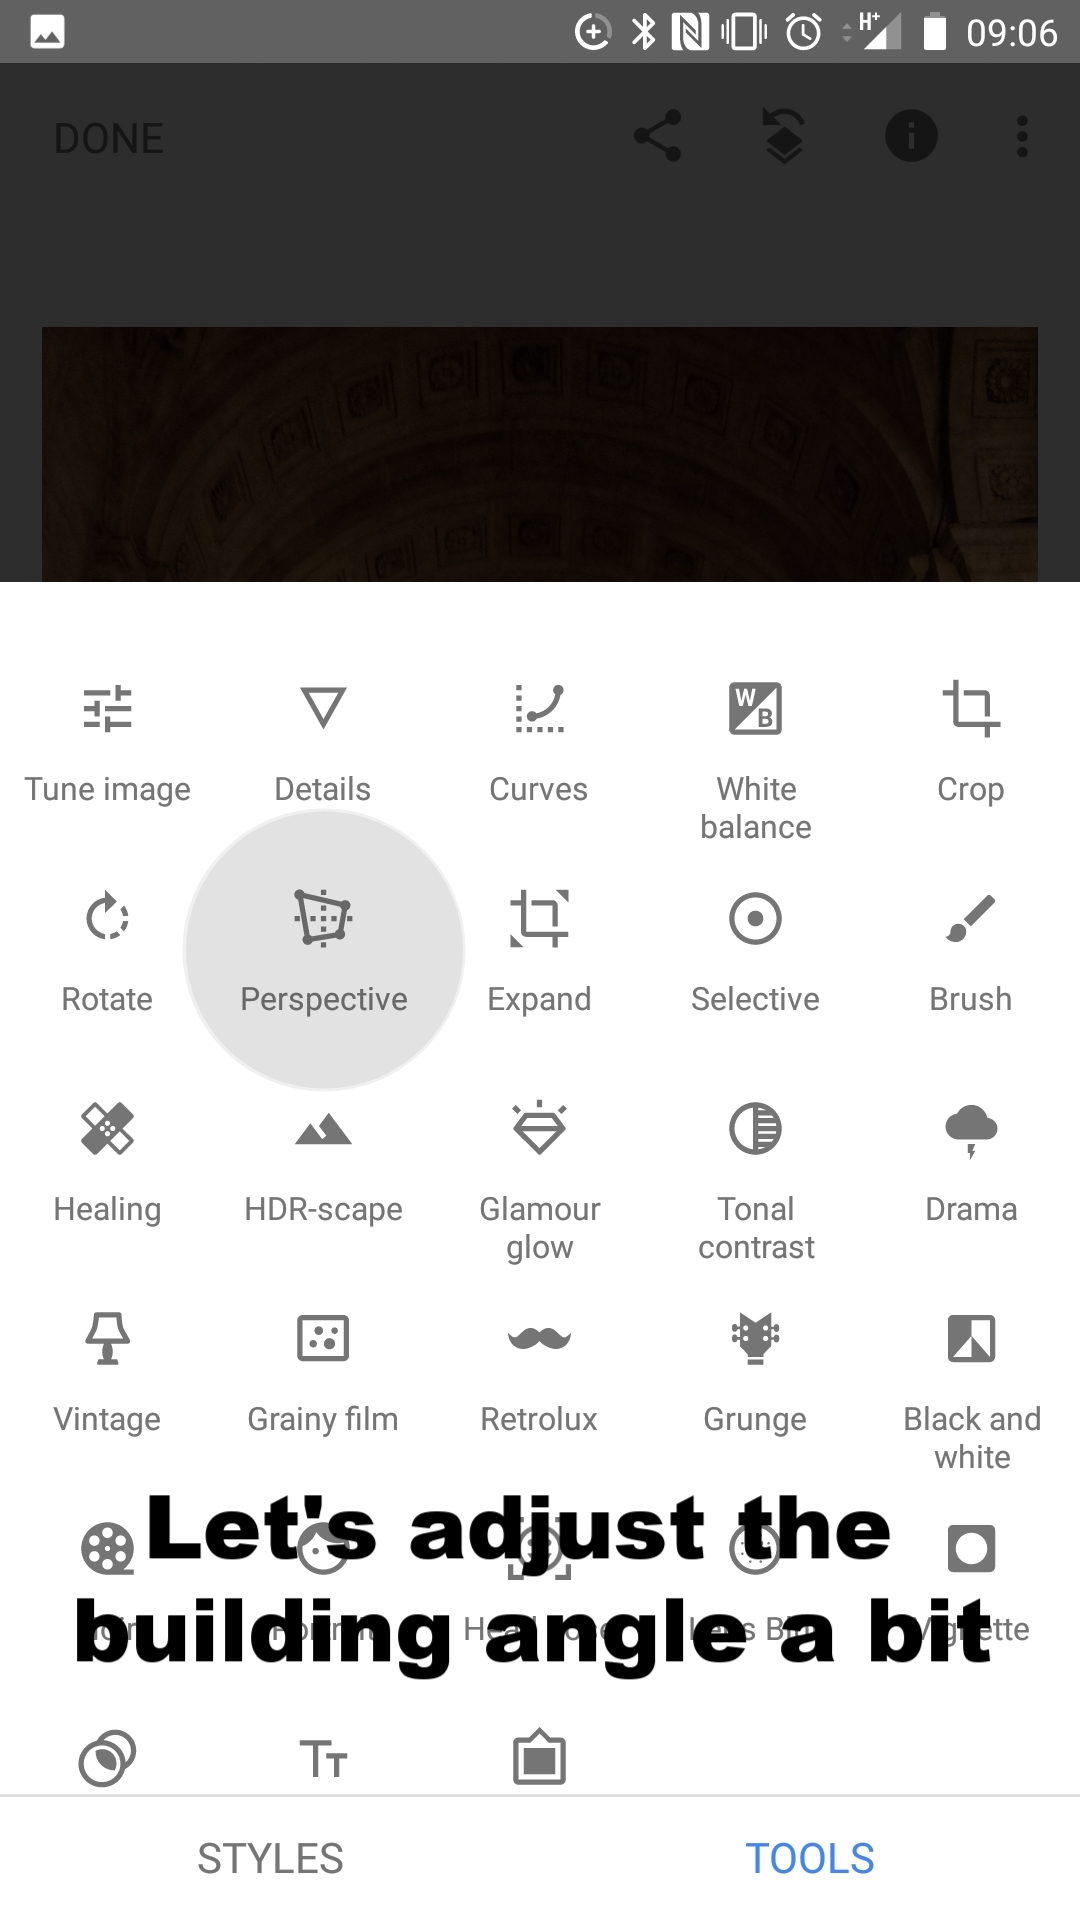
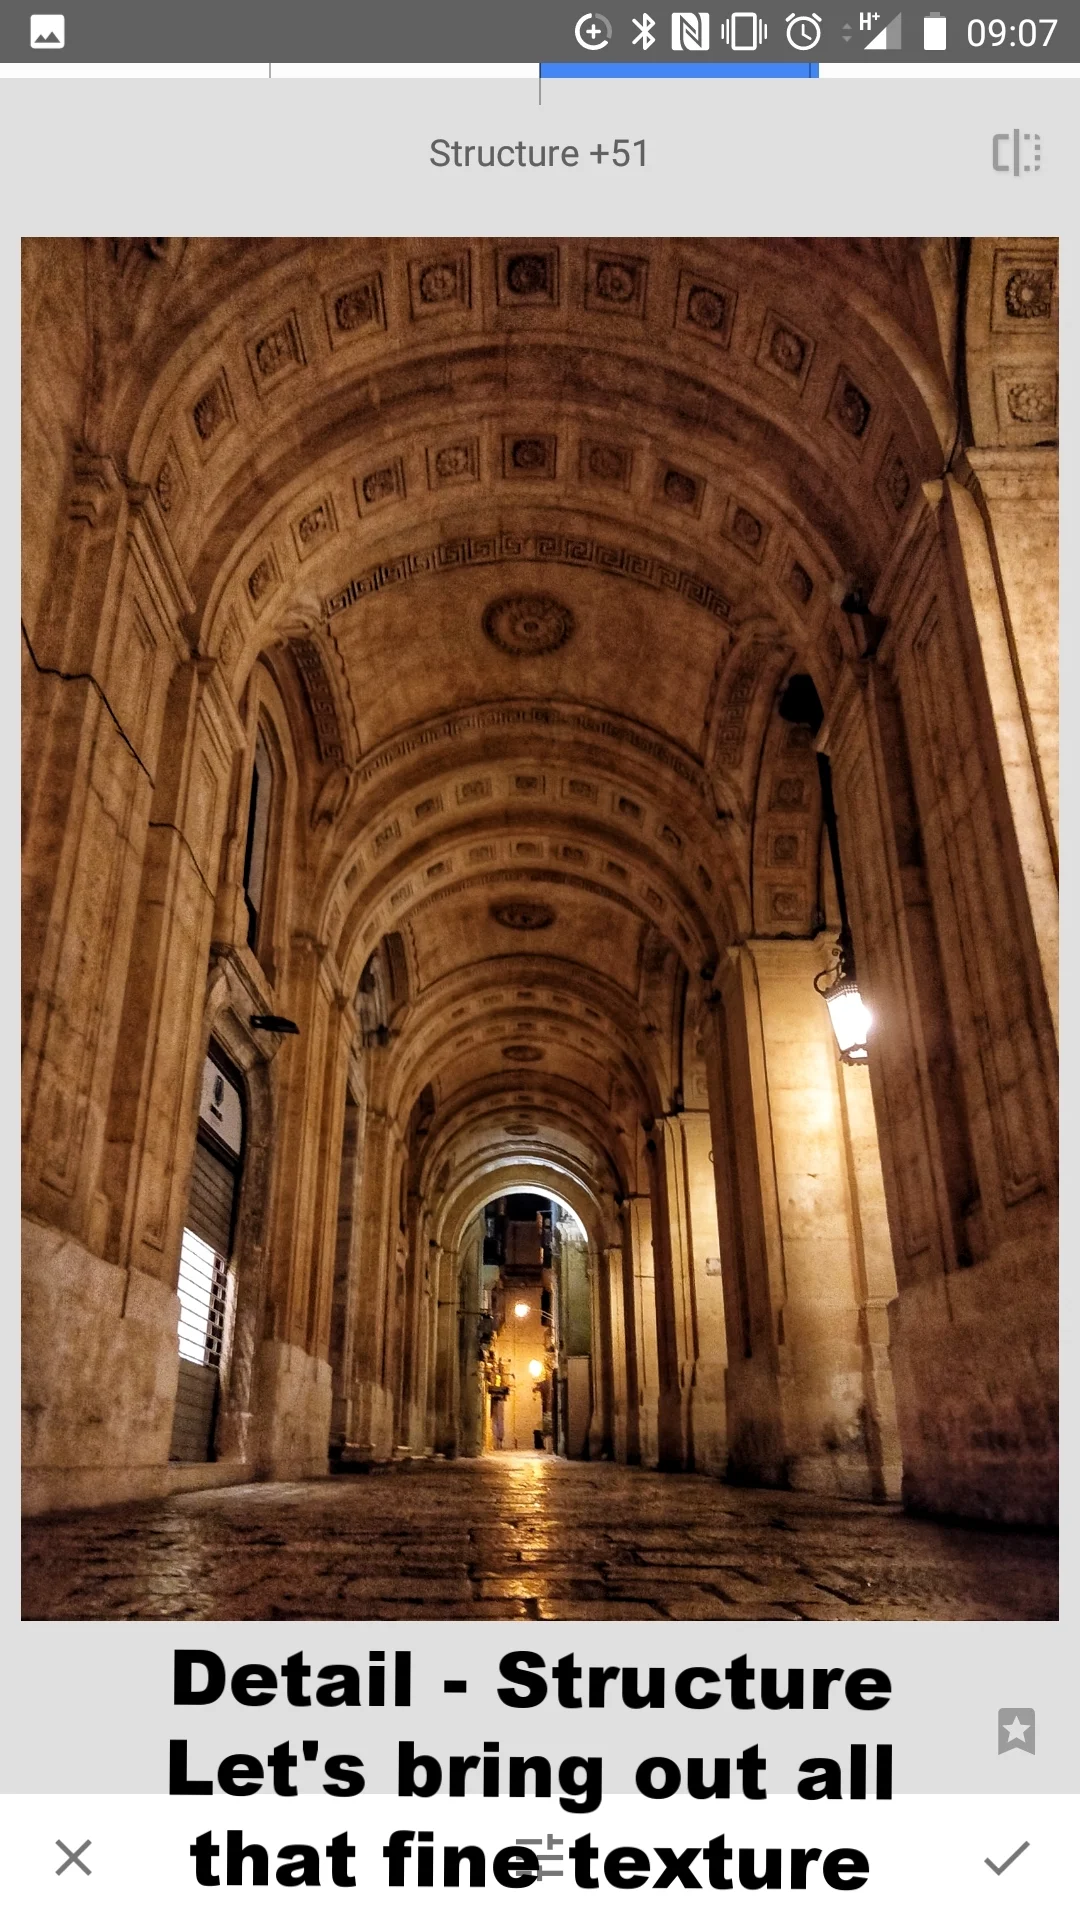
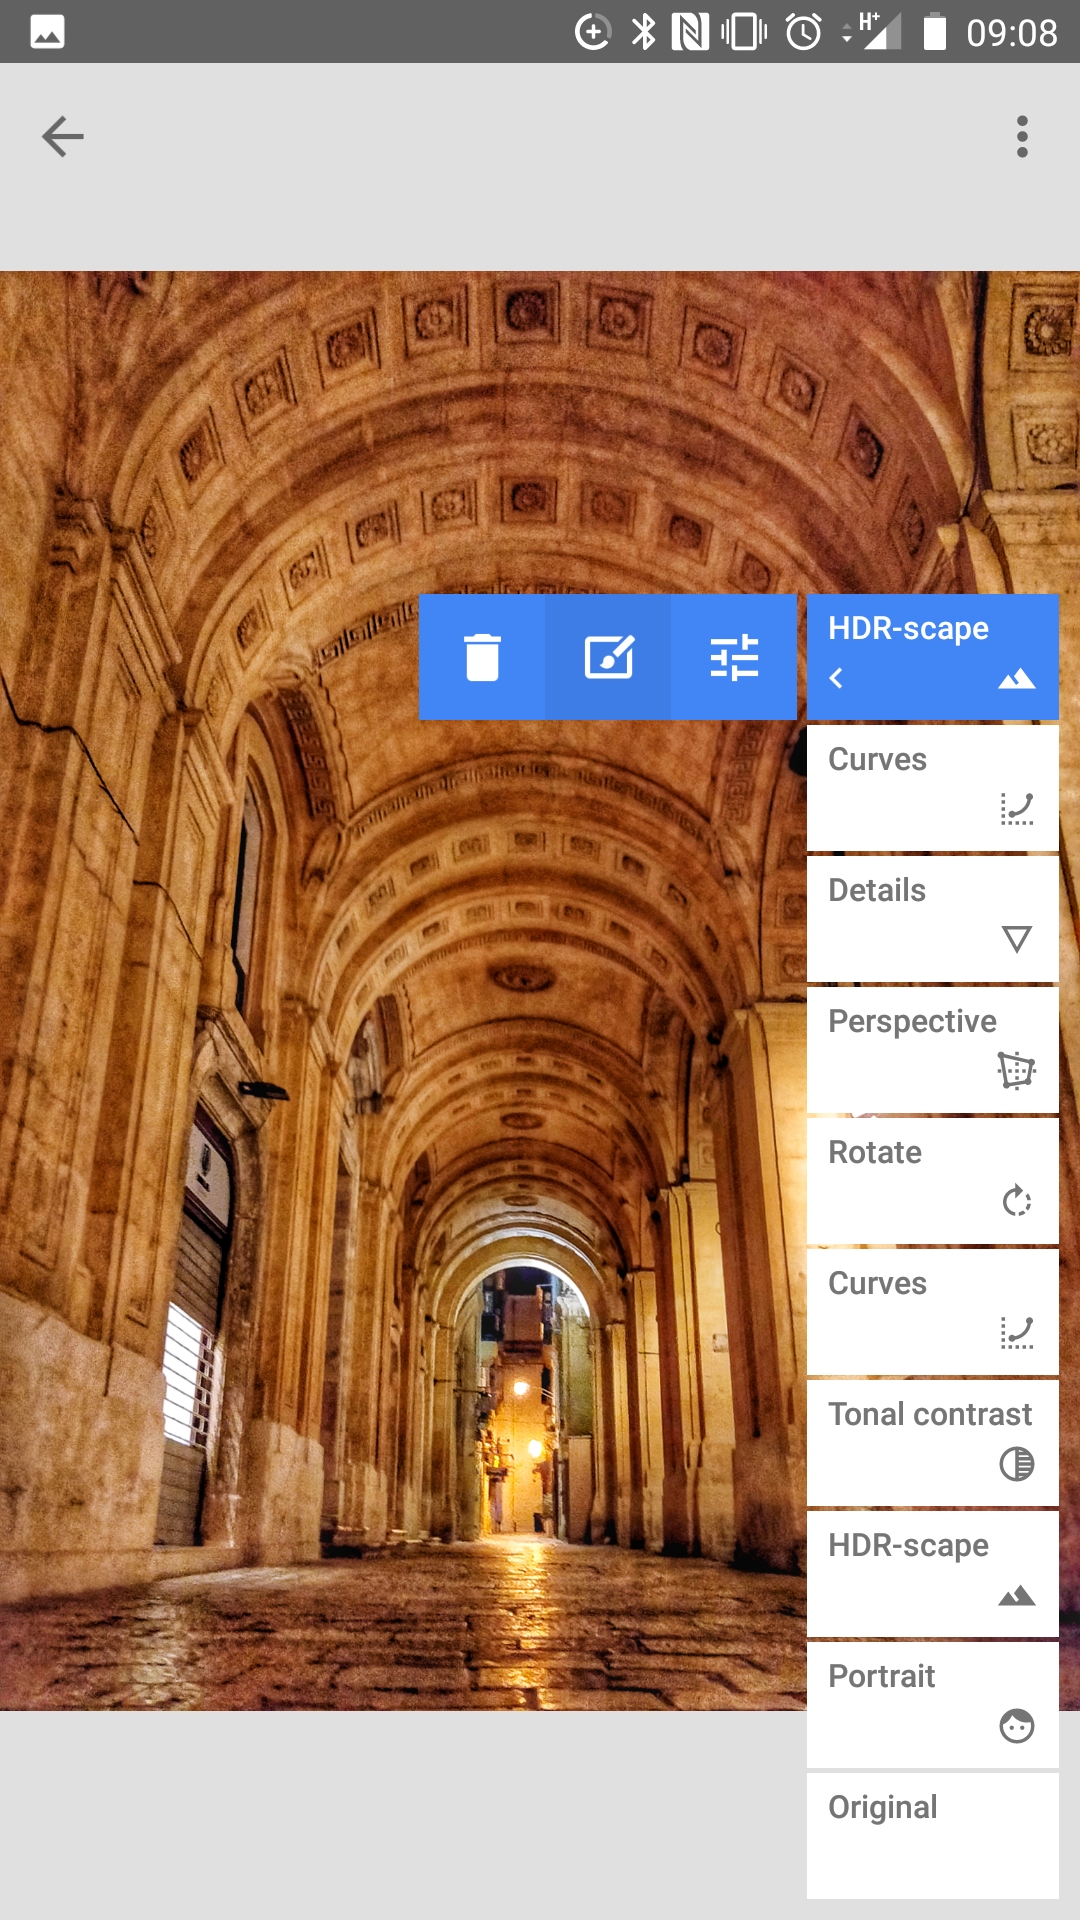
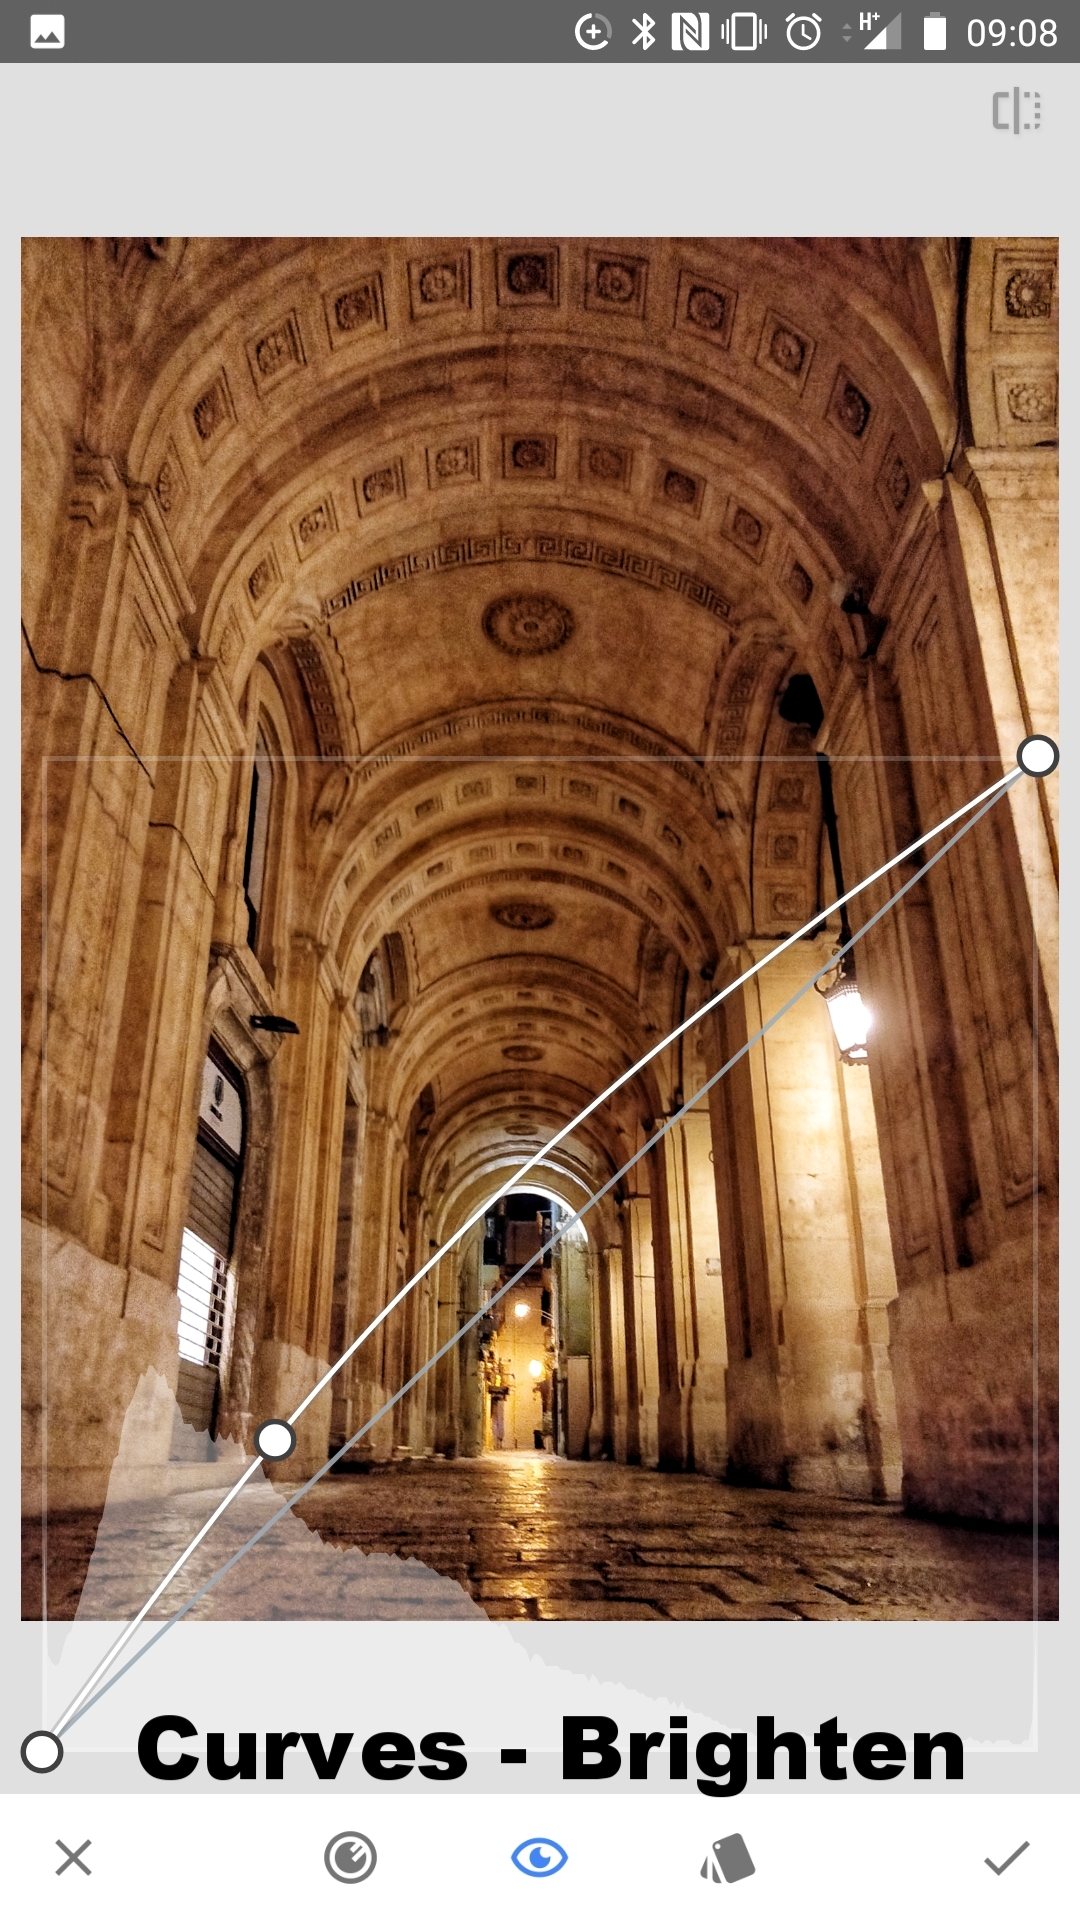
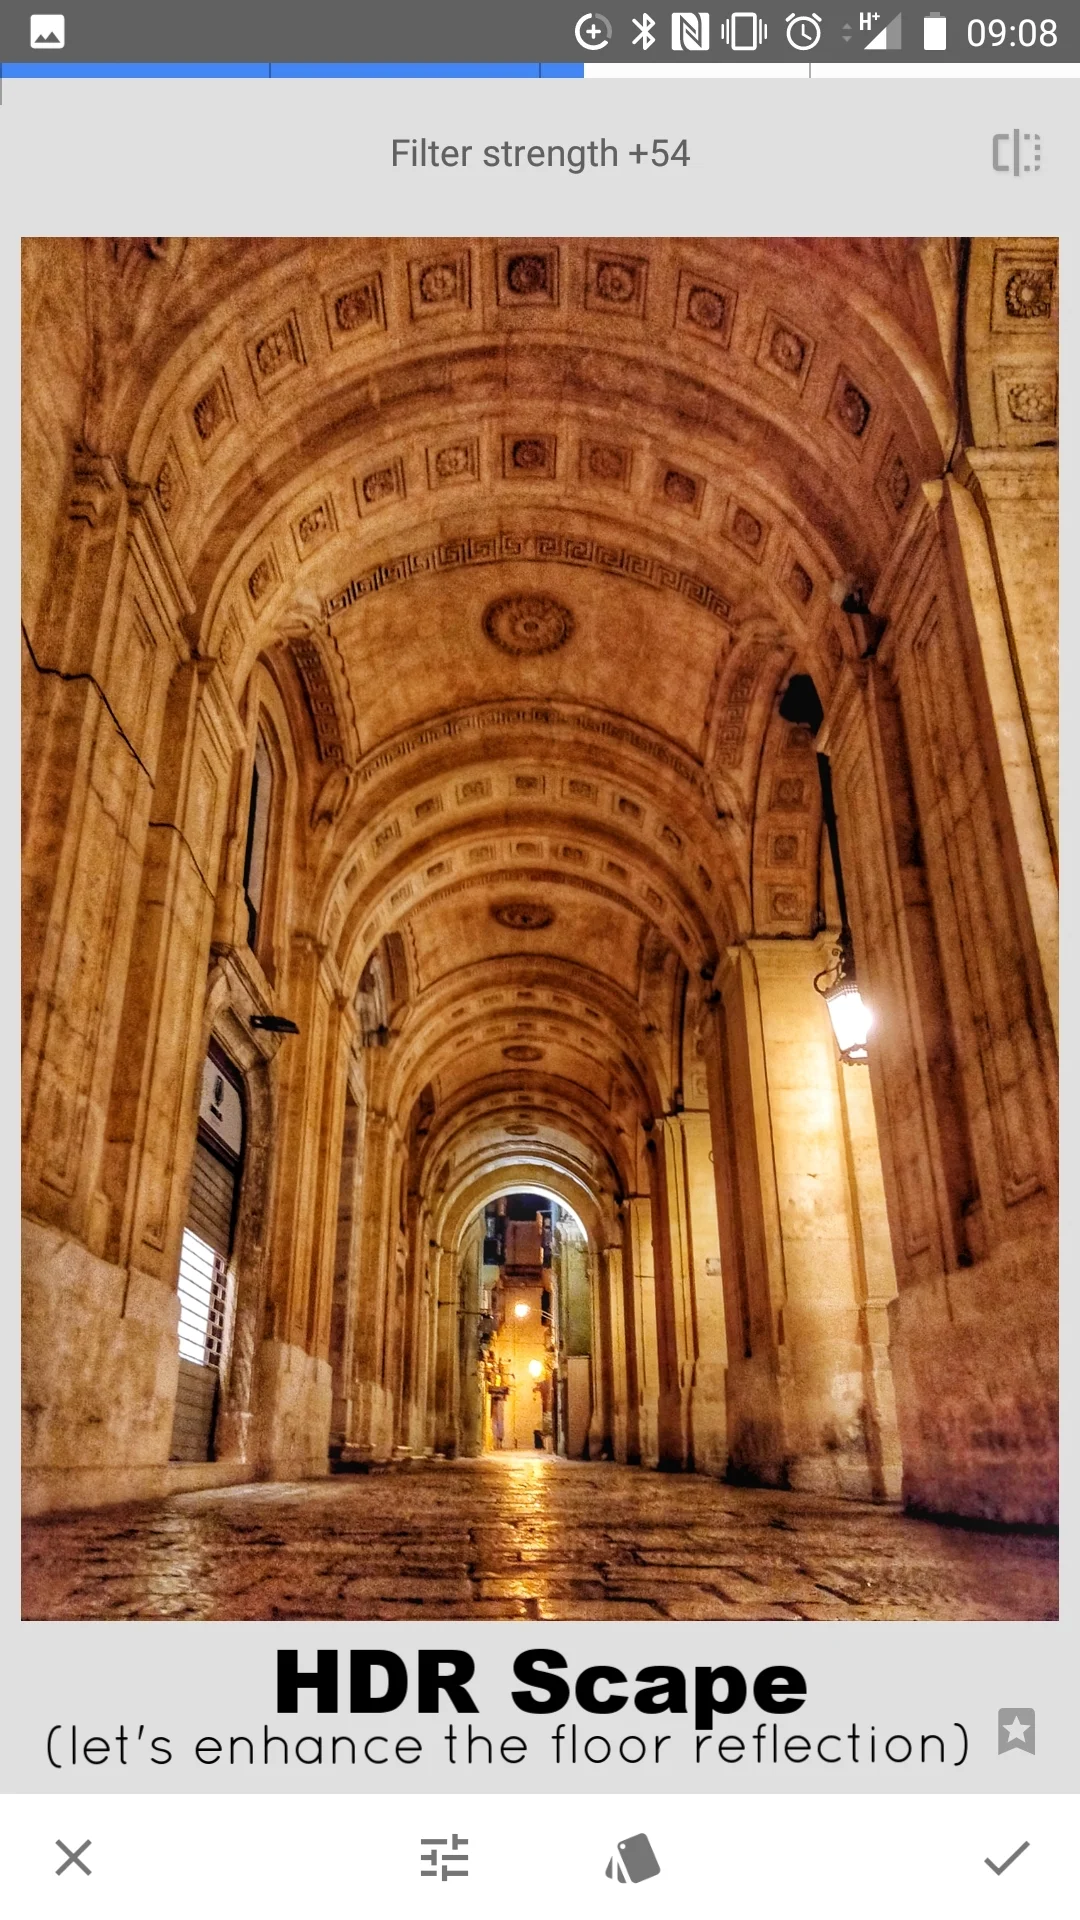
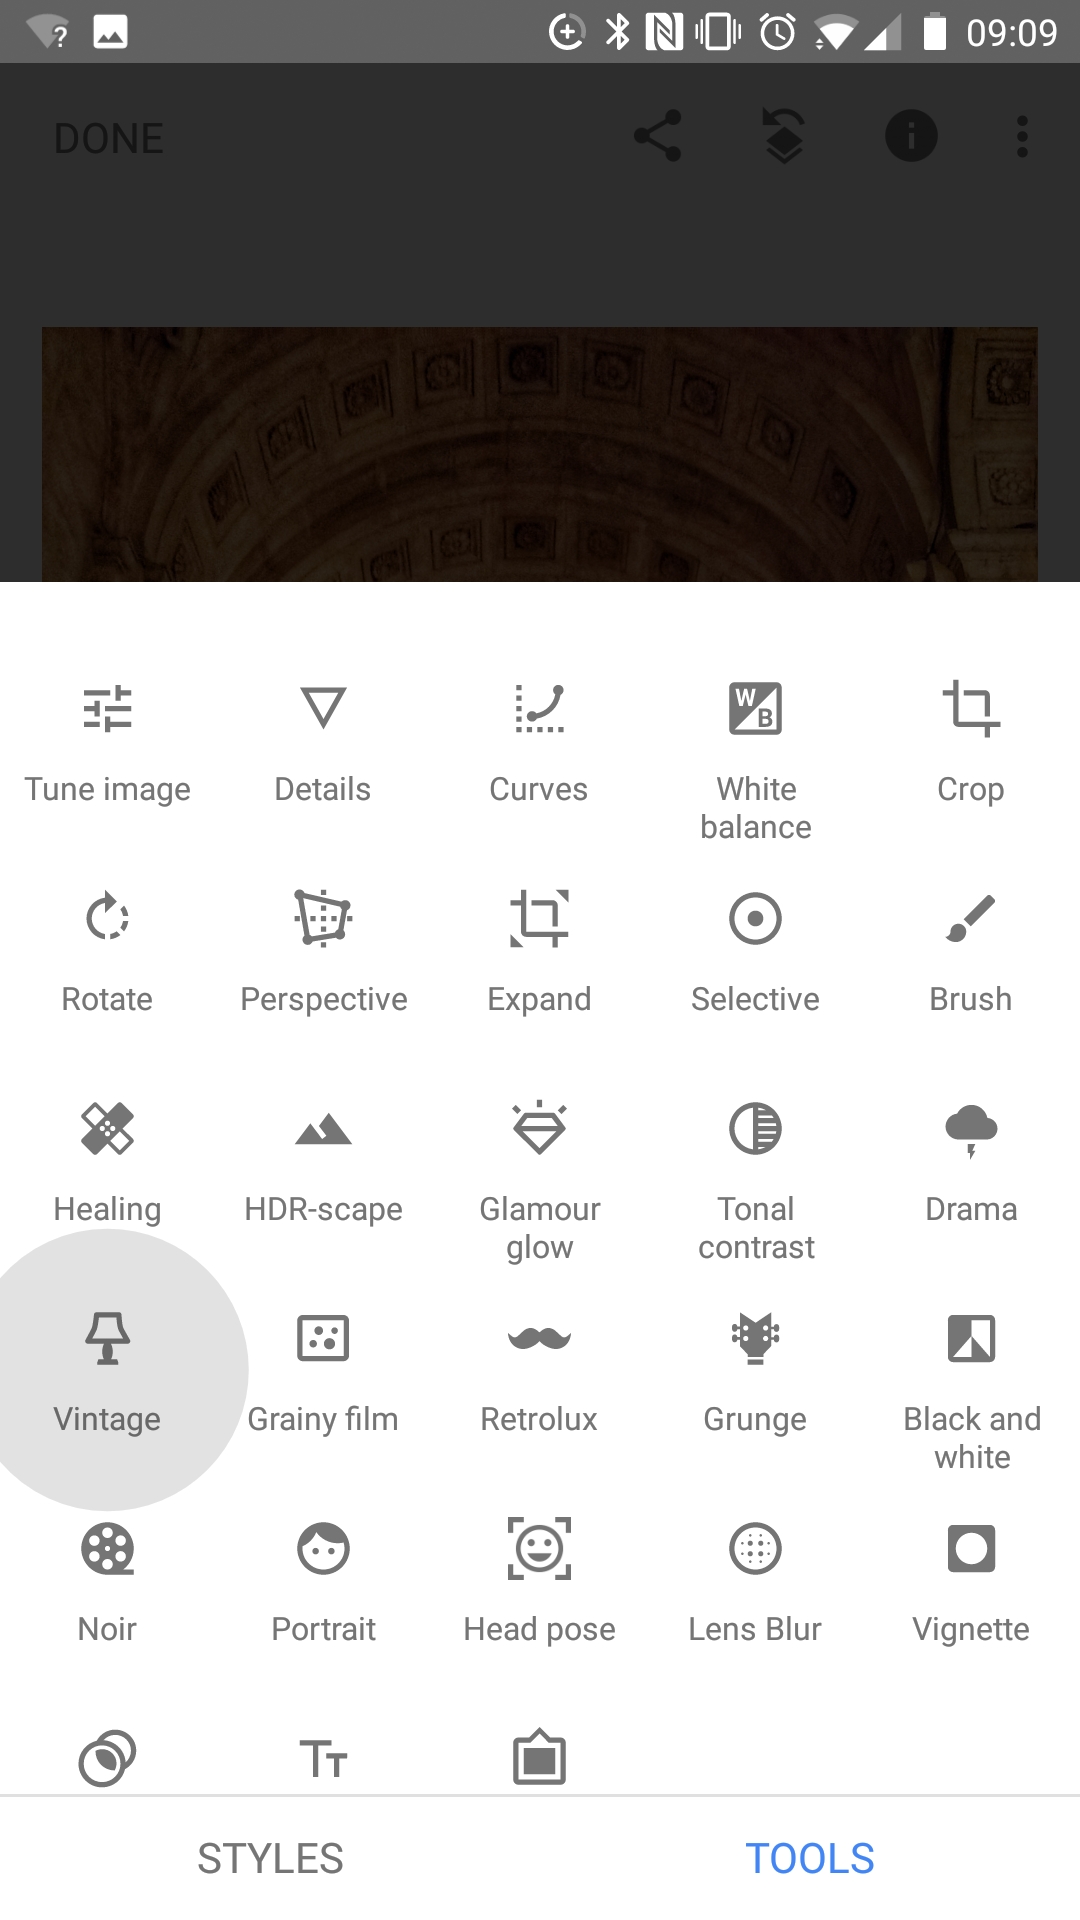
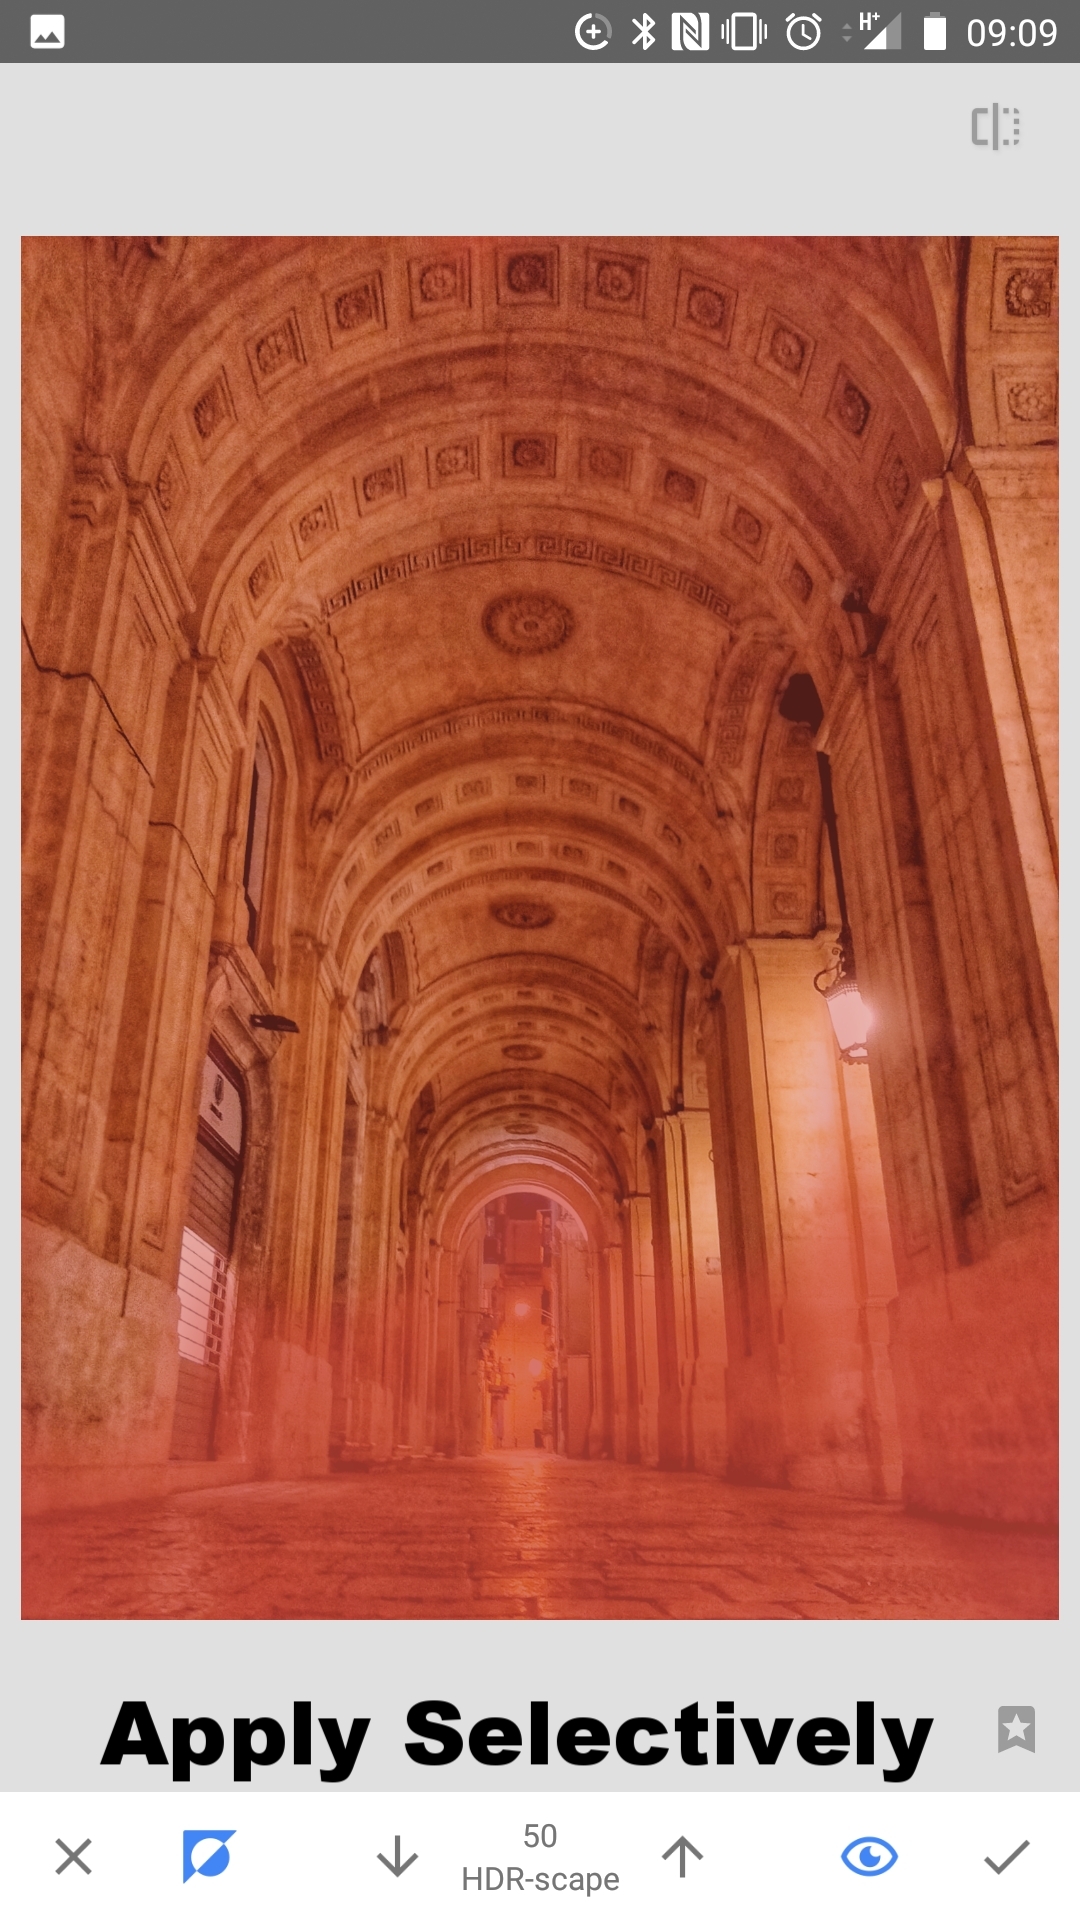
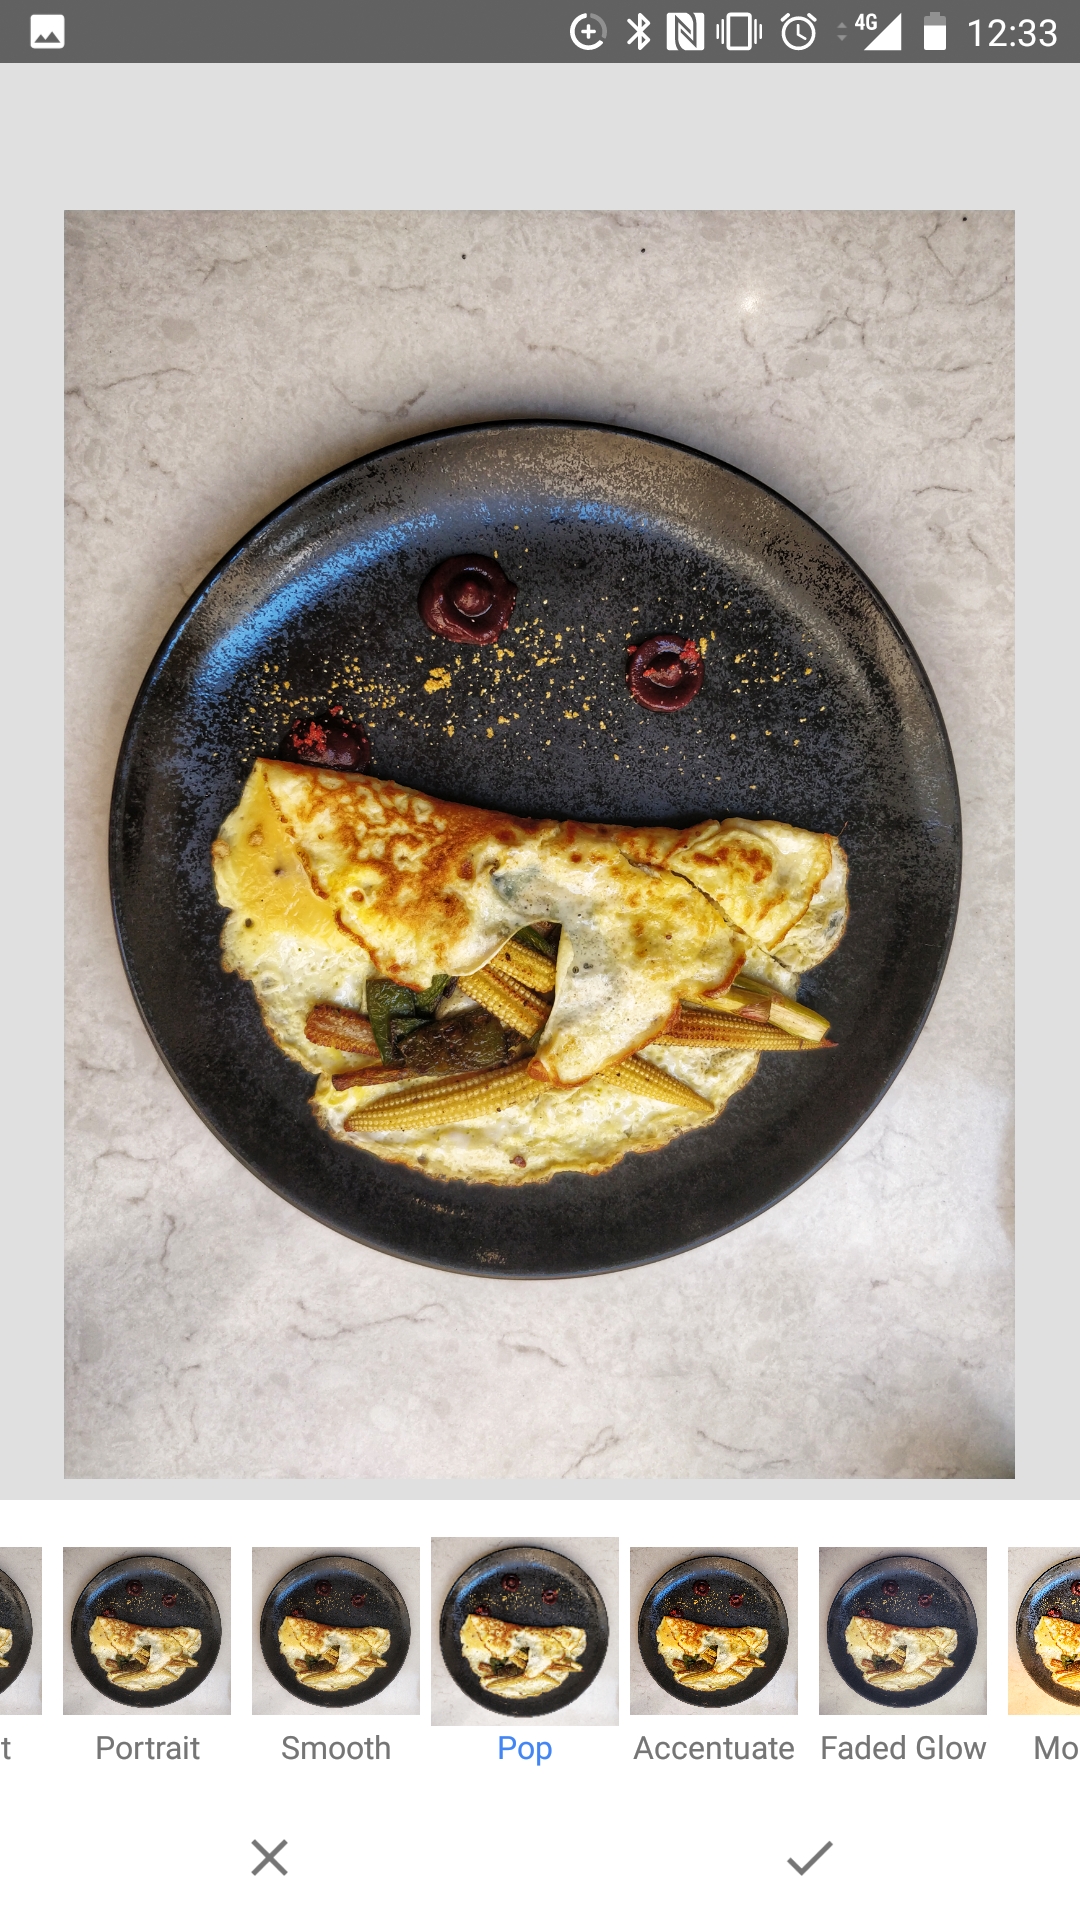
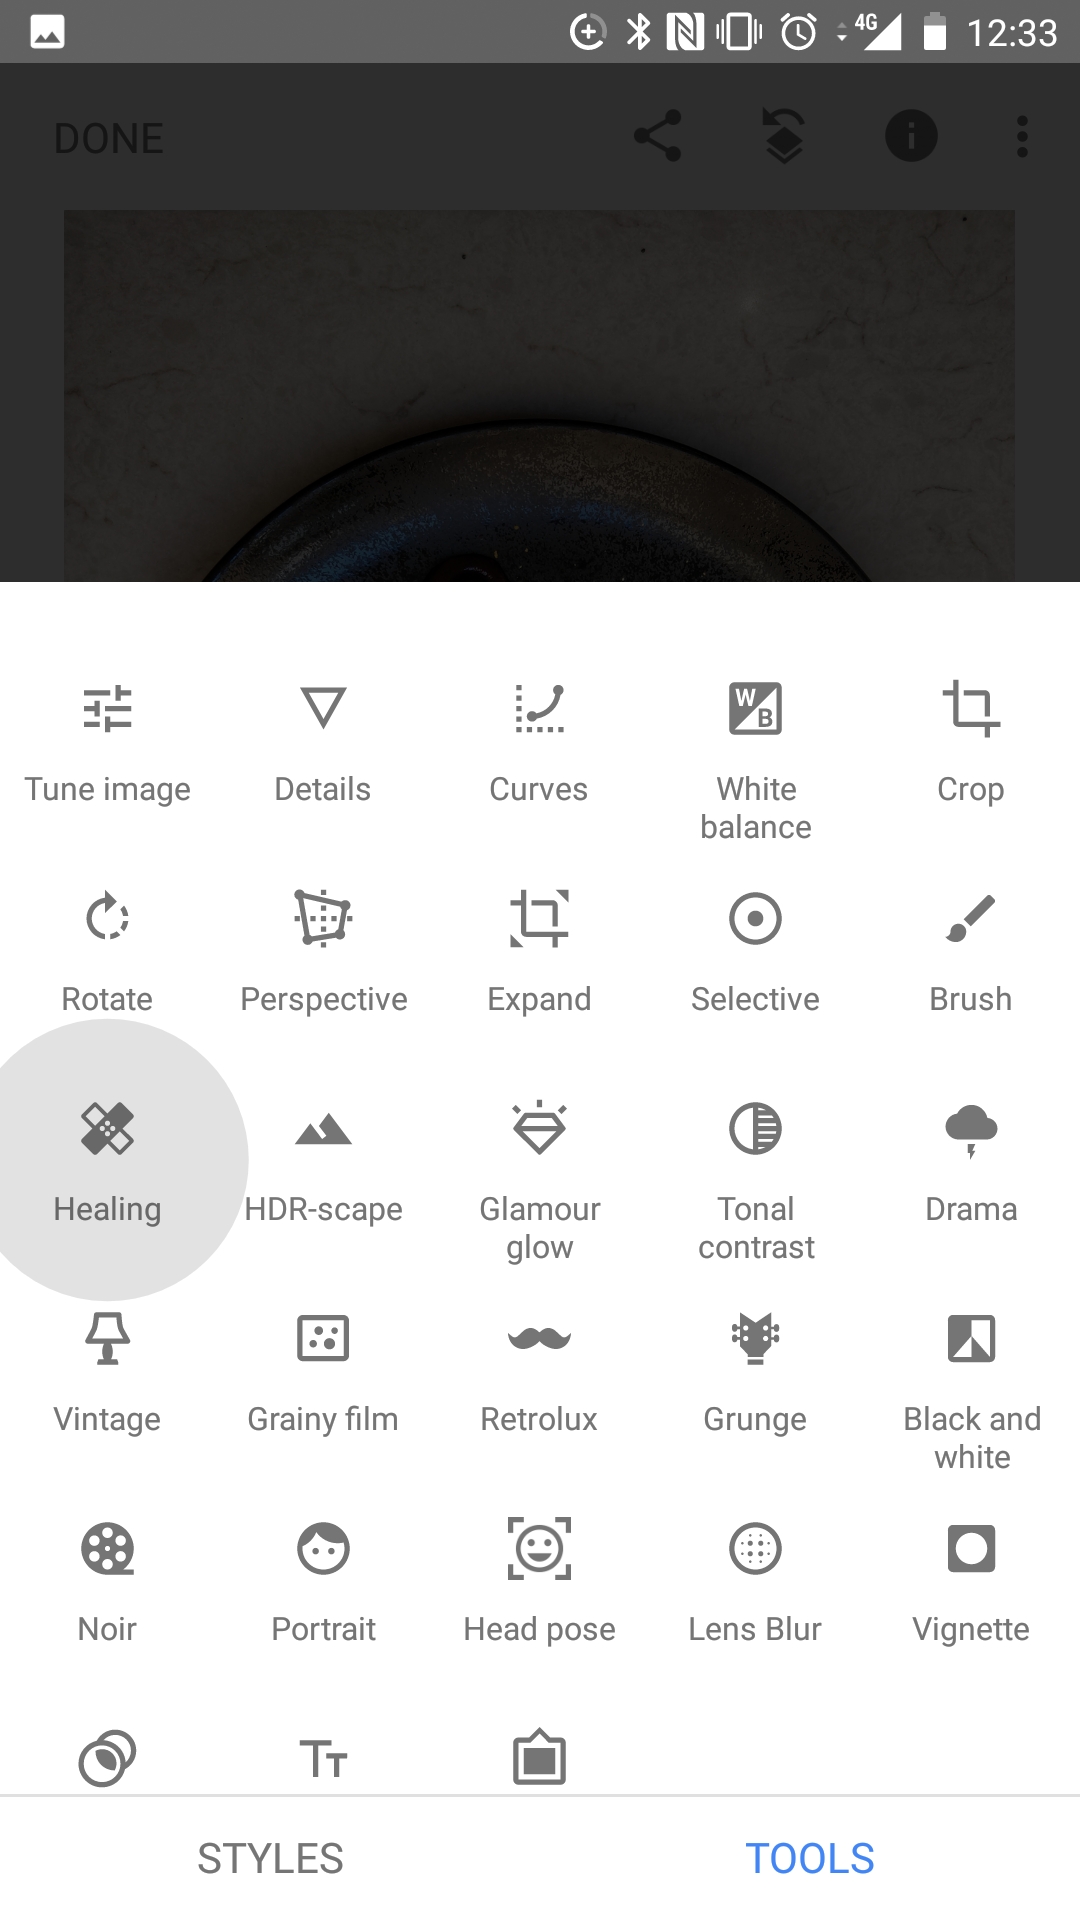
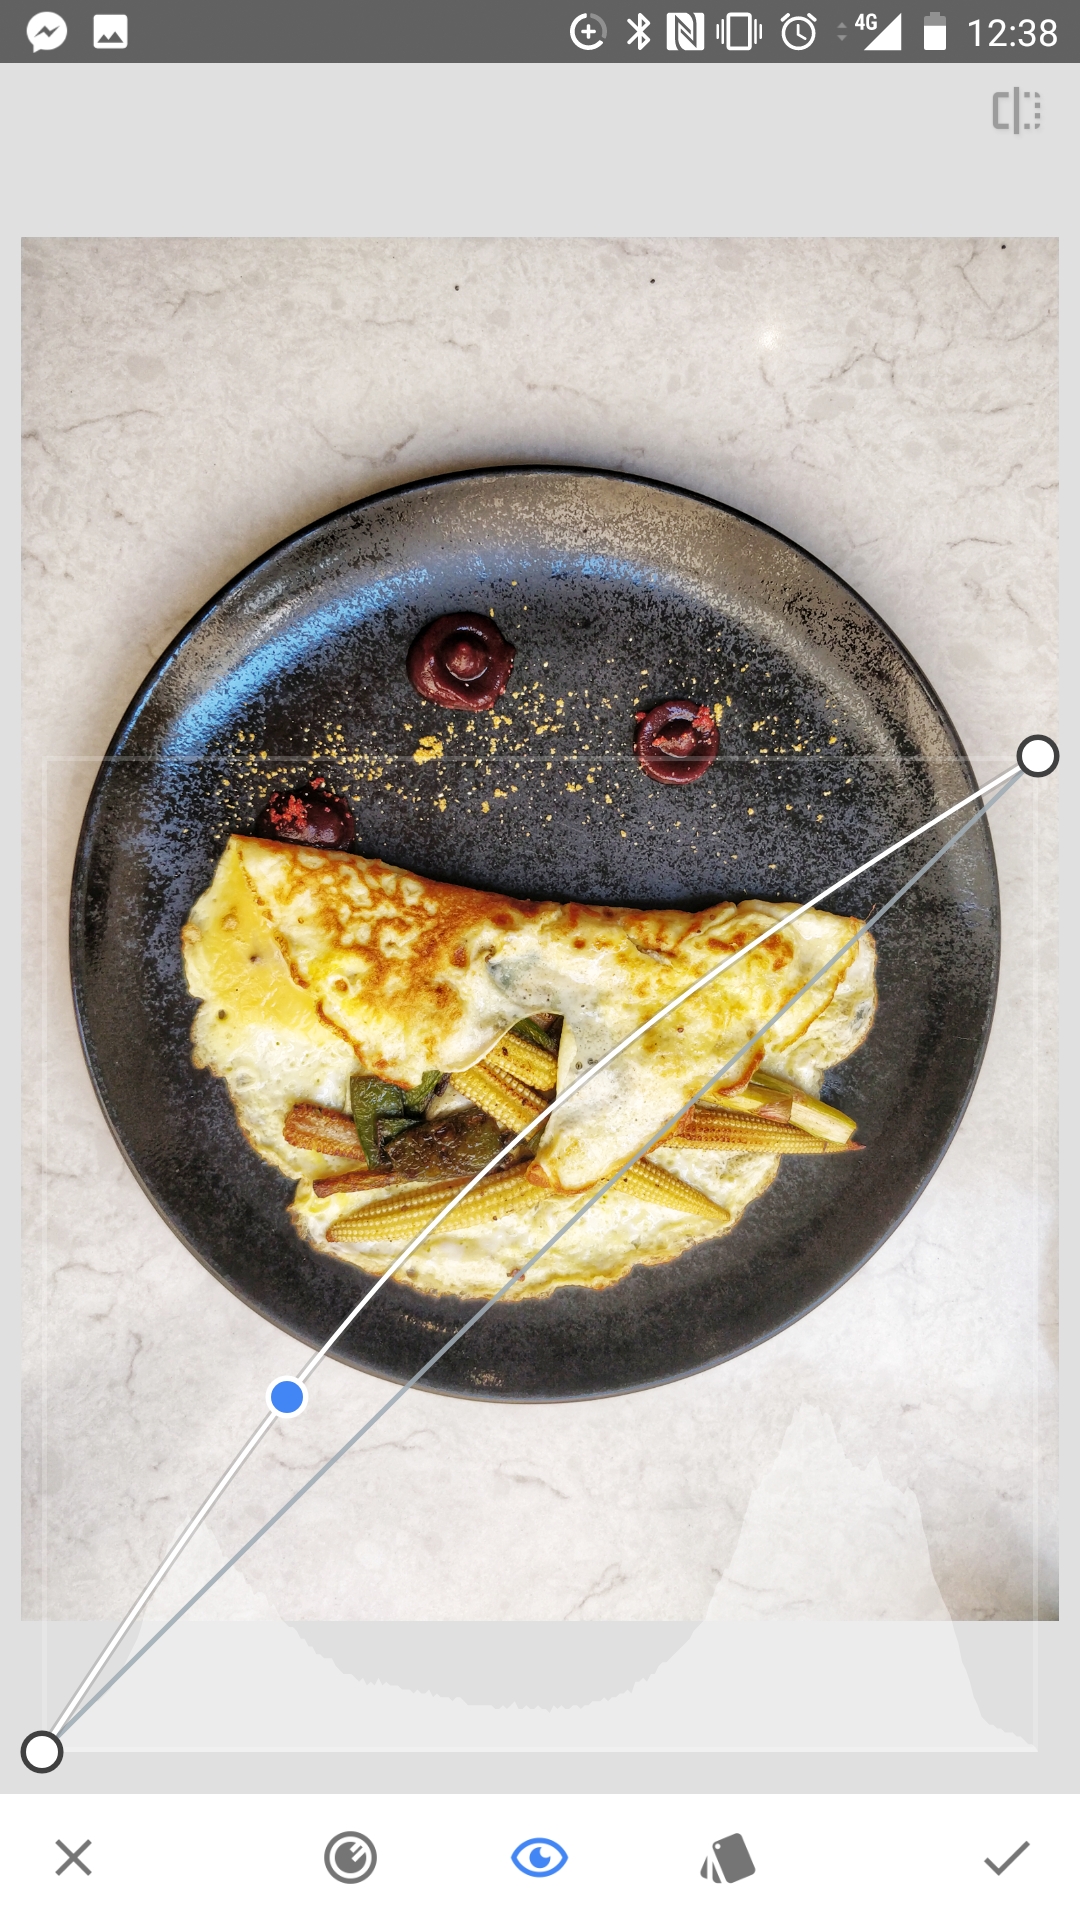
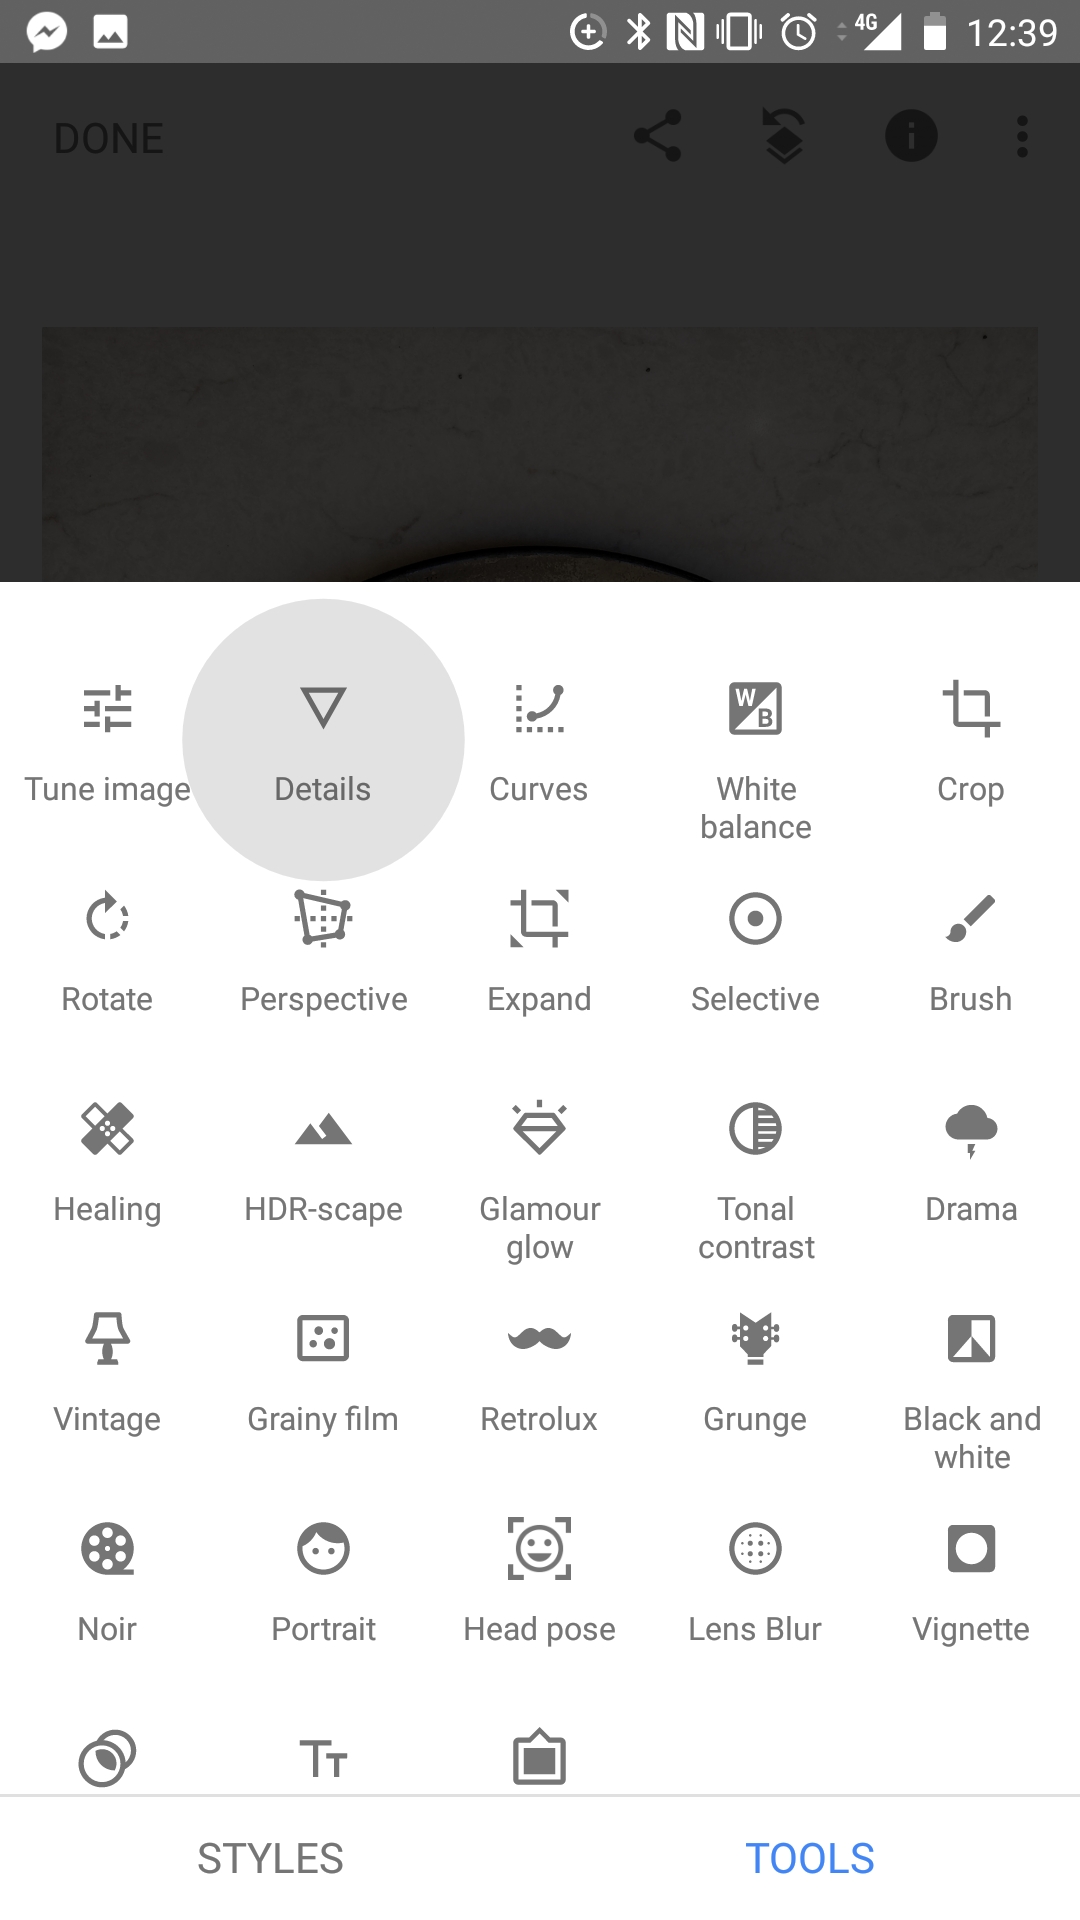
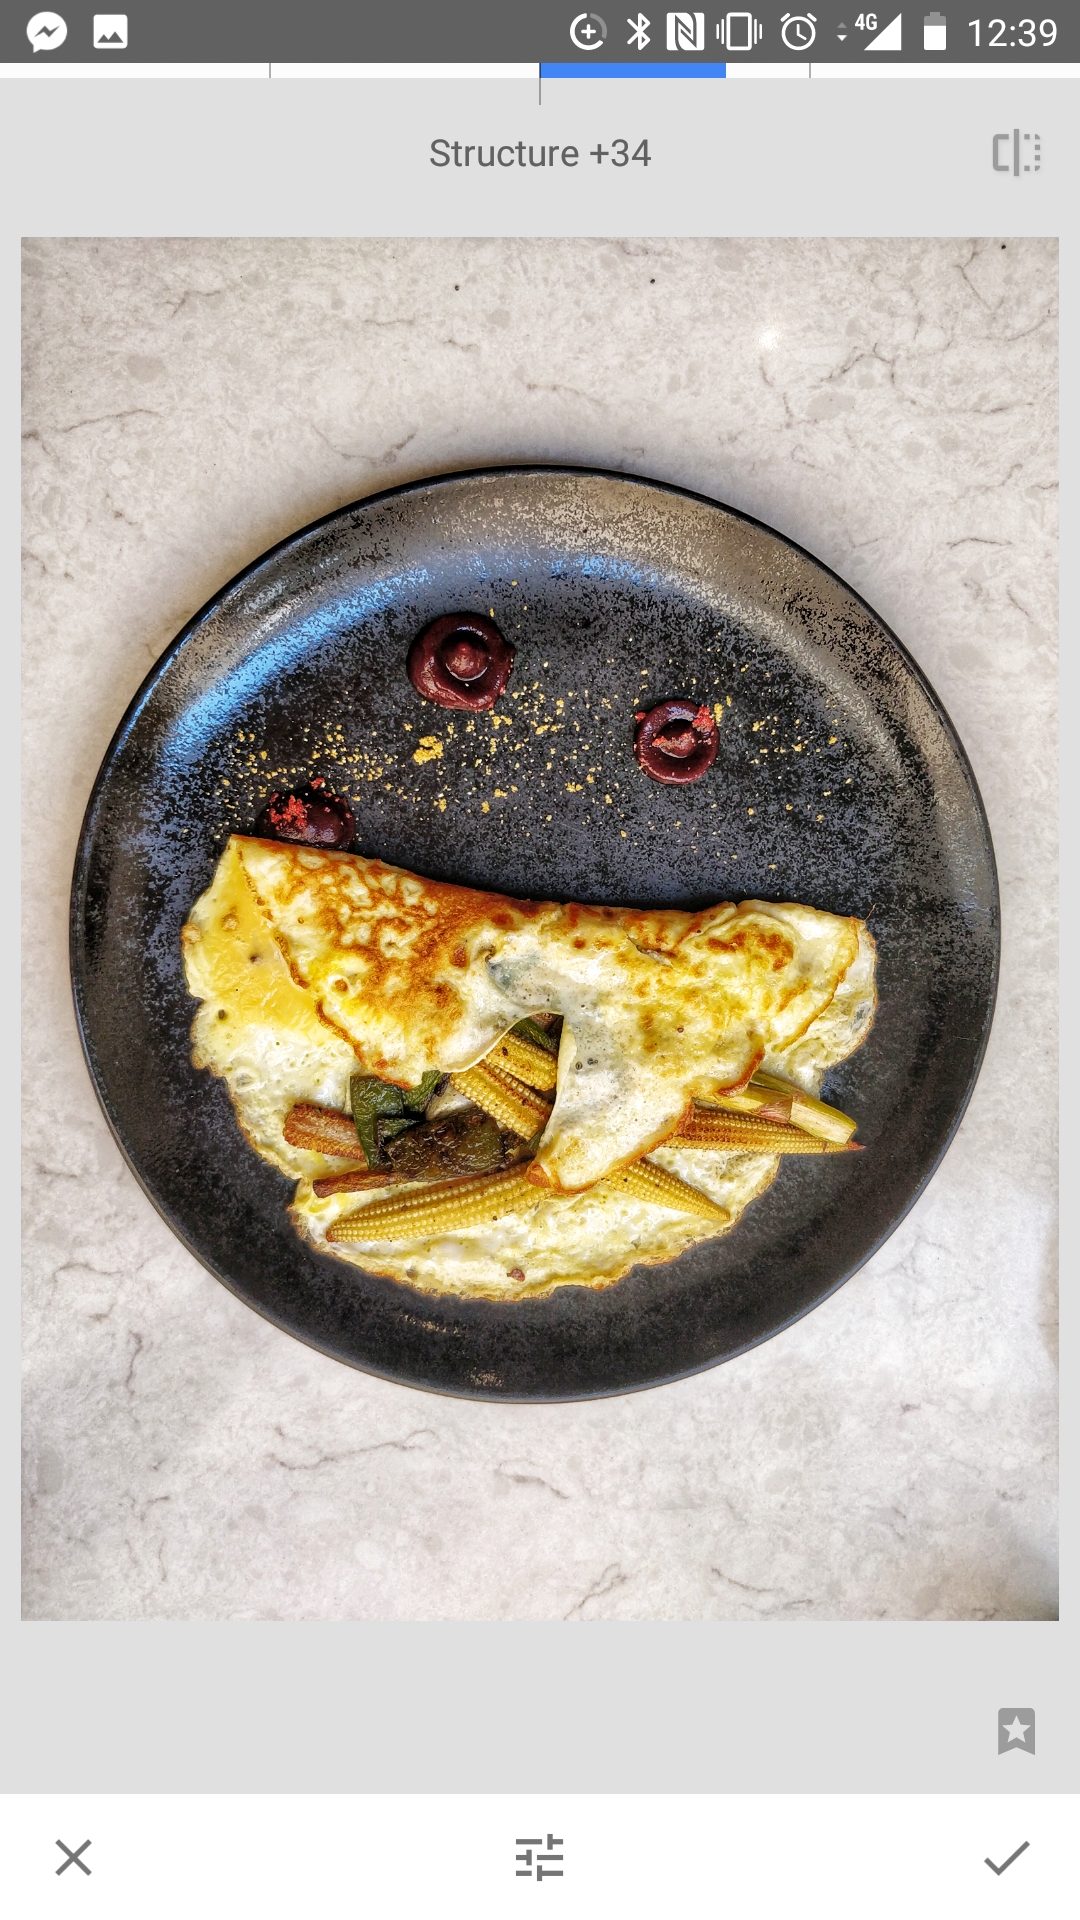
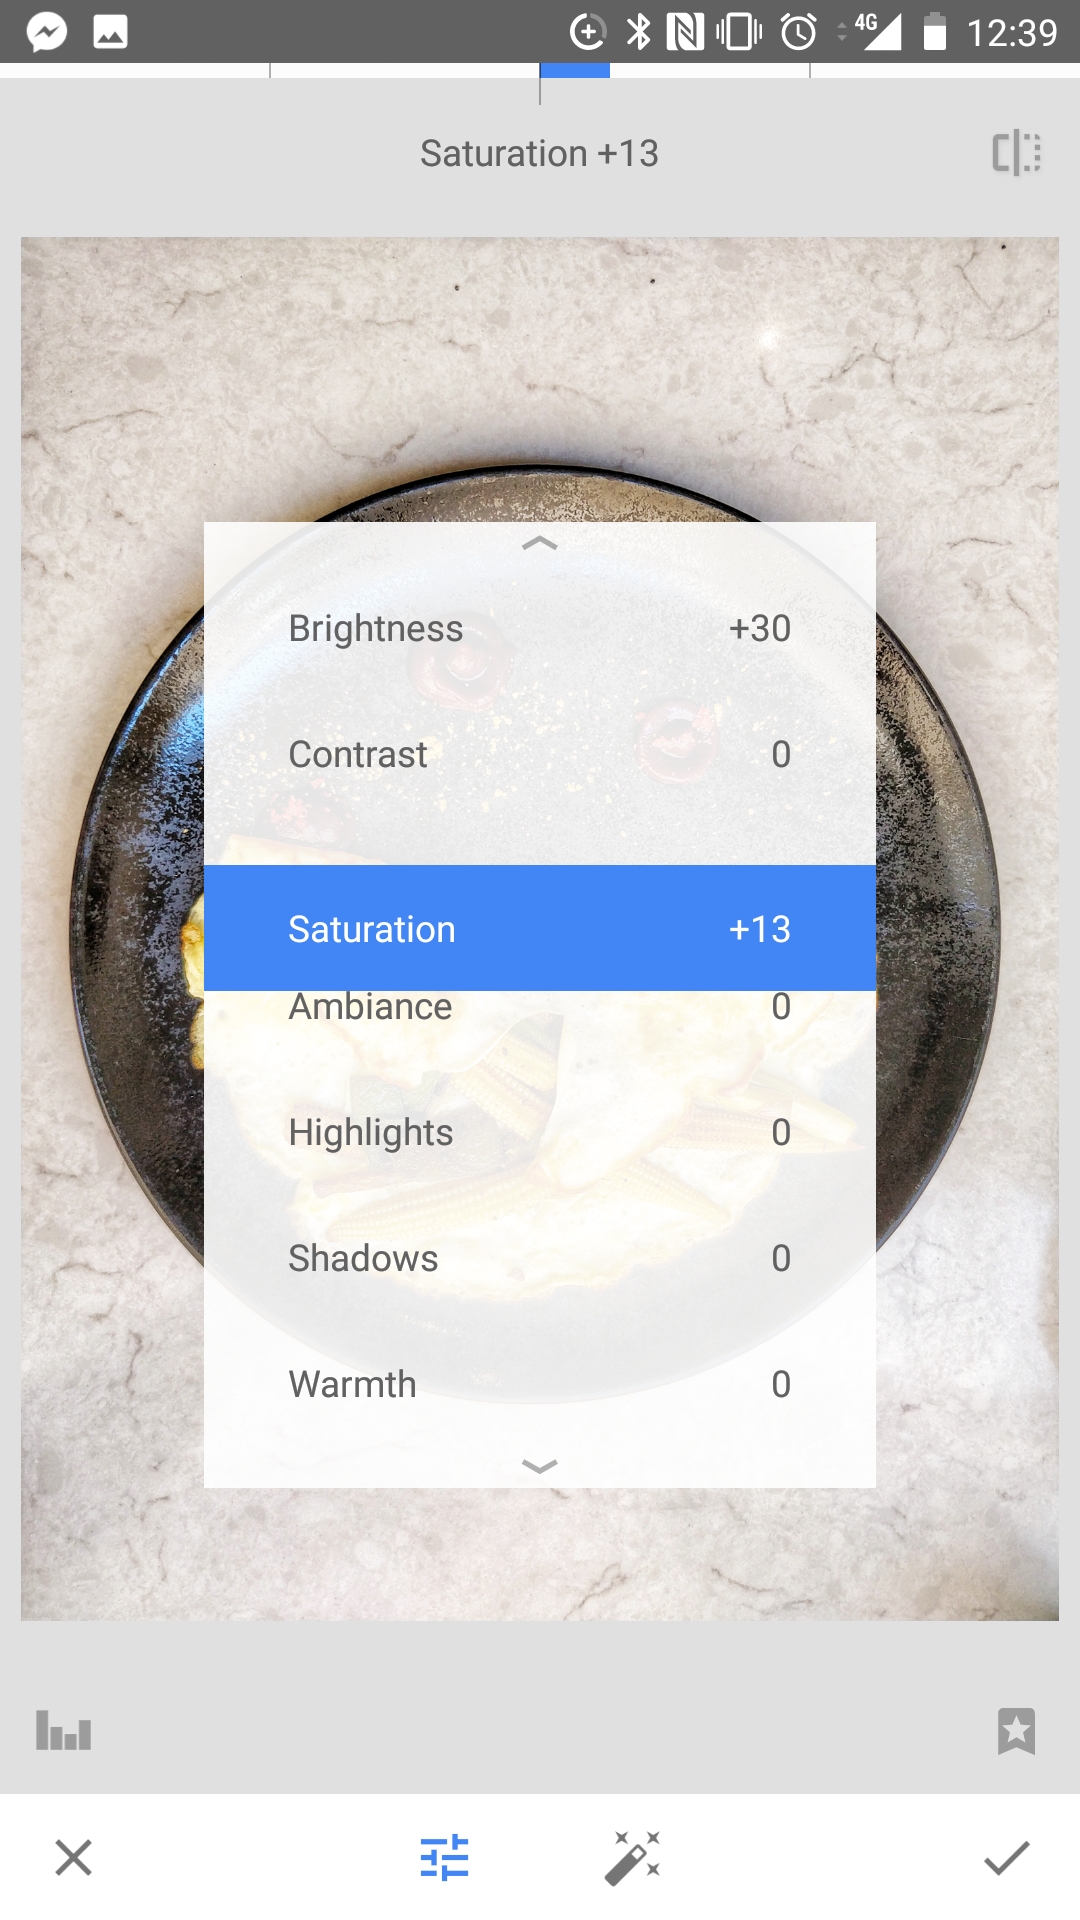
The photos tend to be quite nice straight out of the camera, but they also have quite a bit of room for pushing. I edit all my phone photos and all the ones below have been tweaked using Snapseed. If you want an accurate representation of what the camera does out of the box please check out the Huawei P20 pro DXOMark review.

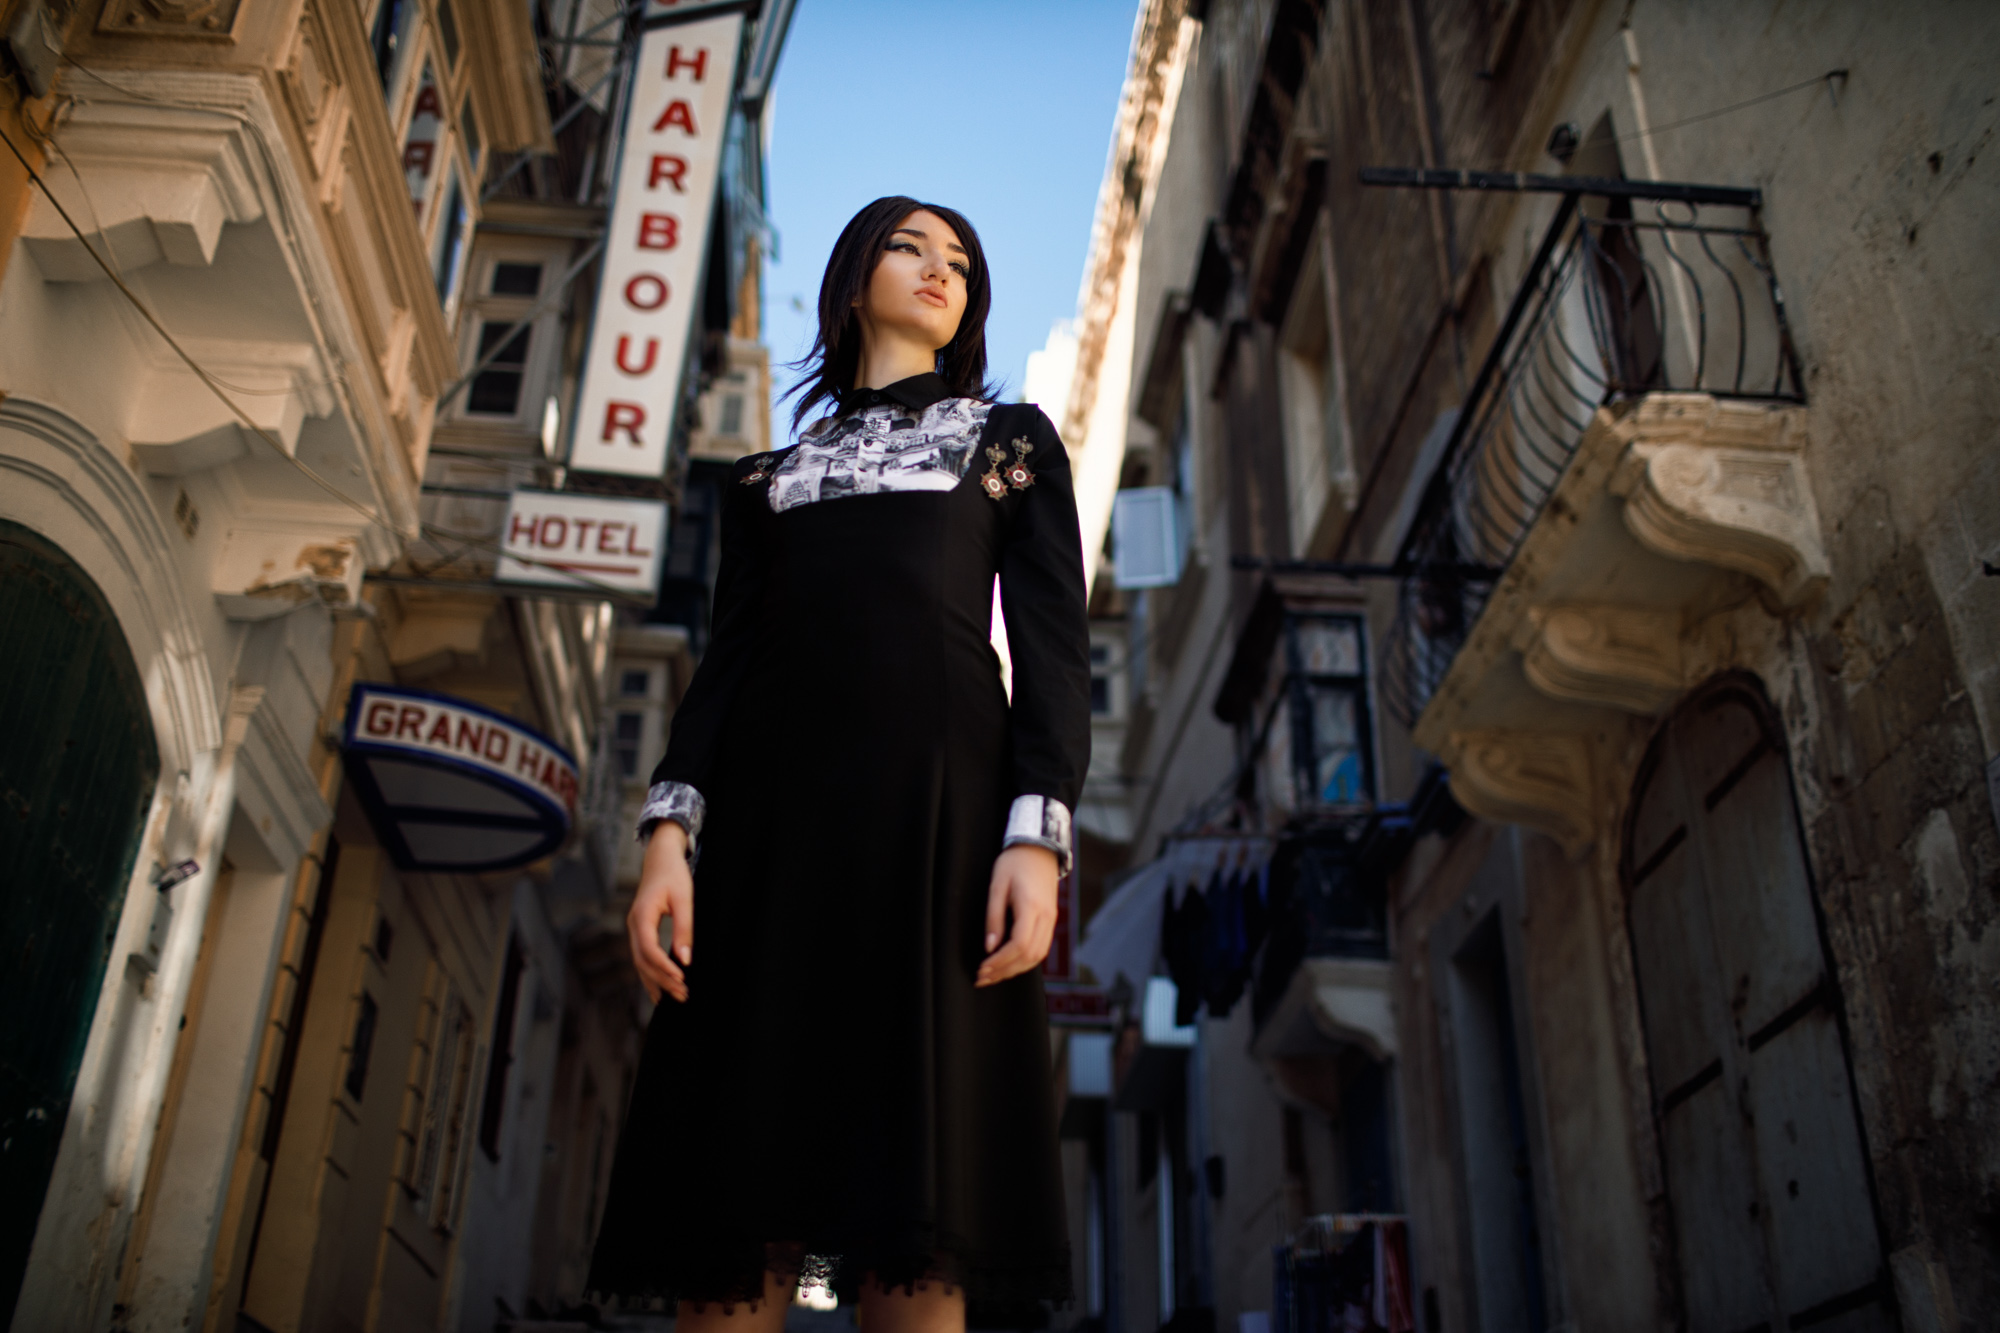
Pro mode was needed for this backlit photo but the results are quite good with lots of detail retained both in the shadow and highlights

Light-Painting “water trails” option can create some beautiful soft water

There is so much dynamic range in the main sensor that converting to black and white is probably as good as using the dedicated sensor

Great fine detail even in the 10MP mode

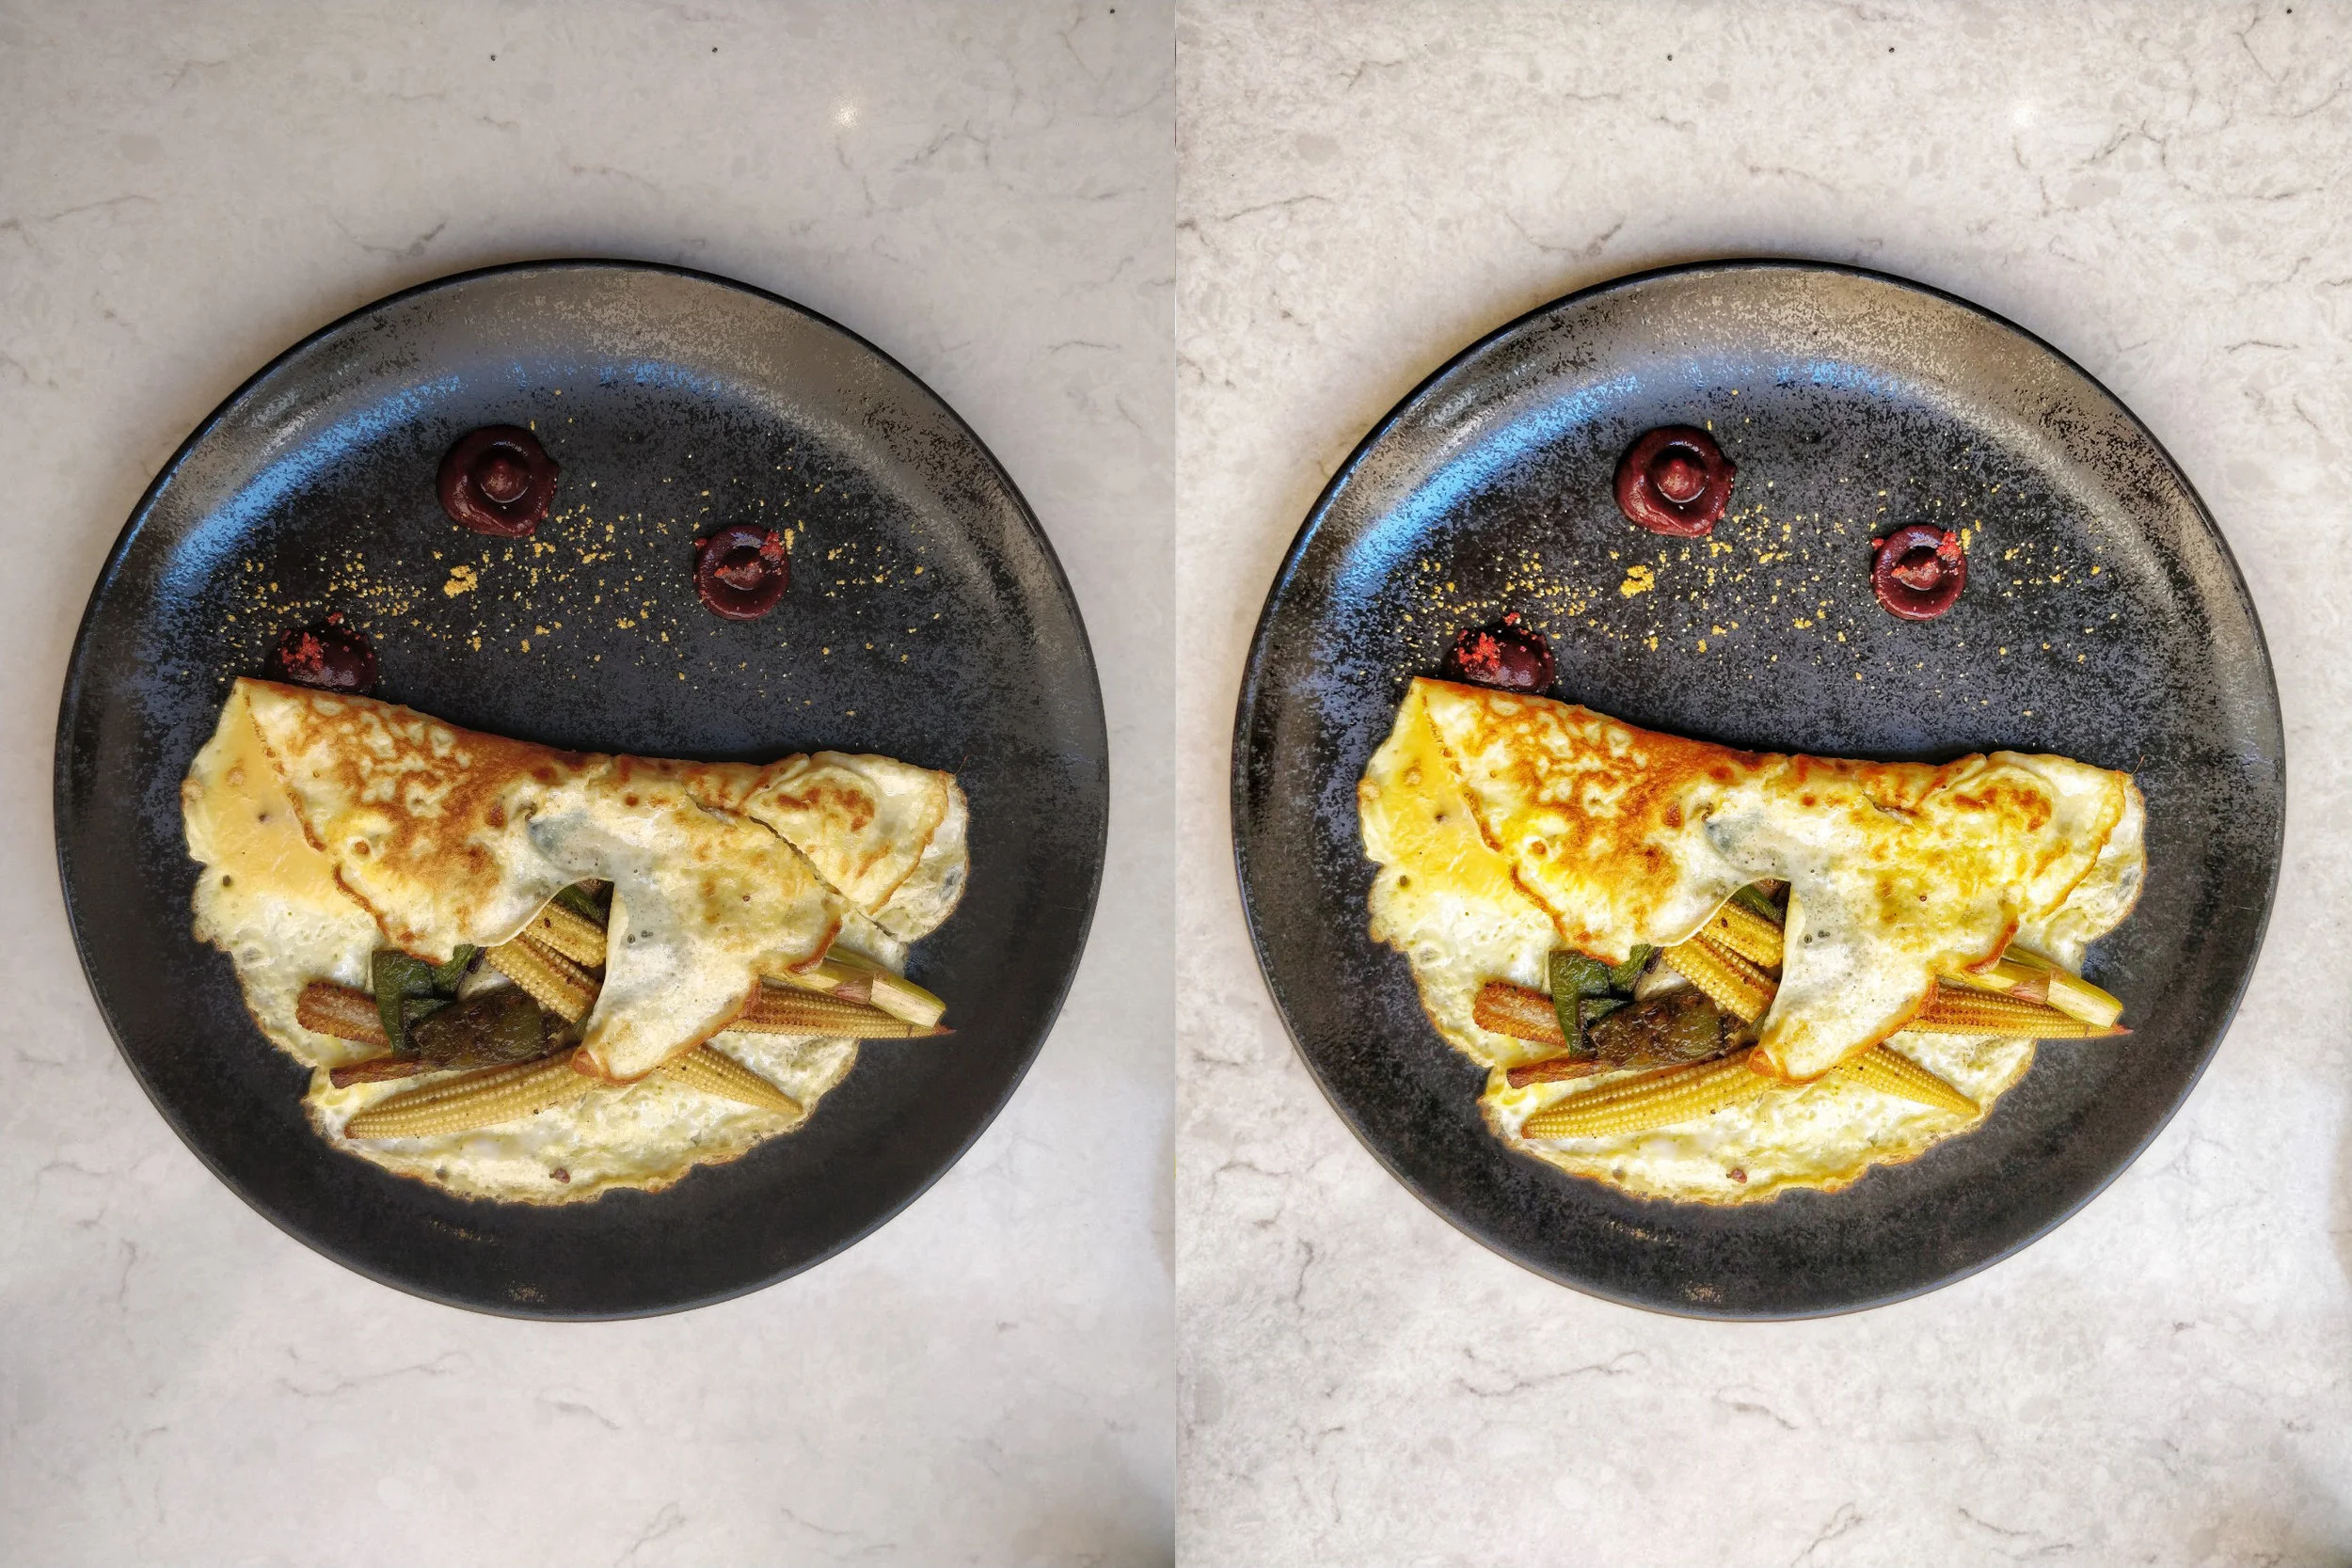
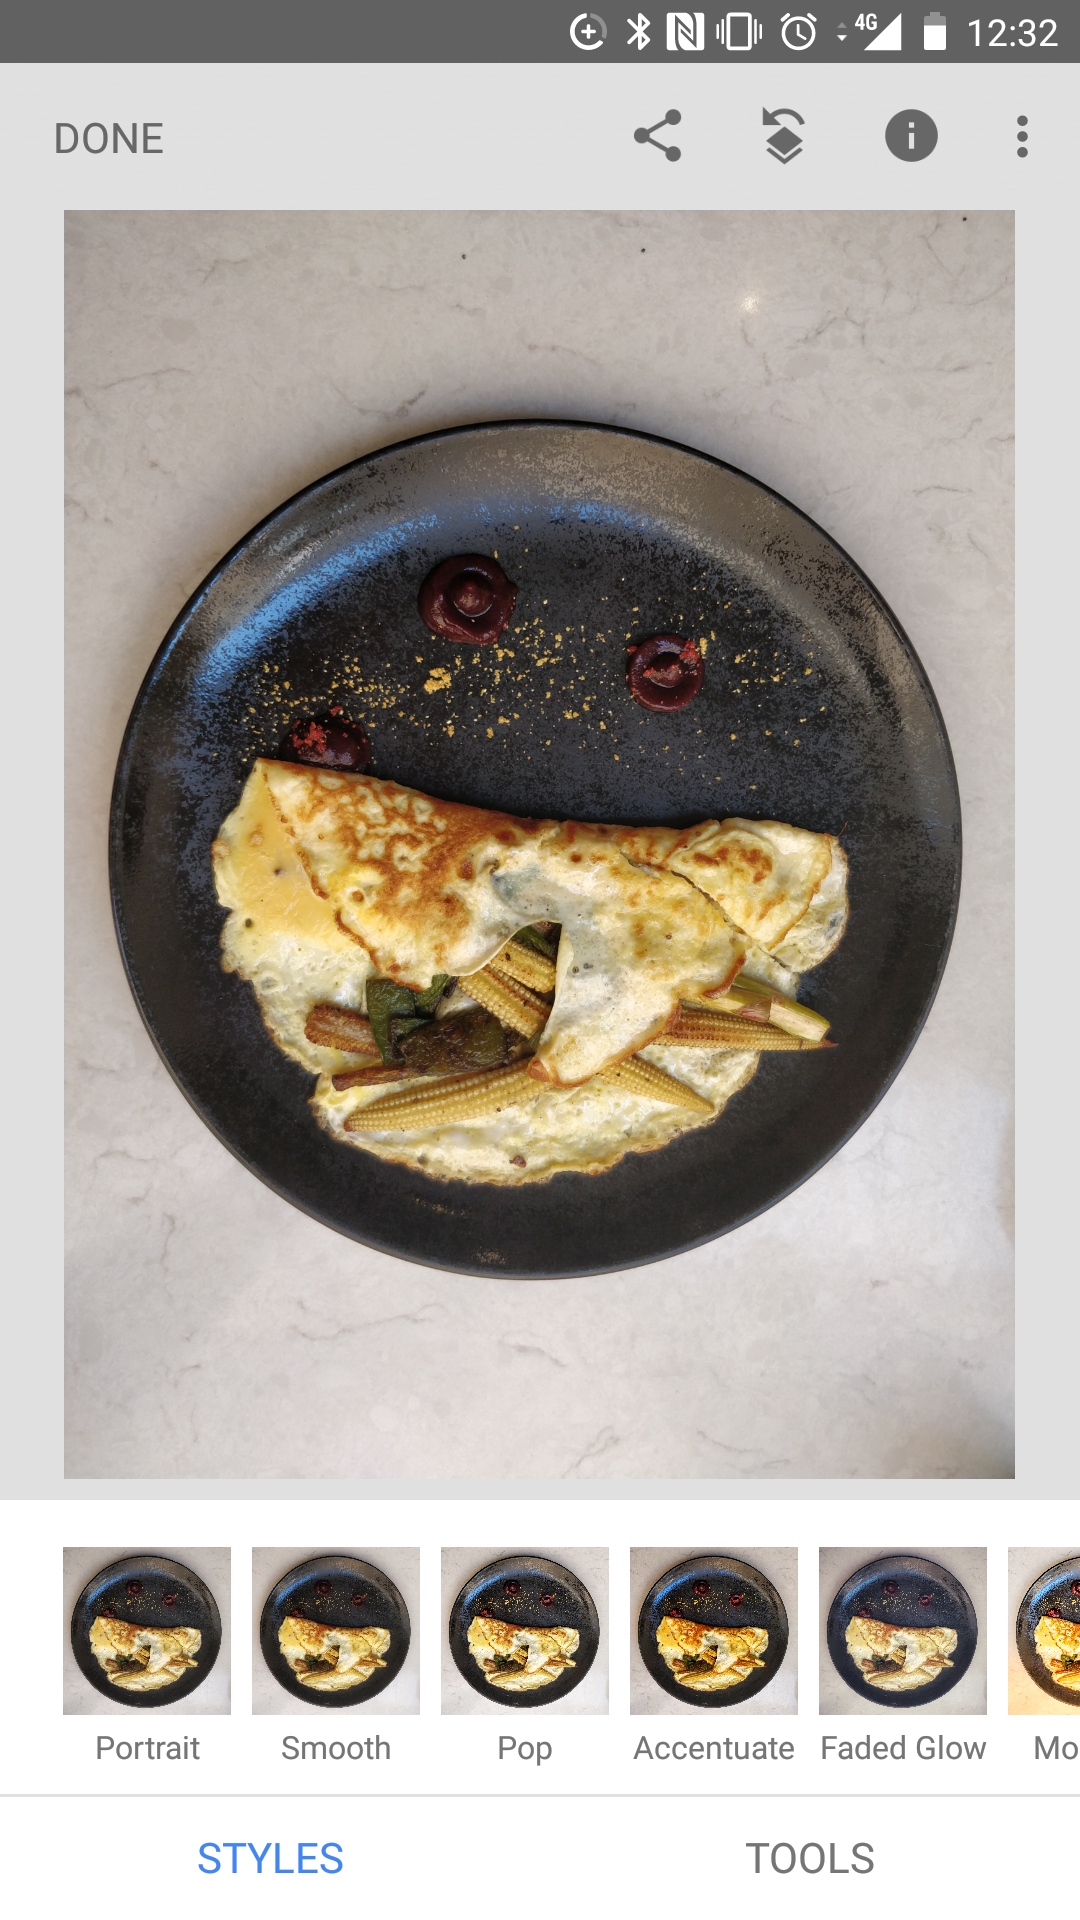
Close up food shots work quite nicely

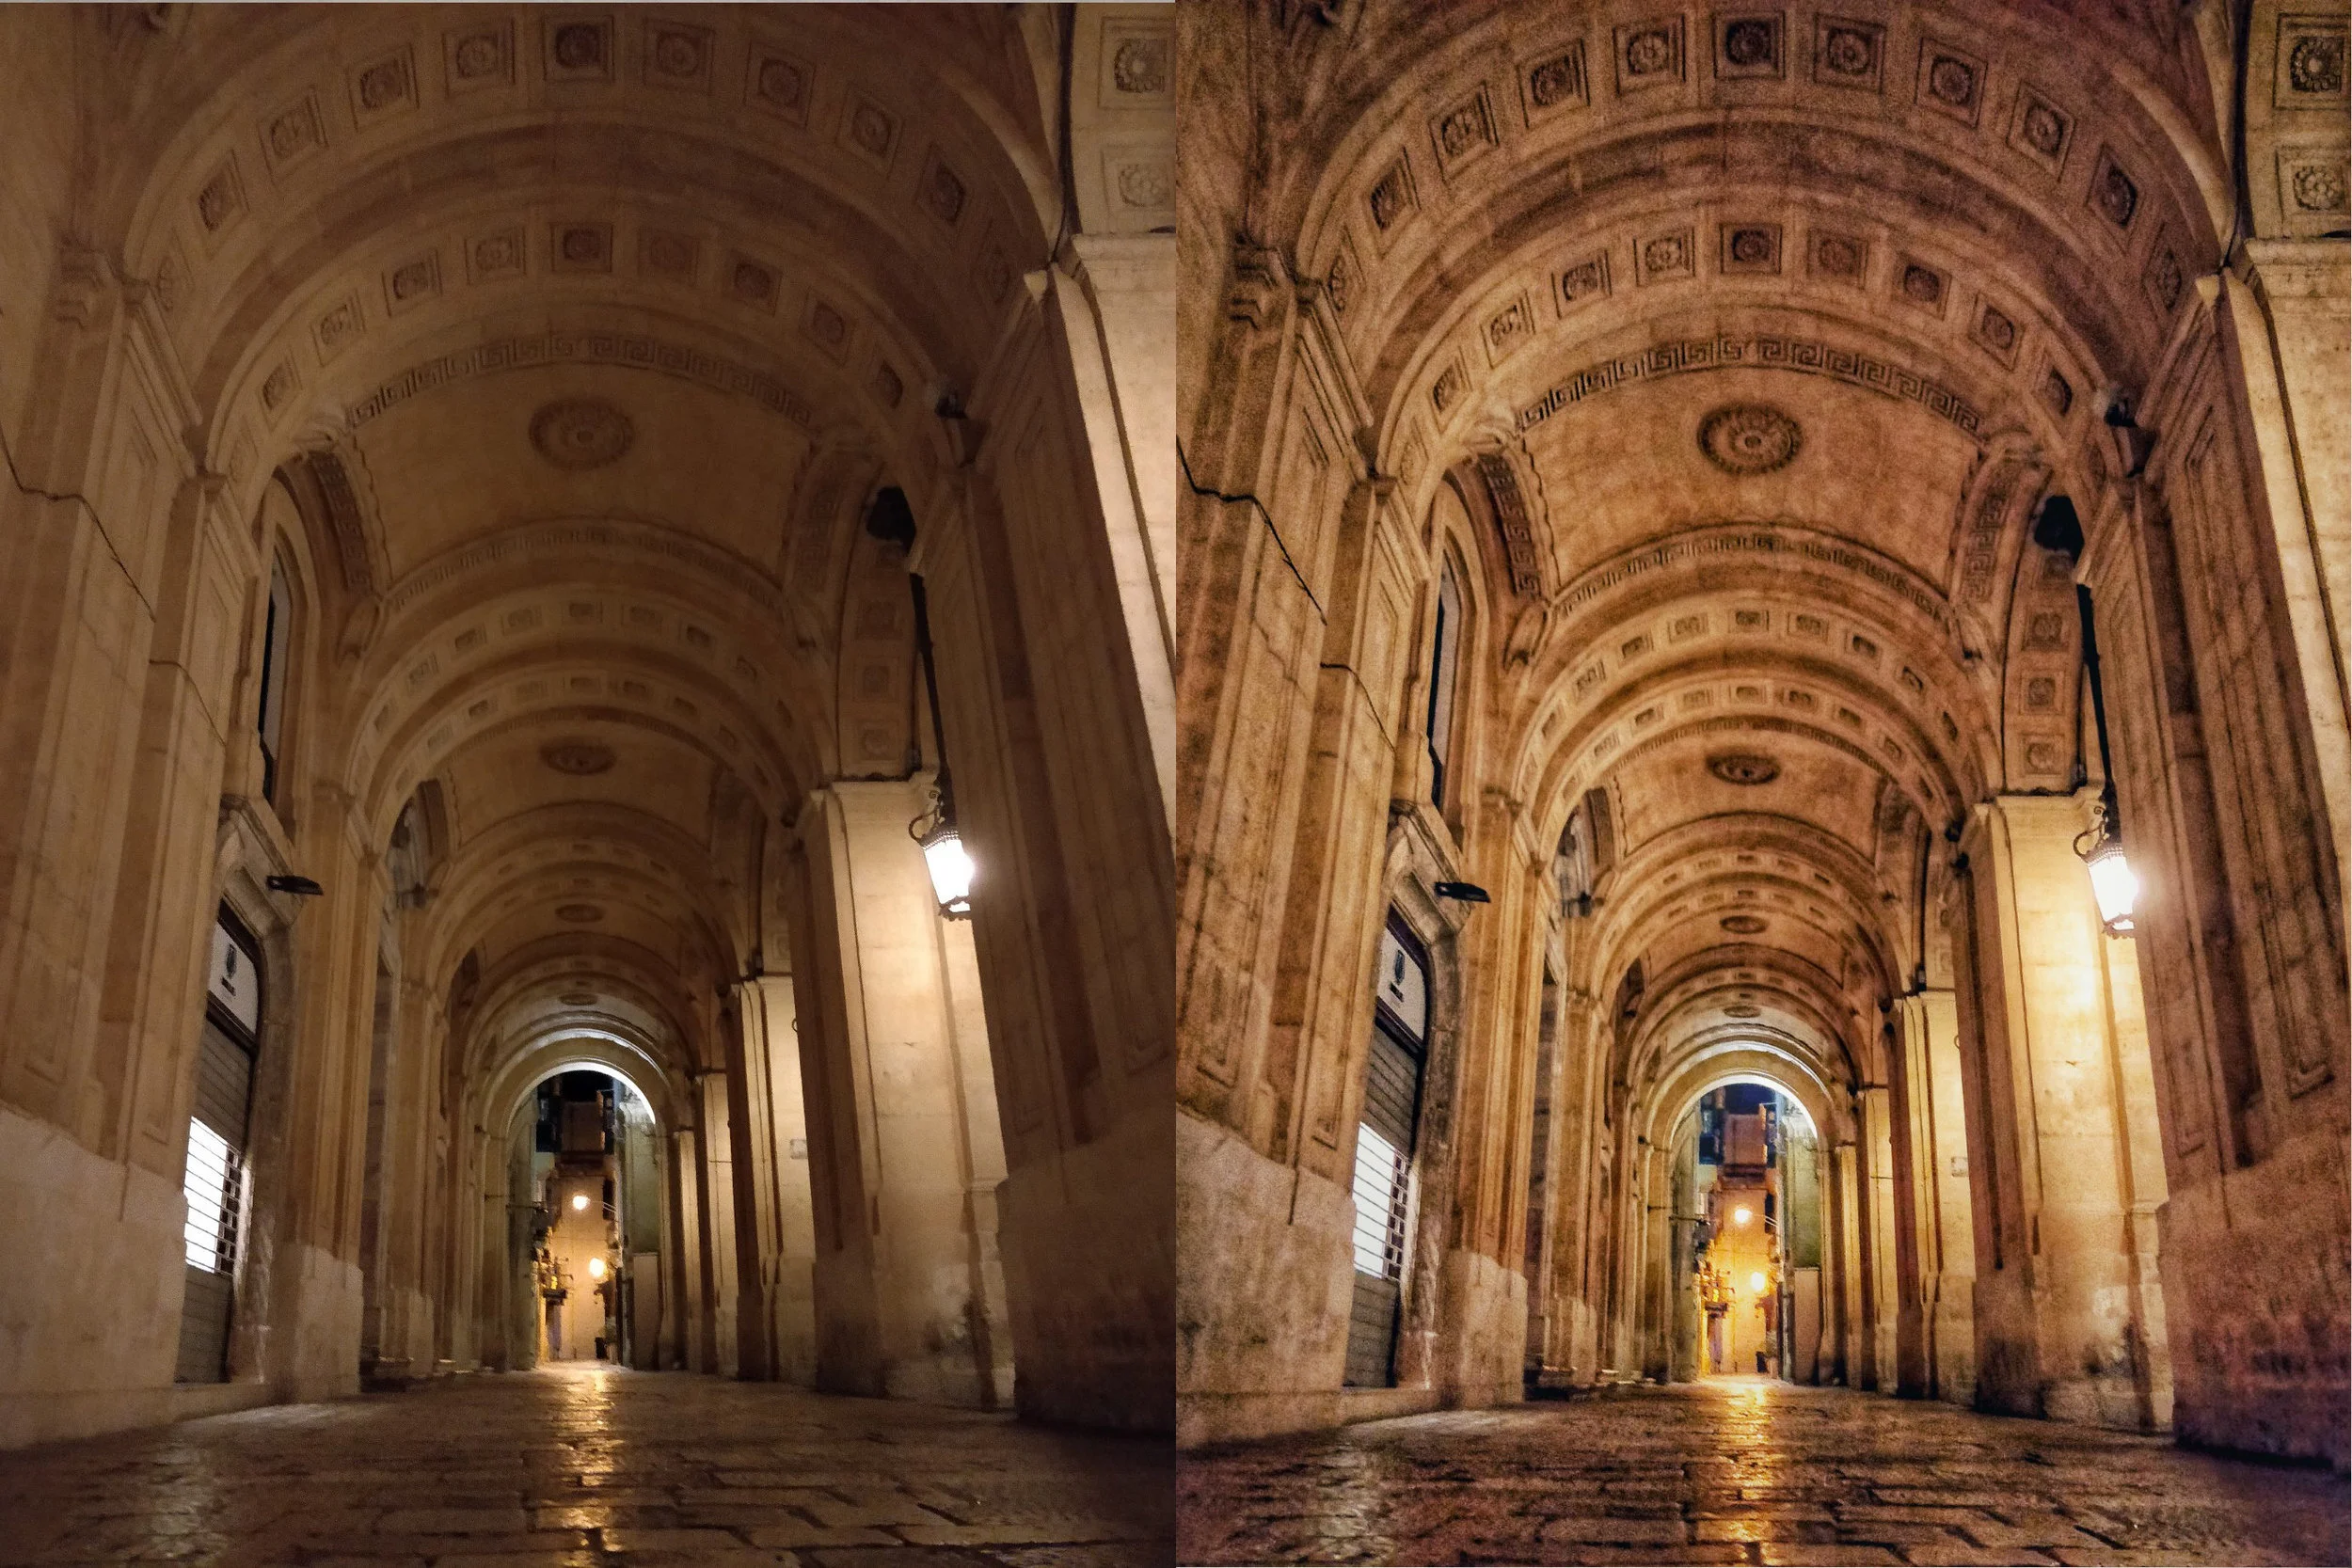
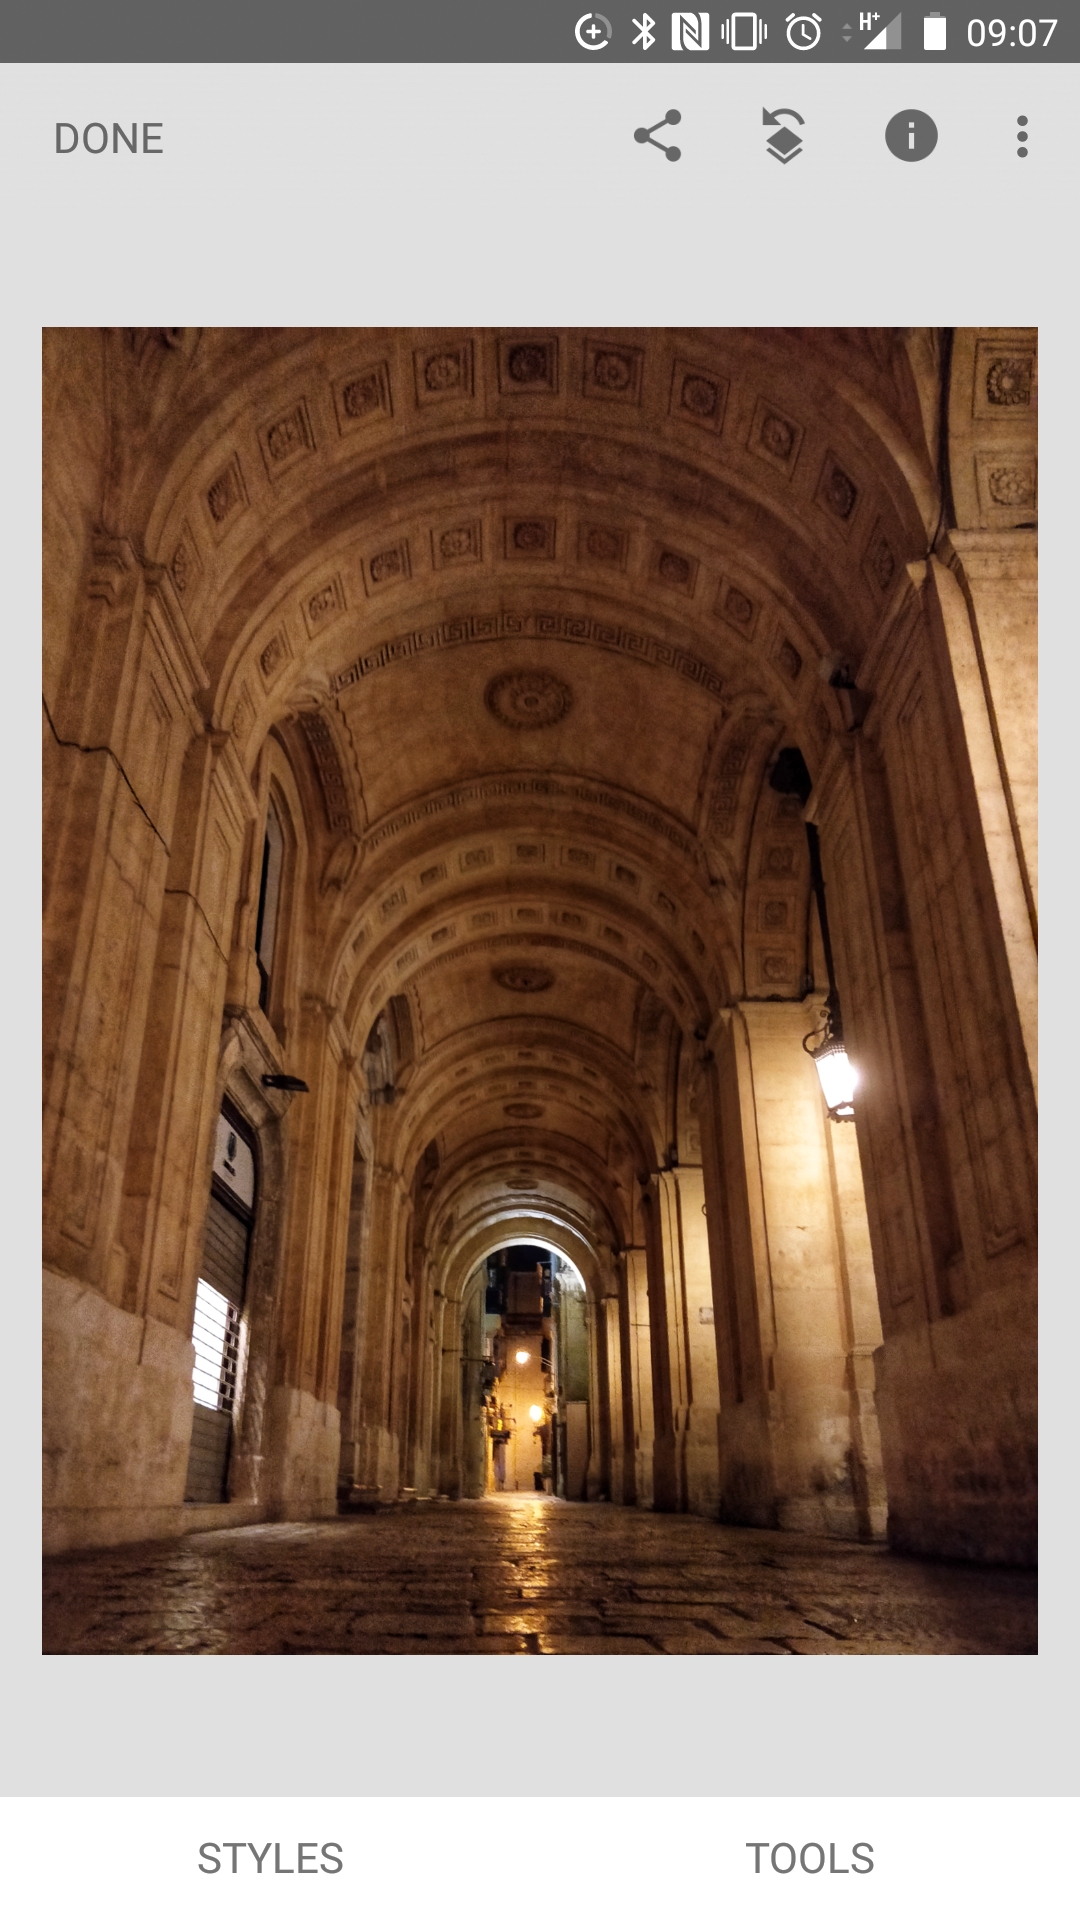
Lots of detail retained in the areas of the building which was in direct sunlight