tips and tricks

Fashion Photography in Malta: The Ultimate Guide

Fashion Photography in Malta: The Ultimate Guide

If you're looking for an exotic location for your next fashion photography shoot, then Malta should be at the top of your list. This beautiful Mediterranean island nation is not only a hub of fashion and style, but it also boasts some of the most breathtaking landscapes in the world. In this article, we'll take a closer look at fashion photography in Malta, including the best locations, tips, and techniques to make your shoot a success.

Introduction

Malta is a hidden gem in the Mediterranean, offering a unique blend of culture, history, and natural beauty. As a fashion photographer, you can take advantage of this stunning location to create some truly memorable shots. In this article, we'll explore the best locations, tips, and techniques to help you capture the essence of fashion in Malta.

Why Malta?

Malta has become a popular destination for fashion photographers in recent years, and it's not hard to see why. With its stunning architecture, crystal-clear waters, and vibrant nightlife, Malta offers a unique blend of beauty and culture that can inspire any photographer. In addition, the island's small size and excellent infrastructure make it easy to get around and find the perfect locations for your shoot.

Best Locations for Fashion Photography in Malta

When it comes to fashion photography, location is everything. Malta has plenty of stunning locations to choose from, including:
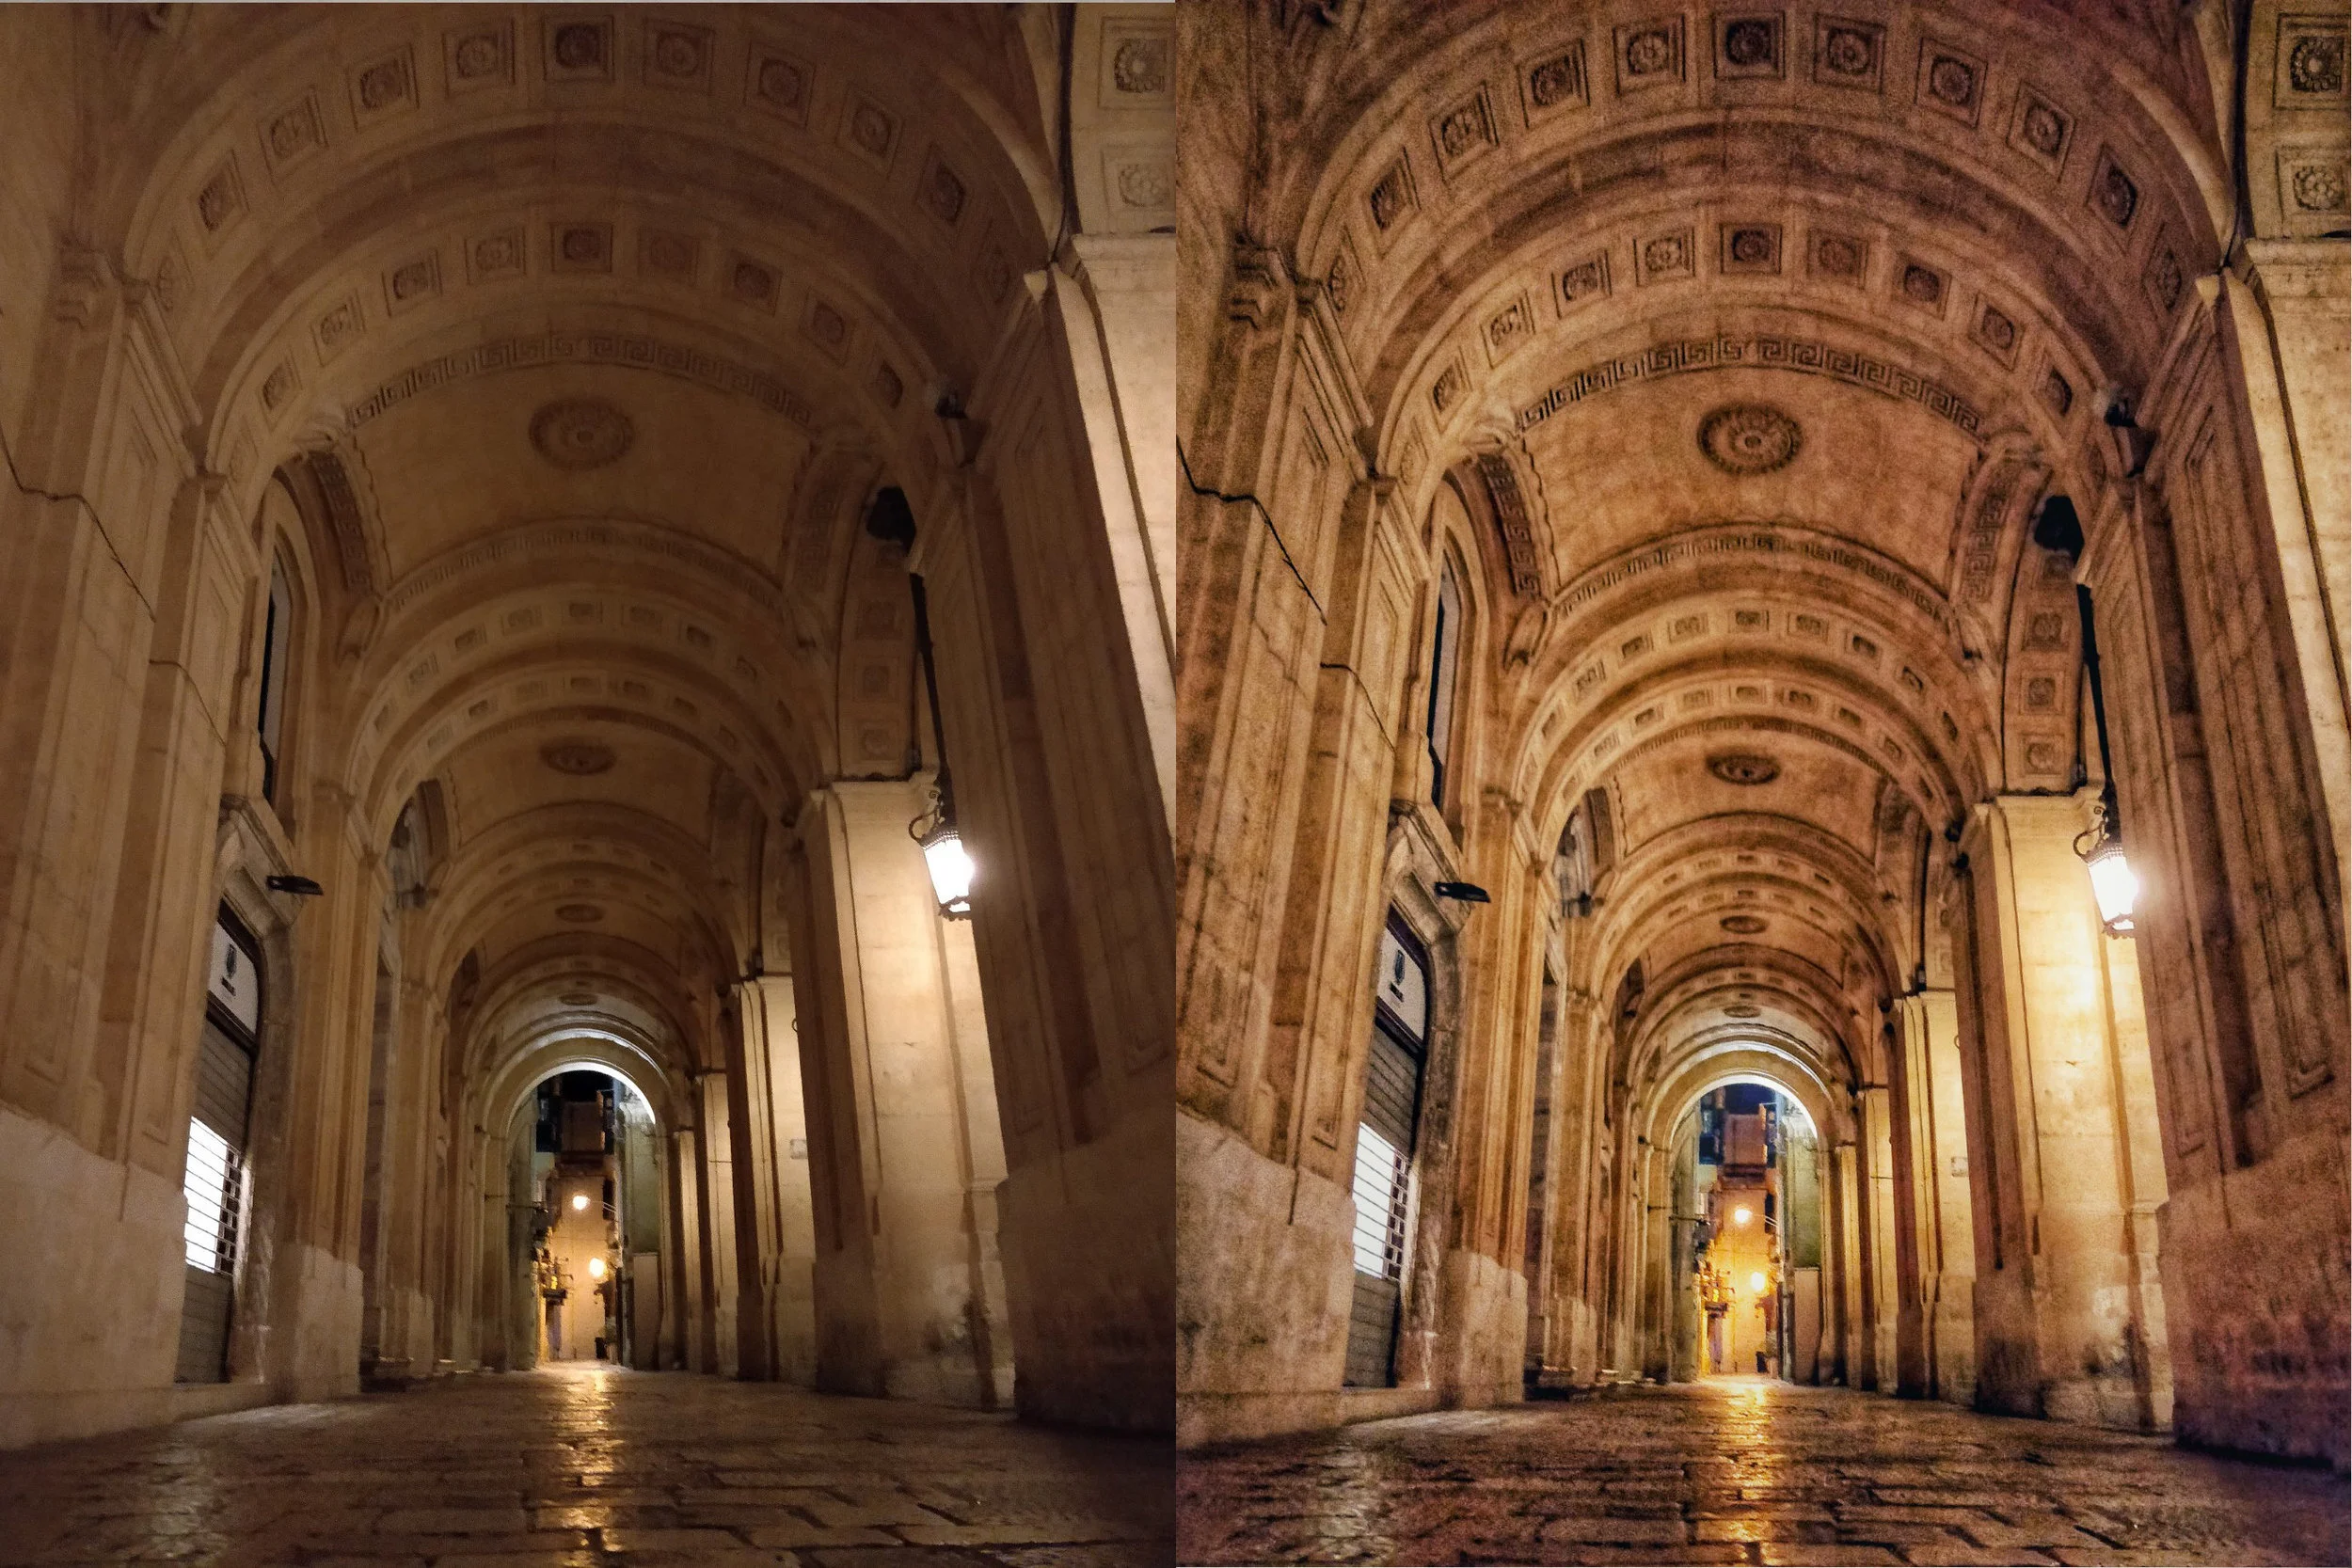
Valletta

Valletta is Malta's capital city and a UNESCO World Heritage Site. This historic city is home to some of the island's most iconic architecture, including the Grand Master's Palace and St. John's Co-Cathedral. The city's narrow streets and colorful buildings make it an excellent location for street-style photography.

Mdina

Mdina is a fortified city in the heart of Malta that dates back to the medieval era. This picturesque city is known for its winding streets, baroque architecture, and stunning views of the surrounding countryside. The city's stunning architecture makes it an excellent location for high-fashion shoots.

Gozo

Gozo is a small island that lies just off the coast of Malta. This island is known for its beautiful beaches, clear waters, and rugged coastline. Gozo is an excellent location for beach and swimwear shoots.

Comino

Comino is a small island located between Malta and Gozo. This island is famous for its crystal-clear waters, hidden coves, and stunning landscapes. Comino is an excellent location for underwater and nature-inspired shoots.

Tips and Techniques for Fashion Photography in Malta

Malta offers plenty of opportunities for creative and inspiring fashion photography. Here are some tips and techniques to help you make the most of your shoot:

Plan Ahead

Before you start shooting, it's essential to plan ahead. This means scouting locations, creating mood boards, and working with your team to ensure everything is in place before the shoot begins.

Use Natural Light

Malta is known for its bright, sunny days, so take advantage of the natural light. Use early morning or late afternoon light for soft, flattering shots, and avoid shooting in the middle of the day when the light is harsh and unflattering.

Be Creative

Malta offers plenty of opportunities for creative and unique shots, so don't be afraid to experiment with different angles, poses, and styles. Use the island's architecture, landscapes, and culture as inspiration for your shoot.

Work with Local Models and Designers

Malta has a thriving fashion industry, so why not work with local models and designers to create something truly unique? Collaborating with local talent can help you tap into the island's fashion scene and create something truly memorable.

Conclusion

Malta is an excellent location for fashion photography, offering a unique blend of beauty, culture, and

So i've quit Snapseed, moved to Adobe Lightroom and launched some Presets

As you can see from my previous posts, I’ve been using Snapseed pretty heavily for a while for any photo that I take with my phone. It is still a great tool and you can check out this blog post on how to do some cool things with it.

However, when it comes to the way it works - Adobe Lightroom does 3 things better.

It gives me more control over the Light, Colours and the overall look of image

Using the sliders as well as the tone curves, you can really change how the image works. Being able to do split toning (which is also getting an update soon) as well as being able to selectively change the Hue/Luminance and Saturation of each colour channel is pretty sweet too.

Apart from the Light and Colour tools, i’m also a big fan of the Vibrance/Saturation sliders which make it easy to adjust colour tones seperately from skin colour - and the Texture/Clarity sliders which can bring out large/small details in the photo.

Lastly both Noise reduction and Grain sliders can be used to great effect since noise and film grain are treated differently within Lightroom

It syncs with Lightroom Classic

This pretty much sealed the deal for me, now the photos i actually care about editing are going to be automatically synced on the Adobe Cloud and are accessible & editable & can be backed up from Lightroom Classic on my PC.

It’s really easy to use presets

The internet is full of presets and if you’re into photography & colour science you can even create your own. In fact when i combine creating presets on my PC on lightroom classic, with the sync feature it really makes it easier to tweak every thing i want in the preset on my PC - and then just use it on the mobile

I’m launching my own presets!

Together with Sarah “Sosa” Zerafa, we will be launching a number of presets that will be sold under the PresetBubble name (https://presetbubble.com) We also have an offer that will see you get my favourite Black & White preset absolutely for free if you sign up to our newsletter

Are digital cameras still relevant for everyone? Huawei P20 & P30 Pro discussion.

Over the last few years most of my work was done with some variant of the Canon 5D full frame DSLR. Whilst this is a heavy hulking beast of a camera - it’s also a workhorse that provides beautiful imagery. The ample body has a very ergonomic layout - with plenty of customisation that can be done to the controls, which makes it very easy and fast to work with.

A common theme for me was that this camera was my default choice for any work, however for travel photography and social events - it was way to bulky for me to comfortably carry around. This prompted my decision to invest in mirrorless cameras: which were smaller and fit in your pocket (mostly.. maybe with cargo pants..) but even then there were many times where I had not brought it along due to it’s size.

Fast forward to the last few weeks - my wife and I had an adventure planned in Japan. Now this is not the kind of holiday we do every month, and Japan is a VERY interesting and pretty place, so I agonised over my equipment choices: Should I take the 5D? compromise with the A6000?

Ultimately i decided to go with the Huawei P20 Pro. But that’s not a camera! you might be saying, and you are arguably correct. However if i think about it: I had a 27mm f1.8 camera, and an 80mm f2.4 camera with optical image stablisation. The B/W camera is not mentioned since it’s way to buried in menus to be useful, and realistically most times shooting using the main sensor (and converting to monochrome) does a better job.

By far the most useful range in a camera is the 24-70mm space and I was pretty covered. Throw in all the HDR, image stacking and other digital wizardry that the phone is capable of and here are some results. All the photos are shot using the Huawei P20 pro and edited using Snapseed on the phone itself. I was able to take most shots i had in mind and had a decent keeper rate in even challenging light and autofocus conditions.

To wrap up - to cherry on the cake is that most of these images will only ever be seen on social media on mobile devices. The quality is way high than what is necessary for that, so much so i’d be pretty confident in having any of these shots printed in A2 or higher size.. So why bother with anything else?

What do you guys think? Leave a comment below.

So what’s next?

Huawei have just announced the new P30 family of phones and to be quite honest many of the features which reviewers are praising (battery, low light performance, overall performance, etc) are already top notch with the P20 pro and (in my humble opinion) not worth the upgrade. I would hazard and even say that the much vaunted 5x periscope camera (125mm) is going to be less useful than a native 80mm on the P20. Time will tell.

However there are 2 killer new features which I am really looking forward to:

  1. Optical Image Stabilisation on the Main sensor. This will make it much easier to use Light Painting and Night modes, or any other in camera images stacking which have become so powerful

  2. Ultra wide angle lens. This was something that I really missed in japan and it’s not something you can recreate digitally like lens blur or zoom (just crop! :))

Shooting Portraits in Harsh lighting

One of the things we have an abundance of in Malta is bright bright sunlight. This post unfortunately does not apply to our harsh sun when it’s at it’s peak. This is because the overhead positioning and bright light will result in a white studio background with the added haze that will lose a lot of fine detail.

In these conditions, moving to the shade will produce much better results. However! if you are in harsh sunlight in the morning or afternoon hours before golden hour. Simply place the subject with their back to the sun and use them to shield your camera from the glare. This will produce a lovely blown out background and a golden halo for your subject. To achieve this make sure you expose for our subject’s face, otherwise the camera will try and average out the light in the scene and leave you with a dull background and dark underexposed face

This will not work well for all subjects but for kids, and young beautiful people this fits quite nicely.

Here are some example of this technique show during Milan Fashion Week

portrait-model-streetstyle-milan-fashion-week
In this photo of Birgit Kos, a bit of toning was applied to the highlights

In this photo of Birgit Kos, a bit of toning was applied to the highlights

Editing Mobile Phone photos

Even though i am a professional photographer, there are times where i don't have (or don't want to have) my camera with me - both when i'm in Malta and abroad. Like anyone else who has made their merry way into the 21st century, i do however have a mobile phone pretty much always in my pocket.

One of the main benefits a professional camera brings to a photoshoot, is the ability to work fast and in difficult conditions without losing quality. However, if you're prepared to sacrifice image quality a little bit, pushing your photos during editing will make a big difference in the impact.

This article is based on the Snapseed mobile application. This was built on an excellent software suite by a company called Nik (which was then taken over by Google). I use the android version which you can download here and there is also a version for iPhone here

Disclaimer: Is editing going to make my Oneplus 5 images look like they were taken with my Canon 5D mk4? No way! but it will add perceived detail and impact

Basic Corrections

The first step in our editing is to correct any mistakes that the camera may have made. Remember that the amount of light the phone captures and the colour which it sets to be "white" are guesses and it can get these wrong. (For example you might take a picture of a white plate in a room lit up in warm white light and get a yellow colour cast.)

1. White Balance (ie - is everything yellow-ish?) - The White balance tool has a selection tool that allows you to click on a spot on the photo and set it as white. If you're shooting food, this could be the table cloth or plate. Neutral greys work just as well (or better) than white too. Once you fix this you will see new colours appear in the photo

2. Exposure (ie is the photo too dark or too white?) - For these two questions we'll be using two different tools. Unfortunately, if the photo is too white, it is much harder to fix since the detail is lost and the colours may have become skewed. Your best bet is to use the Tune Image tool and reduce the brightness and highlights settings. Be careful because whites might become greys which are possibly uglier than the white you are trying to fix.

To add light we can either use the Tune Image tool and add brightness but i find that using the Curves tool and selecting "Brighten" from the palette produces a more pleasing effect. You can then adjust the curve to increase/decrease this - or you can just run the Curves tool multiple times (i find this produces the most natural result)

At this point out photo is well exposed and is showing the correct colours. Since these are things mobile phones often make mistakes in, we've already improved the image substantially

Case Study: Dinner

Food in particular needs correct colours and good lighting, additional detail and contrast are an added bonus (if you like that effect)

Food in particular needs correct colours and good lighting, additional detail and contrast are an added bonus (if you like that effect)


Adding Detail

1. The aptly named Details tool is an easy way to bring out the structure in the image. I personally like adding a lot of this since it adds sharpness and contrast across the board. You can then go into the layer mask (View Edits -> select the layer -> select the brush) and then brush away the areas where it might have added too much structure

2. Focus on your subject. This is much harder to do with a phone than with a professional slr since depth of field (blur/bokeh) is linked to the size of the camera sensor (which is tiny on a phone) so we can turn to software to help us out. Disclaimer: This can look fake if misused. This effect is very obvious and i tend to reduce the amount of blur that is set by default. I also adjust the shape of the circle to go around the object i want to keep in focus.

3. HDR. Yes, HDR Scape is a great editing tool for mobile phones - especially since the dynamic range of the sensor is much smaller than you get in a good camera. Disclaimer: This can look fake if misused. I use HDR typically for food shots and landscapes. Like lens blur i reduce the amount of filter strength that is set by default (be particularly careful for whites becoming "dusty" and reds becoming highlighted and over bright). From the palette i typically select the "Nature" or "People" setting

4. Tone the image. The Vintage tool is a great way to tone the colours in your image - again this is an effect that should be used sparingly and with caution. I tend to reduce/almost remove the default vignette setting and i reduce the overall effect by at least 50% - otherwise it will just take over all the colours of your photo. Remember that you want to add some spice, not overwhelm it

Case Study 3: Architecture in Valletta

photo-editing-food-before-after-3.jpg

5. Selective editing using the healing tool can help fix mistakes or dirt in the photo. Click on the affected areas will draw information for the surroundings to remove the offending debris. It's also very good when someone attacks the food before the photo was taken! :) In the next case study i had wanted a photo of the dish but absent-mindedly broke it with my fork. 

photo-editing-food-before-after-2.jpg


Questions? Anything Not Clear?

Just leave a comment below and i'll do my best to reach out and help you out or edit the article and explain better :)